
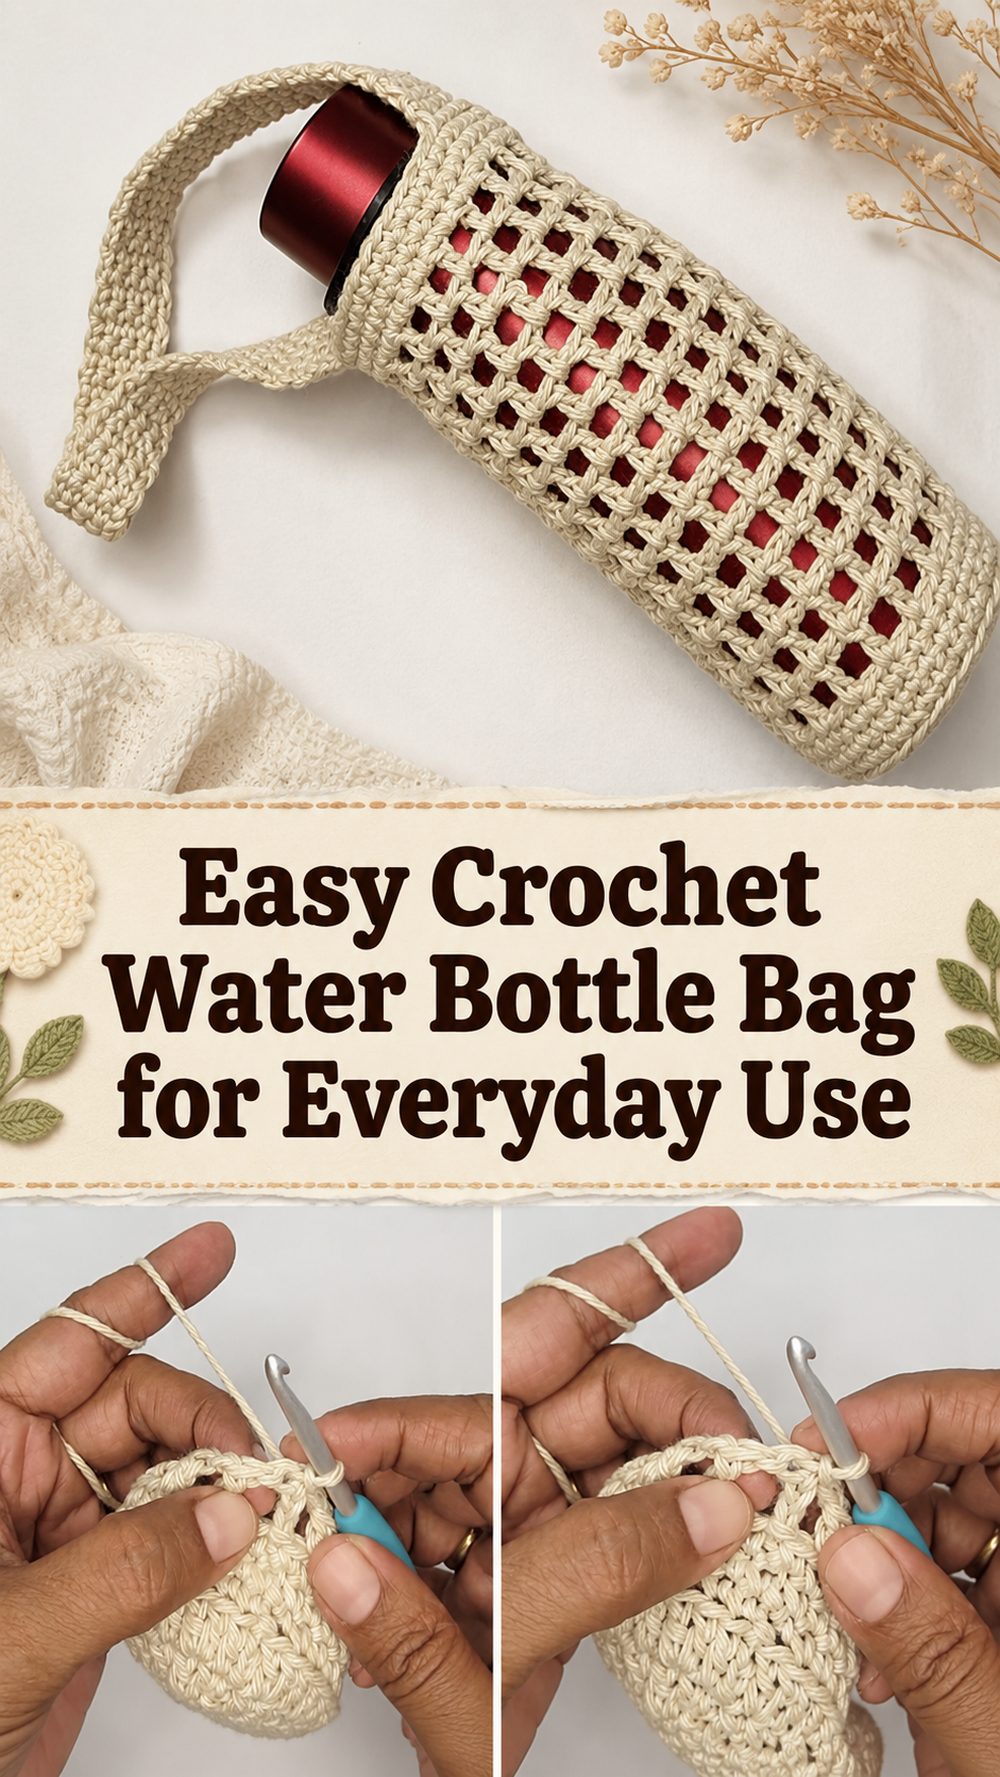
An amigurumi water bottle bag is one of those projects that feels instantly useful. It’s light, practical and easy to carry on walks, errands, travel days or summer outings. The tutorial I chose is a simple crochet mesh style bottle holder that can be customised to different bottle sizes, with an adjustable strap length, so it’s a really flexible project for everyday use. It also makes a lovely quick and easy summer crochet project for beginners, so if you want something quick but still satisfying to finish, this is a lovely option.
Why You’ll Love This One:
This project is easy, cute and useful to customise. Open mesh keeps the bag light, strap allows for a hands-free carry, and the design is perfect for warm weather, daily use, and fast gift-making. The tutorial picked even mentions it as customisable for any bottle size and strap length, making it even more beginner-friendly and practical.
What You Will Need
Thread.
Crochet needle
scissors.
Needle for yarn
Stitch marker if you like
Tape measure
optional decorative detail, such as a bow
If it’s not clear exactly what yarn weight or hook size to use, just use the yarn and hook that correspond to your desired fit and texture. The tutorial suggests that the project is customisable, so choosing the materials that fit your bottle and look you want is part of the process.
Best Yarn for This Project:
A good choice for a water bottle bag is a soft cotton or a breathable cotton blend that feels sturdy without weighing you down. Cotton is especially good for summer, holding its shape better than very stretchy yarn, and giving the bag a neat, practical finish. If you want something softer and drapier, a bamboo blend can work well, too. If you want a more casual everyday bag, a smooth acrylic can still be okay, but breathable yarns are more often best for this kind of project.
Skill Levels:
Easy to beginner-friendly.
This is a great project for someone who knows the basics and wants to make something useful without the complication of shaping. If you’re comfortable with basic stitches and working in repeats, it should feel manageable, this tutorial describes it as a simple, easy, beginner-focused project.
Size & Fit Guide:
Before you start, measure around the widest part of your water bottle. Make the base wide enough to hold the bottle then work the body until it fits comfortably around the bottle without being too tight. The tutorial is also customisable so you can make the strap longer or shorter depending on how you want to carry it, cross body, shoulder length or a shorter hand-held style.
Stitches Employed:
The exact stitch counts are not clearly given in the source snippet you have, so it is best to follow the tutorial visually for the stitch sequence. The project style clearly uses the basic crochet building blocks suitable for a simple mesh bag such as chain stitches and joining with a repeated openwork pattern to build the body. The end result is a mesh bottle holder.
How To Do It
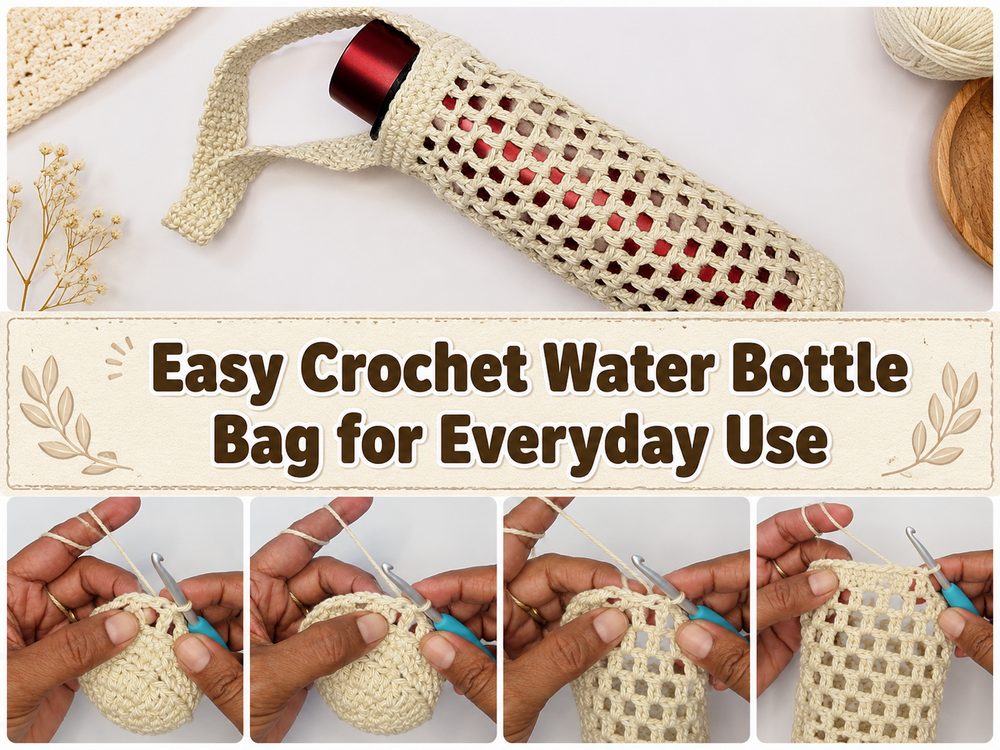
Step 1: Launch the Base
First consider the size of the bottle you want to carry. The first part of the project is to make the bottom section that will support the bottle, to have a stable base for a water bottle bag. While working, check the fit by placing the bottle on the base area. You want it to be supportive, not floppy, but not so tight that it’s hard to get the bottle in and out.
This design is customisable so there is scope for tweaking from the start. If your bottle is thin, keep the base a little neater and more like the shape of the bottle. If your bottle is wider keep building till the base fits snugly. The main idea is to make a bottom that fits the bottle you have, instead of forcing the bottle to fit the crochet.
Step 2: Construct the Bottom Section
When the base is completed, work up to form the lower body of the holder. This bit helps make the flat bottom into one that wraps around the bottle. Keep some tension here too, as a very loose bottom section could dip once the bottle is in and a very tight one can make the holder feel stiff.
This is where the project begins to come together. It’s simple, but it feels good because you can already envision how useful it will be. If desired, place a stitch marker at the start of the round/row to help keep your place.
Step 3: Construct the Mesh Body
The main body is worked in an open pattern as the project is described in the chosen tutorial as a mesh bag, so the holder is light and airy. That open texture is particularly nice for warmer weather as it makes the bag feel less bulky and gives it a laid-back summer feel.
As you are building the mesh section, continue repeating the pattern evenly all the way around. This is usually the part that goes on the fastest, and this is where the bag really starts to look like a bottle carrier, and not just a pouch. The open spaces allow the bag to be a bit loose around the bottle and still keep the project light.
If you want a tighter bag, work evenly with tension, and check the fit often. For a softer, more relaxed finish, allow a little more ease. The tutorial notes that you can make the holder in any size so you don’t have to lock yourself into one exact measurement. Just keep going until your body gets to the height that works with your bottle.
Step Four: Resize and Fit
You should feel secure if you’re going to be carrying a bottle bag while you walk. Before you finish the top, insert your bottle into the holder and see how well it fits. The bottle base should be supported, with enough body height to prevent it from tipping out easily.
If your bottle is taller, keep going for a bit. Stop when the bag feels balanced if shorter. The best thing about the pattern style shown in the tutorial is that it’s flexible sizing. You can easily make it for a small water bottle, a larger reusable bottle or anything in between.
Step 5. Secure the Strap
The strap is what makes this a truly useful bag, not just a holder. The tutorial specifically says you can adjust the strap length, which means you can wear it however you want. The shorter strap is perfect for carrying by hand or over one shoulder, and the longer strap is ideal for a casual crossbody fit.
Use the strap for style and comfort. If you want a sturdier feel, keep your stitches firm and even. If you want a softer drape, don’t crochet too tightly. Before you weave in the ends, try the strap on yourself to see how the length falls and make any adjustments before finishing the strap.
Step 6: Complete the Top & Details
Once the body and strap are complete tidy up the top edge so it looks neat and feels comfortable in use. Having a clean top edge will help the bag hold its shape better and give the whole project a more finished look. Neatly sew in the ends, especially at the points where the straps join together and at the bottom of the bag where it will take the most weight.
There is one lovely extra detail mentioned in the chosen tutorial, an optional bow. That type of simple finishing touch can make the bag feel a little more playful and personal without changing the overall usefulness of the project.
The finished bag needs to be light, breathable and practical with a mesh body and a strap that’s easy to carry. It needs to hold your bottle tight but still feel comfortable and summery.
Helpful Hints
If you want the bag to be cooler and more structured cotton yarn.
Work with your actual bottle to check the fit.
Keep the tension even so the mesh looks neat.
Check strap length before fastening off.
If you tend to lose track, use stitch markers.
Weave in the ends securely, especially at the strap joins.
For cleaner edges, lightly block the finished bag.
Mistakes To Be Avoided
Base is too small for bottle.
Crochet the mesh very loosely so the bottle hangs down.
Ending without checking the height of the bottle.
Making the strap too long or too short without testing it out.
Joining the strap too loosely so it stretches too much in use.
Use a very slippery yarn, if you want the bag to hold its shape.
Ideas for Customisation
Pick a bright summer shade, a neutral everyday colour or even striped yarn for a playful look. Add a bow for a sweeter finish, or leave it plain for a cleaner style. You can also adjust the strap to wear on your shoulder or crossbody, and make the body more open or a little firmer depending on how breathable or structured you want the final piece to feel.
Design Ideas
Crochet Water Bottle Bag This water bottle bag is perfect for taking with you on walks, to the farmers market, to the beach, to a festival or on a trip. It’s also a thoughtful handmade gift for the person who’s always carrying around their reusable bottle. Add to a simple tote, casual summer outfit or picnic set-up for an easy handmade touch.
Care Instructions
If possible, hand wash gently in cool water. When wet, reshape the bag and lay flat to dry. Stay away from high heat, especially if your yarn is delicate or blended. If the strap stretches after washing, reshape and dry flat before reusing.
Time Required
This may take a few hours depending on your speed, yarn, bottle size and stitch pattern.
Conclusion
A crochet water bottle bag is one of those small projects that feels both fun and genuinely useful. It is easy to personalize, simple to size, and perfect for everyday carrying. You can keep it practical and minimal or dress it up with color and little details. Once you make one, it is easy to imagine making another in a different shade or size.
FAQs
Is this beginner-friendly?
Yes, this project is best suited to beginners or confident beginners because the selected tutorial presents it as simple and easy.
Can I adjust it for a larger bottle?
Yes. The tutorial notes that the holder can be made for any size bottle.
Can I change the strap length?
Yes, the strap length is customizable in the selected tutorial.
What yarn works best?
Cotton or a breathable cotton blend is a great option for a practical summer bottle bag.
Does it have a decorative detail?
It can. The selected tutorial mentions an optional bow detail.