
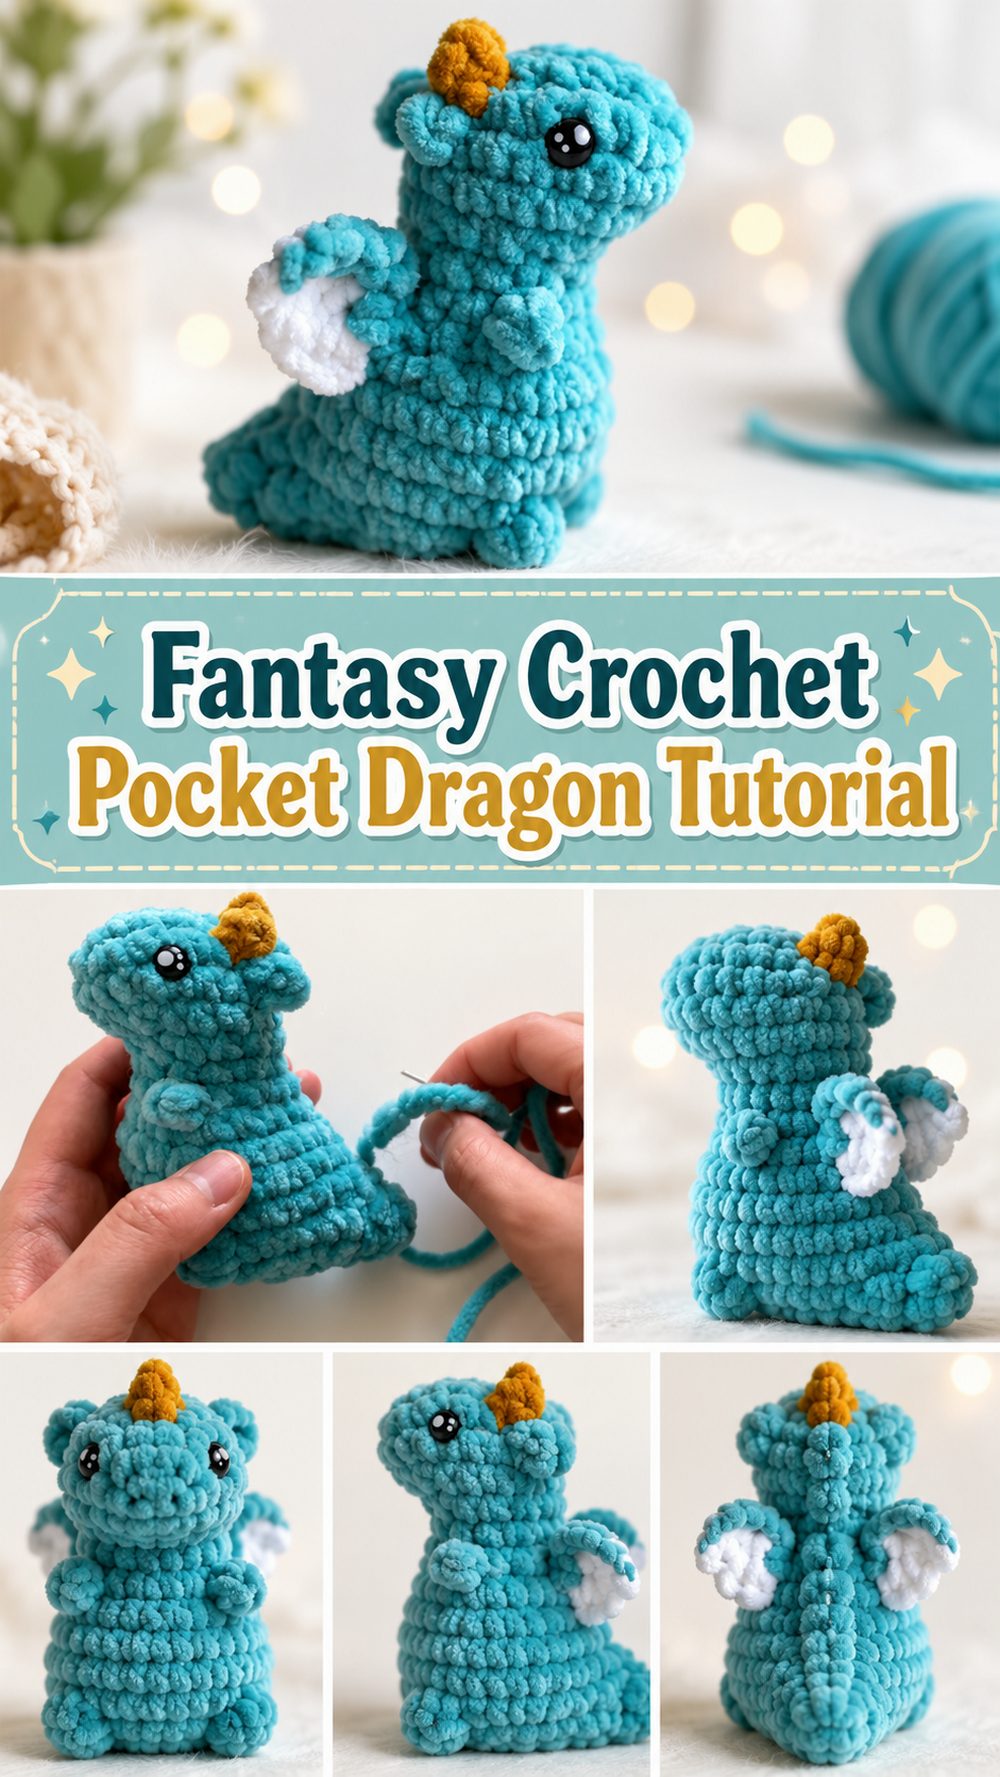
If you love fantasy-inspired crochet projects, a tiny dragon is such a fun place to start. This little pocket-sized creature has all the charm of a magical storybook companion, but it is still small enough to finish without feeling overwhelmed. It makes a lovely desk buddy, shelf decoration, gift, or just a satisfying weekend make when you want something cute and imaginative. The finished dragon has a soft plush look, a rounded body, and sweet wings that give it that classic fantasy feel. What makes this kind of project especially enjoyable is that it feels playful from beginning to end. You are not just making a crochet item, you are bringing a tiny character to life. This tutorial is a mostly no-sew dragon project, with the wings attached separately, and it is presented as an easy beginner-friendly fantasy make.
Why You’ll Love This Project
This fantasy crochet dragon is one of those projects that feels instantly rewarding. It is cute, magical, and compact, so you get that fun amigurumi experience without committing to a giant build. The tutorial also highlights that the project is mostly no-sew, which makes it feel less fussy and more relaxing to work through.
Materials Needed
- Yarn for the main dragon color
- A crochet hook that suits your yarn
- Stuffing
- Safety eyes if you want a plush look
- Yarn needle
- Scissors
- Stitch marker
- A second yarn color if you want contrast details or wings
Use a yarn and hook size that matches your desired fit and texture.
Best Yarn for This Project
For a soft fantasy dragon like this, plush yarn or chenille-style yarn gives a very cuddly finish. If you want a smaller dragon with sharper stitch definition, regular acrylic or cotton-blend yarn also works nicely. A fluffier yarn makes the dragon look extra squishy and toy-like, while smoother yarn helps you see the shaping more clearly as you crochet.
Skill Level
This project is beginner-friendly to advanced beginner, depending on your comfort with amigurumi basics. The tutorial presents it as easy and quick, but you should already feel fairly comfortable working in rounds, keeping track of stitch placement, and stuffing a small shape neatly.
Size and Fit Guide
Since this is a pocket dragon, the size mostly depends on your yarn and hook choice. Thicker plush yarn will give you a chunkier dragon, while thinner yarn will create a smaller one. If you want your dragon to feel balanced, keep the tension even and make sure the body is firmly but not overly stuffed. For matching parts like wings, try to make them as similar in size as possible.
Stitches Used
From the way the tutorial is presented, this dragon uses standard amigurumi construction methods, so the clearly expected stitches and techniques include:
- Magic ring
- Chain
- Slip stitch
- Single crochet
- Increases
- Decreases
- Working in continuous rounds
- Basic assembly for the wings
How to Make It
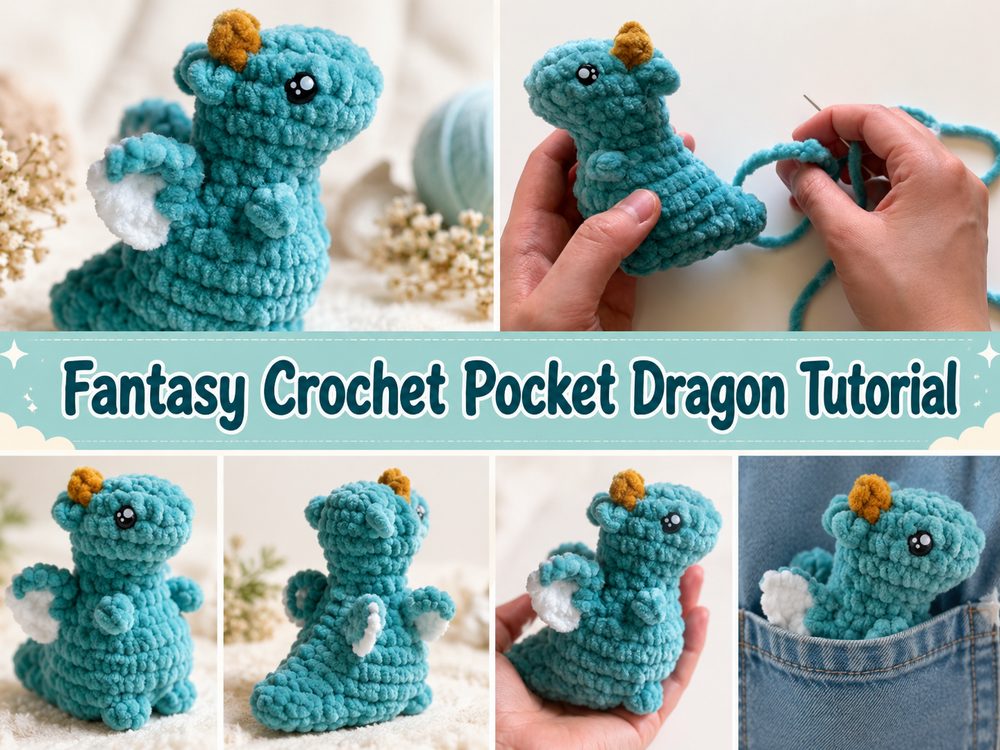
Step 1: Start the Foundation
The dragon begins as a small amigurumi shape, which means you start with a tight center and build outward in rounds. This is what gives the body that neat, rounded fantasy-plush look. Place a stitch marker in the first stitch of each round right away. That one tiny habit makes the whole project easier, especially on a small creature where losing your place can throw off the shaping.
When you begin, focus on making your first few rounds nice and snug. A firm start helps keep the stuffing from peeking through later. Since this is a pocket dragon, the early rounds set the shape for the whole body, so it is worth taking your time.
Step 2: Build the Body and Head Shape
The tutorial describes the dragon as a quick and mostly no-sew project, so the main body is worked as one continuous shape rather than being made from lots of separate pieces. That is part of what makes it such a satisfying fantasy crochet project. You can settle into the rhythm of the rounds and watch the little dragon take shape quite quickly.
As the body grows, continue stuffing gradually instead of waiting until the very end. Adding small bits as you go helps the shape stay even. The dragon should feel soft and squishy, but not floppy. If you overstuff, the stitches can stretch too much. If you underfill, the body may collapse and lose that cute plump silhouette.
Step 3: Shape the Tail and Little Details
A dragon needs a bit of character, and that usually comes from its tail, head shaping, and tiny fantasy features. As you continue crocheting, the shaping naturally turns the simple round form into a creature instead of a plain ball. This part is where tension matters a lot. Keep your stitches consistent so the dragon looks smooth from head to tail.
If your tutorial version includes small shaping changes for the neck or tail area, work slowly and check the outline with your hands. Sometimes a piece does not look magical until you gently stuff and smooth it into place. Do not worry if it seems plain halfway through. These little fantasy creatures always come alive near the end.
Step 4: Make the Wings
The wings are the part that really pushes this project into fantasy territory. The selected tutorial notes that the project is mostly no-sew and that the wings are sewn onto the body, which means the main dragon is simple to build and the wings act as the finishing feature.
When making the wings, try to keep both pieces even. Count carefully, compare them side by side, and do not rush. Small differences are very noticeable on a tiny project. If one wing feels tighter or shorter, remake it before attaching. It is much easier than trying to hide the mismatch later.
Step 5: Add the Face and Attach the Wings
Once the body is stuffed and the extra pieces are ready, you can bring the dragon to life. Add the eyes before closing everything up if your yarn and construction method make that easiest. Then decide where the wings look best. Usually, placing them slightly back from the neck area gives the dragon a balanced shape.
Pinning or holding the wings in place before sewing is a smart move. Look at the dragon from the front, side, and top. Tiny fantasy creatures can look completely different depending on where the wings sit. Once you like the position, attach them neatly and securely.
Step 6: Finish and Shape Your Pocket Dragon
After assembly, use your hands to gently shape the dragon. Smooth the stuffing, straighten the wings, and check whether the face feels centered and expressive. This last bit is easy to overlook, but it makes a huge difference. A little adjusting can take your dragon from homemade to polished.
The finished piece should look soft, rounded, and charming, with just enough fantasy detail to feel magical without becoming complicated. Because it is pocket-sized, it works beautifully as a tiny gift, shelf mascot, bag charm idea, or comforting desk companion.
Helpful Tips
- Use a stitch marker from the first round.
- Stuff little by little for a smoother shape.
- Keep your tension tight so the stuffing stays hidden.
- Compare both wings before attaching them.
- Choose soft yarn if you want a cuddly dragon.
- Take time positioning the wings so the dragon looks balanced.
Common Mistakes to Avoid
- Making the starting ring too loose
- Forgetting to mark the rounds
- Overstuffing until the stitches stretch open
- Understuffing and ending up with a floppy body
- Sewing the wings on unevenly
- Using very loose tension for a small amigurumi project
Customization Ideas
You can make this dragon feel much more personal with simple changes. Try soft pastel shades for a dreamy fairy-tale look, rich jewel tones for a more magical fantasy style, or earthy greens and browns for a woodland dragon. You could also add tiny embroidered nostrils, a contrast belly, little horns, or a row of back spikes if you want extra character. If you love collecting small makes, create a whole set in different colors.
Style Ideas
A finished pocket dragon looks adorable on a bookshelf, craft cart, bedside table, or workspace. It also makes a thoughtful handmade gift for fantasy lovers, gamers, bookworms, and kids who enjoy little magical creatures. You can even tuck one into a gift basket or keep it near your crochet spot as a tiny good-luck dragon.
Care Instructions
If you used plush yarn, hand washing is usually the safest option. Wash gently in cool water, reshape carefully, and lay flat to dry. Avoid high heat, especially if your dragon has safety eyes or delicate sewn details. A little reshaping after drying helps it keep that neat rounded look.
Time Needed
This may take a few hours depending on your speed, yarn, size, and stitch pattern.
Conclusion
If you have been craving a fantasy crochet project that feels playful but still manageable, this pocket dragon is a lovely choice. It is cute, imaginative, and small enough to enjoy without turning into a huge commitment. You can keep it classic or make it your own with different yarns, colors, and tiny details. That is part of the fun. Every dragon ends up with its own little personality.
FAQs
Is this beginner-friendly?
Yes, it is a good project for beginners who already know basic amigurumi stitches and how to work in rounds. The tutorial presents it as easy and quick.
What yarn works best for this dragon?
Soft plush yarn gives a squishy fantasy look, while regular acrylic or cotton-blend yarn gives clearer stitch definition.
Can I adjust the size?
Yes. Simply change the yarn weight and matching hook size to make a smaller or larger dragon.
Is it fully no-sew?
It is mostly no-sew, but the wings are attached separately.
How do I make it look neater?
Keep your stitches even, stuff gradually, and take extra care when placing the wings and facial features.