
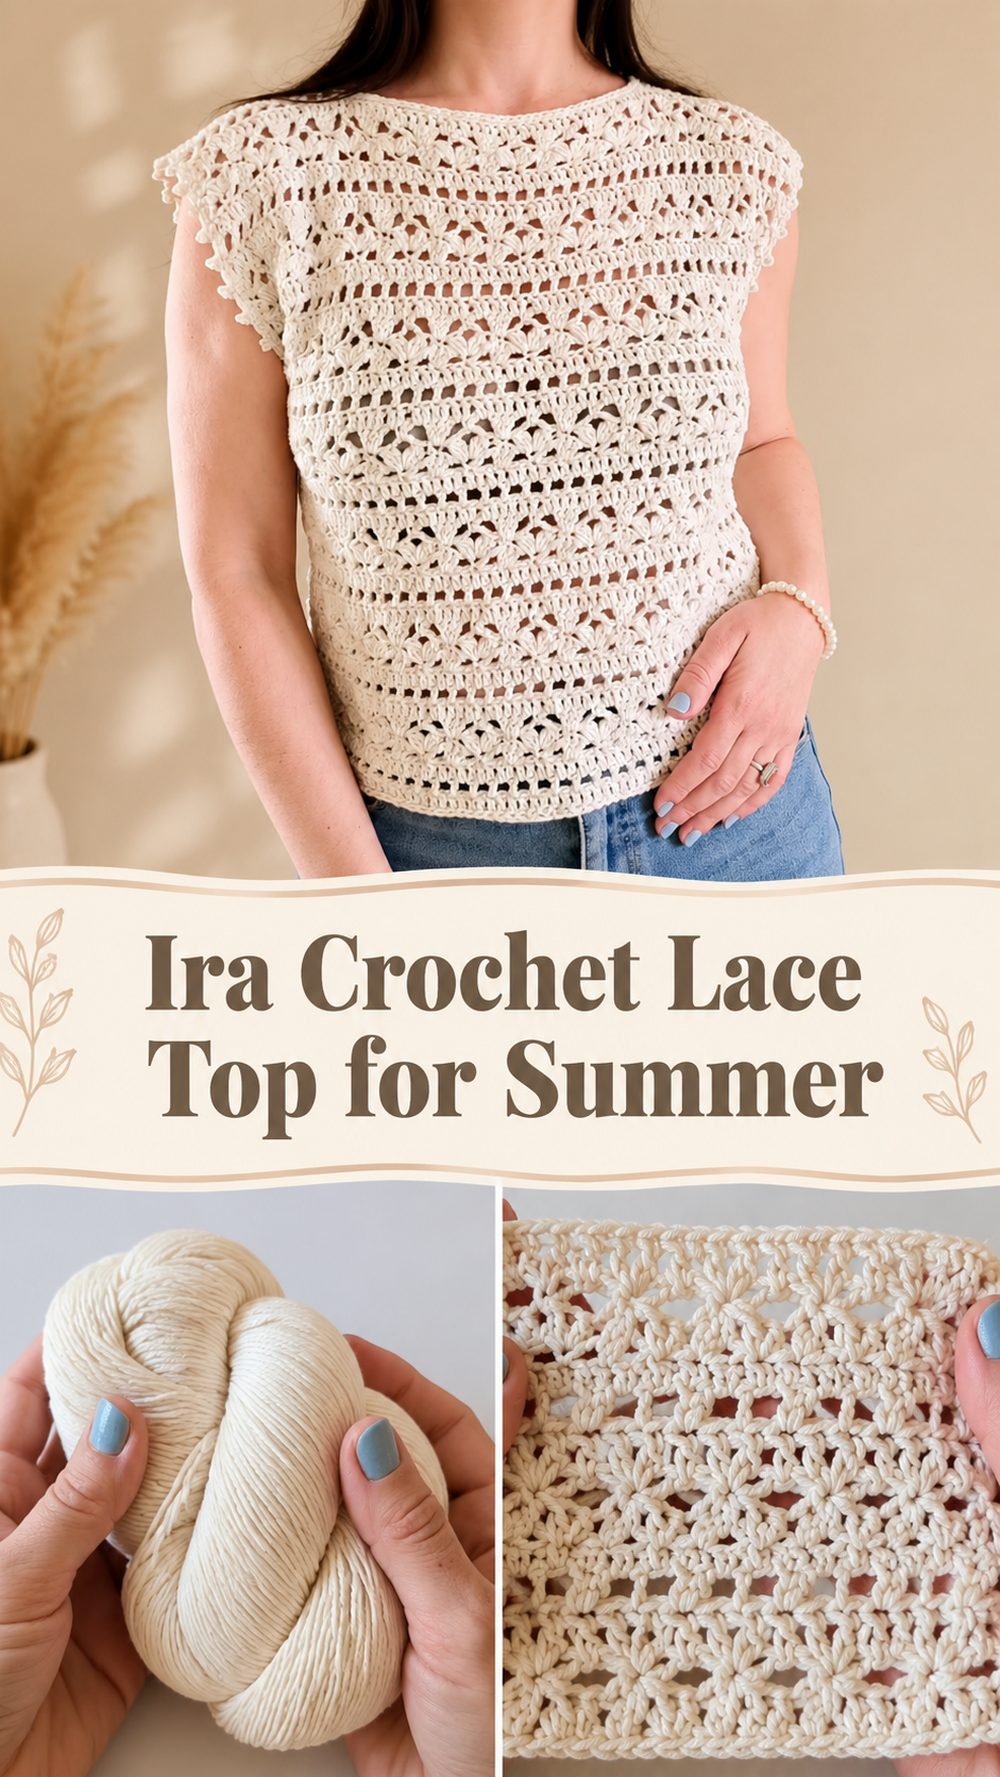
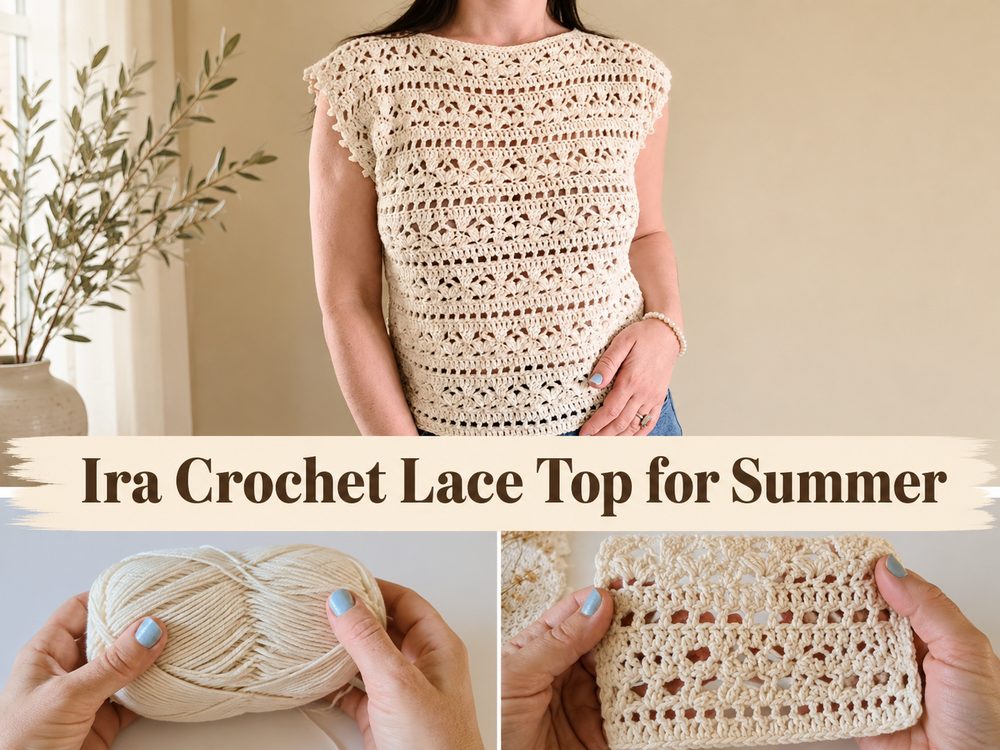
A crochet lace top is one of those pieces that always feels worth making. It is light, pretty, and easy to wear with so many outfits once the weather turns warm. This style is especially nice if you want something handmade that still feels airy and comfortable instead of heavy. The tutorial I chose shows a soft summer top with an open lace look that feels relaxed, wearable, and easy to adjust as you go. It is the kind of project that works well for everyday outfits, beach days, casual layering, or simply adding something handmade to your closet. If you enjoy making garments that look delicate but are still practical, this is a lovely project to try. It also has that nice balance of simple shaping and pretty texture, so the finished top feels special without being overly complicated.
Why You’ll Love This Project
This crochet lace top is a fun project because it gives you that pretty openwork look without feeling too bulky or too warm. It is a great warm-weather piece, and it is also easy to personalize by changing the length, fit, and yarn choice to suit your style.
Materials Needed
- Yarn for a lightweight summer top
- Crochet hook
- Scissors
- Yarn needle
- Stitch markers
- Measuring tape
Use a yarn and hook size that matches your desired fit and texture.
Best Yarn for This Project
For a lace top like this, lightweight yarn is usually the best choice. A soft cotton yarn, bamboo blend, or another breathable summer-friendly fiber works especially well because it helps the top stay cool and comfortable. If you want better stitch definition, cotton is a lovely option. If you want a softer drape, a bamboo blend can give the top a more fluid look. Since this is a lace-style garment, yarn that is too thick can make it feel heavier than intended, so lighter yarns are usually the nicest fit for the design.
Skill Level
This project is best for confident beginners or easygoing intermediate crocheters. The overall look is delicate, but the process is manageable if you are already comfortable with basic stitches, counting repeats, and checking your fit as you work. The lace texture may need a little attention, but it is still very approachable.
Size and Fit Guide
The nice thing about a crochet lace top is that it can usually be adjusted while you work. Measure around the bust or the part of the body where you want the top to sit, then compare that measurement to your growing piece. You can make it more fitted or more relaxed depending on your preference.
As you crochet, keep checking the width and length. If you want more coverage, continue working until the top reaches the length you like. If you want a cropped summer version, stop earlier. For a wearable garment like this, trying it against your body or a similar top is one of the easiest ways to get a fit that feels right.
Stitches Used
The tutorial clearly presents this as a lace crochet top, so the project uses basic stitches combined in an open, airy pattern. The stitches used are likely to include:
- Chain
- Slip stitch
- Basic crochet stitches used to build the lace texture
- Repeating openwork sections
Since lace tops rely on repeated stitch patterns, it helps to pay attention to the repeating section and place stitch markers if needed.
How to Make It
Step 1: Start the Foundation
The top begins by creating the base that will support the rest of the garment. For a lace top, this foundation needs to feel comfortable and not too tight, because the finished piece should have an easy, breathable feel. Make your starting chain or opening section with enough flexibility so the edge does not pull.
As you begin, it is a good idea to think about where the top will sit on the body. If you want a relaxed fit, allow a little ease. If you prefer a more fitted summer top, keep checking the width from the start.
Step 2: Build the First Section
Once the foundation is complete, the main stitch pattern begins. This is where the lace look starts to show. The beauty of a crochet lace top is that the fabric slowly opens up row by row, and you can see the design take shape quite quickly.
Work evenly and try not to crochet too tightly. Lace patterns look best when the stitches have room to breathe. If your tension is too tight, the top may lose some of that soft open look that makes this style so pretty for warm weather.
Step 3: Repeat the Lace Pattern
The center of the project is all about repeating the lace design. This section creates the body of the top and gives it that light summer texture. As you repeat the pattern, keep an eye on the edges so they stay neat and consistent.
This is usually the most relaxing part of the project because once you understand the repeat, the stitches start to flow more naturally. It can help to pause every few rows and lay the piece flat so you can check the shape and make sure the fabric is staying even.
Step 4: Shape the Top as Needed
As the top grows, shaping may be added depending on the style of the garment. Some lace tops are worked as simple panels, while others include gentle shaping for the neckline, arm openings, or overall fit. The tutorial shows a wearable summer top, so it is important to keep checking where those openings will sit and whether the width feels comfortable.
If you want a looser top, continue a little wider or longer before joining. If you want a closer fit, keep the shape slightly narrower. Since exact measurements can vary from person to person, the safest approach is to compare the piece to your body or to a favorite top with a similar fit.
Step 5: Make Matching Sections
If the top is made in separate front and back sections, be careful to make the second piece the same size as the first. This is one of the easiest places for little mistakes to happen, especially with lace patterns. Count your rows, match the width, and compare both pieces before moving on.
When both sections are even, the final garment looks much cleaner and more balanced. This small bit of checking saves a lot of trouble later.
Step 6: Join the Piece
After the main parts are finished, the top is joined together. This is when it really starts to look like a garment. Join carefully at the shoulders and sides, leaving comfortable openings for the arms and neckline.
Do not rush this part. Before fully finishing the seams, hold the top up or try it on if possible. Make sure the arm openings are not too tight and the overall shape feels wearable. A lace top should feel light and easy, not stiff or restrictive.
Step 7: Finish the Edges
Once the main shape is assembled, the edges can be cleaned up. A simple finishing round around the neckline, hem, or armholes can make the whole top look more polished. This step also helps smooth out the shape and gives the garment a more complete handmade finish.
For a light summer feel, keep the finishing simple. Heavy edging can change the drape, so a neat and minimal border often works best on a lace top.
Step 8: Check the Final Look
The finished top should feel airy, soft, and breathable, with an elegant lace texture that makes it ideal for warm weather. It should sit comfortably on the body without pulling too much across the chest or shoulders. The openwork should be visible, but the shape should still feel wearable and flattering.
This kind of crochet top looks especially nice layered over a camisole, bralette, or simple tank, depending on how open your stitches are and how much coverage you want.
Helpful Tips
- Use a breathable yarn so the top feels comfortable in warm weather.
- Keep your tension even so the lace pattern stays neat.
- Check the fit often instead of waiting until the very end.
- Use stitch markers if the pattern repeat is easy to lose track of.
- Lay both sections side by side if you are making front and back panels.
- Block the finished top gently for a cleaner lace finish.
Common Mistakes to Avoid
- Making the foundation too tight
- Forgetting to check the size as you go
- Crocheting the lace stitches too tightly
- Making the front and back uneven
- Joining too early without checking arm or neck openings
- Using yarn that feels too thick or heavy for a summer lace top
Customization Ideas
You can easily make this top your own. Try a shorter cropped version for summer, or add extra length for more coverage. Soft neutrals give it a clean everyday look, while brighter shades make it feel more playful. You could also add a simple edging, make the neckline slightly wider, or adjust the fit so it feels more relaxed and beachy.
Style Ideas
This kind of lace top looks lovely with high-waisted jeans, skirts, shorts, or layered over a simple dressy tank. It also works well as a vacation top, a casual handmade gift, or a light layering piece for warm days. For a more romantic look, pair it with soft colors and simple accessories.
Care Instructions
Hand washing is usually the safest choice for crochet garments, especially lace pieces. Use cool or lukewarm water, reshape gently, and lay flat to dry. Avoid high heat, because it can affect the yarn and the shape of the top.
Time Needed
This may take a few hours depending on your speed, yarn, size, and stitch pattern.
Conclusion
If you have been wanting to make a crochet garment that feels light, feminine, and wearable, this lace top is a beautiful project to try. It has that lovely open texture that works so well for summer, and it gives you plenty of room to adjust the fit, length, and overall look. Take your time, check the size as you work, and enjoy turning simple stitches into something you can actually wear.
FAQs
Is this project beginner-friendly?
Yes, it looks suitable for confident beginners who already know the basic stitches and want to try an easy garment project.
What yarn is best for a crochet lace top?
Lightweight cotton or a soft breathable blend is usually the best choice for comfort and stitch definition.
Can I adjust the size?
Yes. You can adjust the width and length by measuring as you go and checking the fit before joining.
Can I make it for summer?
Yes, this style is especially nice for summer because the lace texture helps keep the fabric airy and light.
How do I make it more comfortable?
Use a soft breathable yarn, avoid a tight foundation, and check the fit around the bust, neckline, and arm openings while working.