
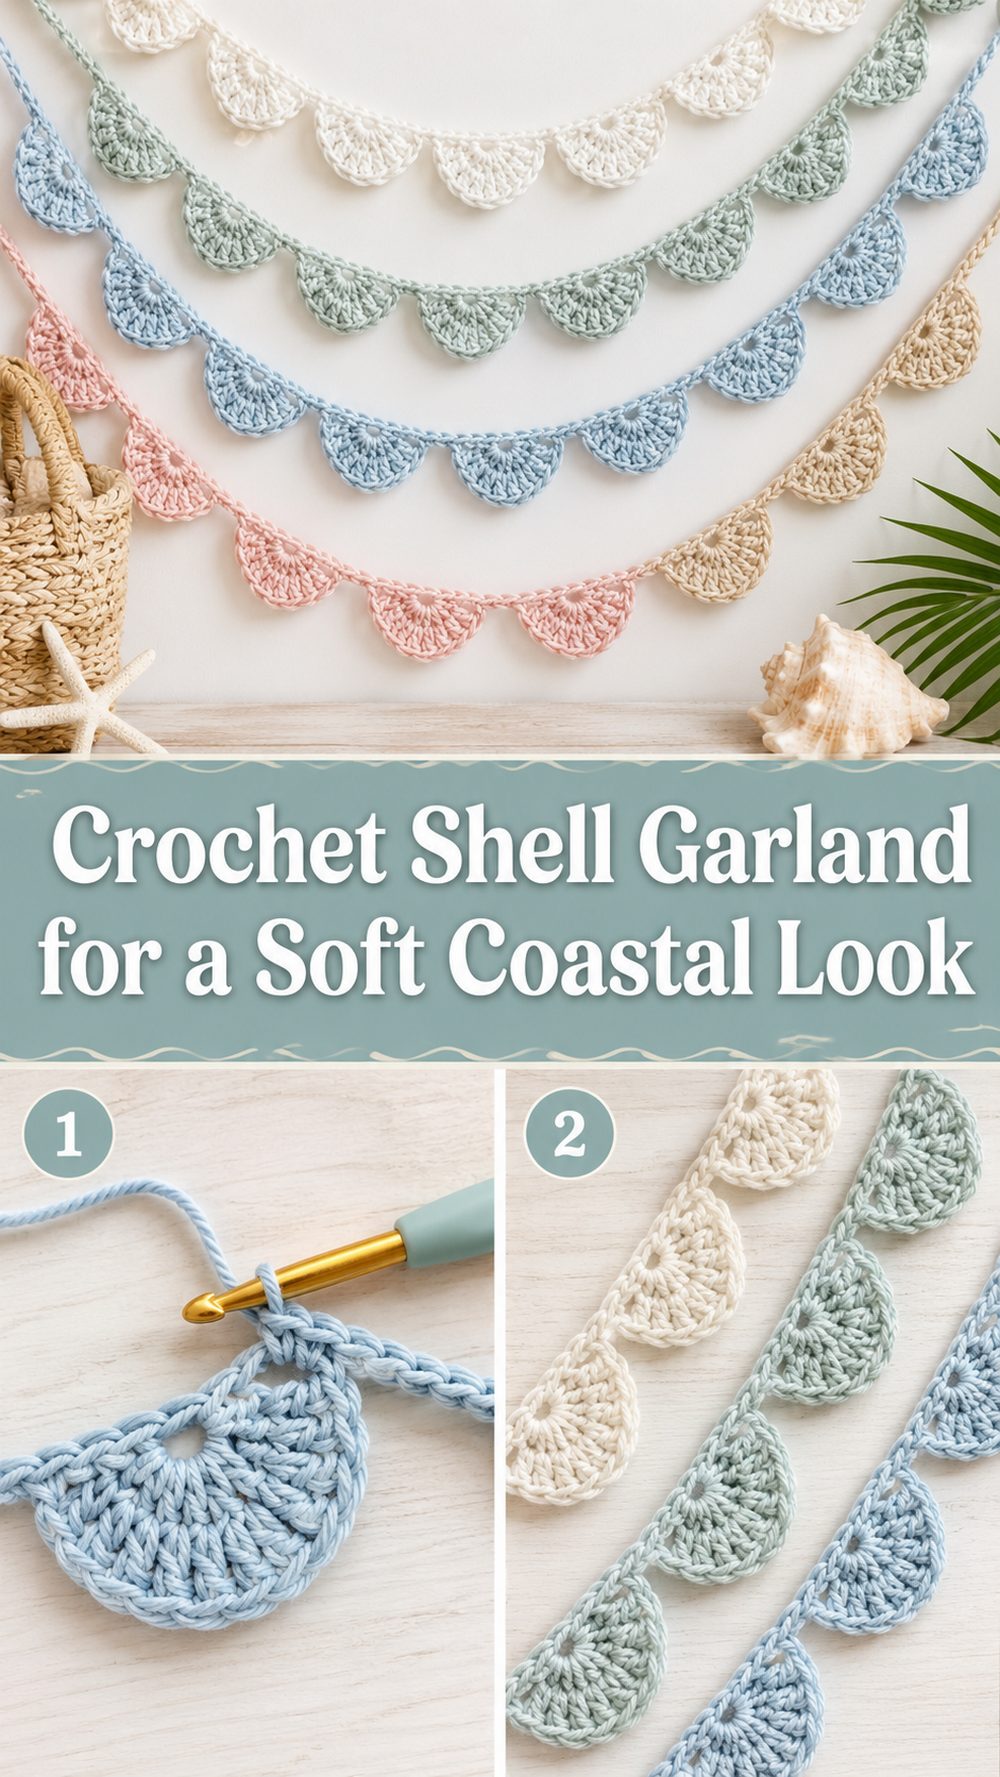
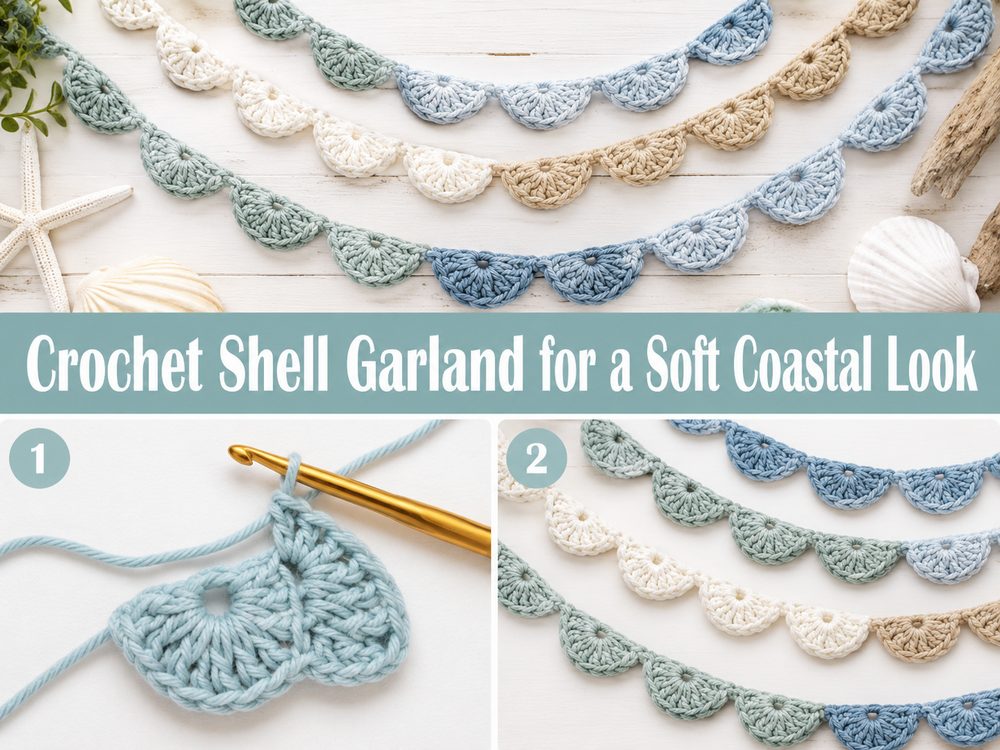
When you’re looking to add a handmade touch to a room but don’t want to start something too big or time-consuming, a crochet shell garland is such a beautiful project. The YouTube tutorial I chose is an easy scallop garland tutorial and is meant to be beginner friendly using only triple crochet, slip stitch, and single crochet stitches in U.S. terms. This makes it really nice for a shell style garland especially if you want a project that looks decorative and beachy without getting complicated.
What makes this type of garland so much fun is how versatile it is. Hang it in a nursery, across a shelf, over a window, along a party table or as part of a soft coastal-themed room. The shell shapes repeat along the strand so the project is soothing and rhythmic to make and a lovely way to use up pretty yarn colours that already give you an ocean or seaside mood. This is obviously a beginner friendly tutorial so this is a great project for newer crocheters who want something that’s charming and satisfying.
Why You’ll Like This Project:
It’s worth making because it’s simple, decorative and relaxing. The tutorial chosen is a simple tutorial for beginners scallop garland, so you get a lovely shell-like result with a handful of simple stitches.
Materials Required
Yarn
Crochet hook
Scissors
Needle for yarn
stitch markers, if desired
Measuring tape if you plan the length finished
Choose a yarn and hook size that will give you the fit and feel you want.
The best yarn for this project:
A smooth yarn with good stitch definition is usually best for a crochet shell garland. Because the scallops create the shell effect, it helps if the stitches are neat and even. If you want the garland to have a nice shape and a crisp decorative finish, cotton yarn is a lovely option. Soft acrylic will work if you want a lighter, more relaxed drape.
Colour does make a big difference here. This project looks great in sandy beige, cream, white, seafoam, pale blue, blush, coral or soft pastel colours. For a coastal look, stick with soft natural tones. If you are looking for something more playful for a nursery or party, then use cheerful bright colours for each shell section.
Degree of Skill
This project is for beginners. The tutorial chosen says it’s beginner friendly and that it only uses triple crochet, slip stitch and single crochet in U.S. terms.
If you know the basics and want a project that looks special without needing advanced shaping, this is a great choice. The repetitive shell shapes help you get into a nice rhythm once you get going too.
Size & Length Chart
One of the best things about a garland is that it’s so easy to change. You can make it as short or long as you want depending on where you want to hang it. A shorter strand might be sufficient for a shelf or small mirror. You may want a longer version with more shell repeats for a window, bed, party table or wall display.
A good way to plan the size is to measure the space first and then decide how full you want the garland. If you want a delicate finish, leave a little space between the shell sections. Add more repeats or bring the scallops closer together to make it look fuller.
Stitches Used
The tutorial you have chosen clearly states that the garland uses the following stitches in US terminology:
triple crochet (tr)
ss Slip stitch
sc = single crochet
How to Make It
Step 1: Initialise Chain
Usually, a shell garland like this one begins with a foundation chain which will be the base of the repeated scallop shapes. This first step is important because it determines the spacing and flow of the whole garland. Try to keep your chain even so the finished strand hangs evenly.
If your chain is too tight, the garland could pull and lose some of its soft drape. If it is too loose the shells may not sit as neatly as you would like. Using a comfortable even tension will give you the best result.
Step 2: Make the First Shell Shape
Once the base is ready, start to form the first scallop. This is where the project starts to get decorative in a shell style garland. The tutorial you’ve chosen, teaches an easy scallop garland, so the shaping is done by repeat of basic stitches that create that curved shell look.
Work this first section slowly and look it over carefully before proceeding. The remainder of the garland is much easier to recreate once you get the hang of how the first shell sits.
Step 3: Repeat the Scallops on the Edge
This is the main part of the project and the most laid-back one. Continue to make the scallop sections in succession along the garland. This tutorial is worked up in a few basic stitches only so the rhythm of the project should become easier after the first few repeats.
While you work, watch the spacing. You want the shell sections to be uniform and smooth. Seeing early on if one scallop looks much tighter or looser than the others is helpful, so the whole strand stays neat.
Step 4: Change the Length in Process
Making your own garland is super simple. But if you want a shorter piece, you can stop once it looks right for your space. For a fuller decoration, keep adding shell repeats until you reach your desired length.
This is really nice for decorating the project so. You can make a short strand for a little, cosy corner or a longer one to drape over a wall, fireplace, headboard, party arrangement or shelf. You also don’t have to worry about exact measurements. Just keep going until it feels right in your space.
Step 5: Neatly finish the ends
When the garland is the length you want, finish the end carefully so it looks neat and hangs well. In decor projects, a neat finish is important. The strand will be seen from afar and up close.
Leave enough yarn to sew the end in securely. If you want the garland to be easy to hang you can also leave a bit of extra room at each end for tying or looping onto hooks, nails or pegs.
Step 6: Appearance and Presentation
Weave in the ends then lay the garland out gently and check that the shell shapes are sitting nicely. If necessary, smooth the scallops evenly with your fingers. You want the finished garland to have a soft repeating shell effect that feels both decorative and light and beach-inspired.
You can leave it plain for a clean handmade look, or you can embellish it with beads, tassels, ribbons, or colour changes. Even in its plain form, it has a sweet decorative charm that fits summer spaces, coastal rooms, parties, or soft nursery decor.
Helpful Hints
Make the foundation chain even so that the garland will hang smoothly.
Grasp the first shell and work it slowly, then use it as your visual guide.
Yarn should be smooth so the scallop shape will show.
“Measure your display space before deciding the final length.”
If you want a crisp decorative finish use soft cotton.
If you want very neat scallops, block or gently shape the garland.
Typical Errors to Avoid
Chain too tight at the beginning
Uneven size of the shell repeats
Fuzzy yarn that obscures the shape of the scallop
Forgetting to measure the display space first
Tighten some shells tighter than others
Ends too short with not enough length to hang the garland nicely
Ideas for Customisation
This project is easy to customise. Choose sandy neutrals for a beach-house feel, soft pastels for a nursery or bright summery shades for a cheerful party decoration. You can also alternate the colours of each shell, add tassels to the ends or mix in beads for a slightly more decorative look. Cream, beige, pale blue and seafoam work especially well together if you lean more towards a natural coastal style.
Style Ideas
A crochet shell garland looks beautiful strung across a shelf, mirror, bed frame, wall hook, window, fireplace or party table. It also works well in beach-themed rooms, nurseries, summer photo shoots and displays of handmade gifts. The tutorial I chose creates a simple scallop garland so it would be great for a soft decorative style rather than something heavy or bulky.
Care Instructions:
Dust gently when needed and hand wash gently if it gets dirty. Allow to dry flat and reshape shell sections if necessary. If you are using cotton yarn, it will typically wear well as a decorative item with simple gentle care.
Time Required
This is a nice little to medium size decor project. It’s easy and beginner friendly so it should be manageable and the total time depends mostly on how long you want your garland to be.
Conclusion
A crochet shell garland is such a pretty way to add a soft handmade touch to your space. This easy scallop garland tutorial is a great fit because it keeps the stitch set simple while still giving you that lovely shell-like decorative effect. Since it uses only triple crochet, slip stitch, and single crochet in U.S. terms, it stays approachable and enjoyable even for beginners.
Choose colors that match your room or season, take your time with the first few scallops, and enjoy making a strand of decor that feels light, charming, and full of handmade warmth.
FAQs
1. Is this beginner-friendly?
Yes. The selected tutorial explicitly says it is beginner friendly.
2. What stitches do I need to know?
The tutorial says it uses only triple crochet, slip stitch, and single crochet in U.S. terms.
3. Can I make the garland longer?
Yes. This is easy to adjust by continuing the shell repeats until you reach the length you want.
4. What yarn is best for a shell garland?
A smooth yarn, especially cotton, usually works very well because it helps the scallop shapes stay neat and visible.
5. Where can I hang it?
It looks lovely on shelves, windows, walls, fireplaces, party tables, and beach-themed decor areas.