
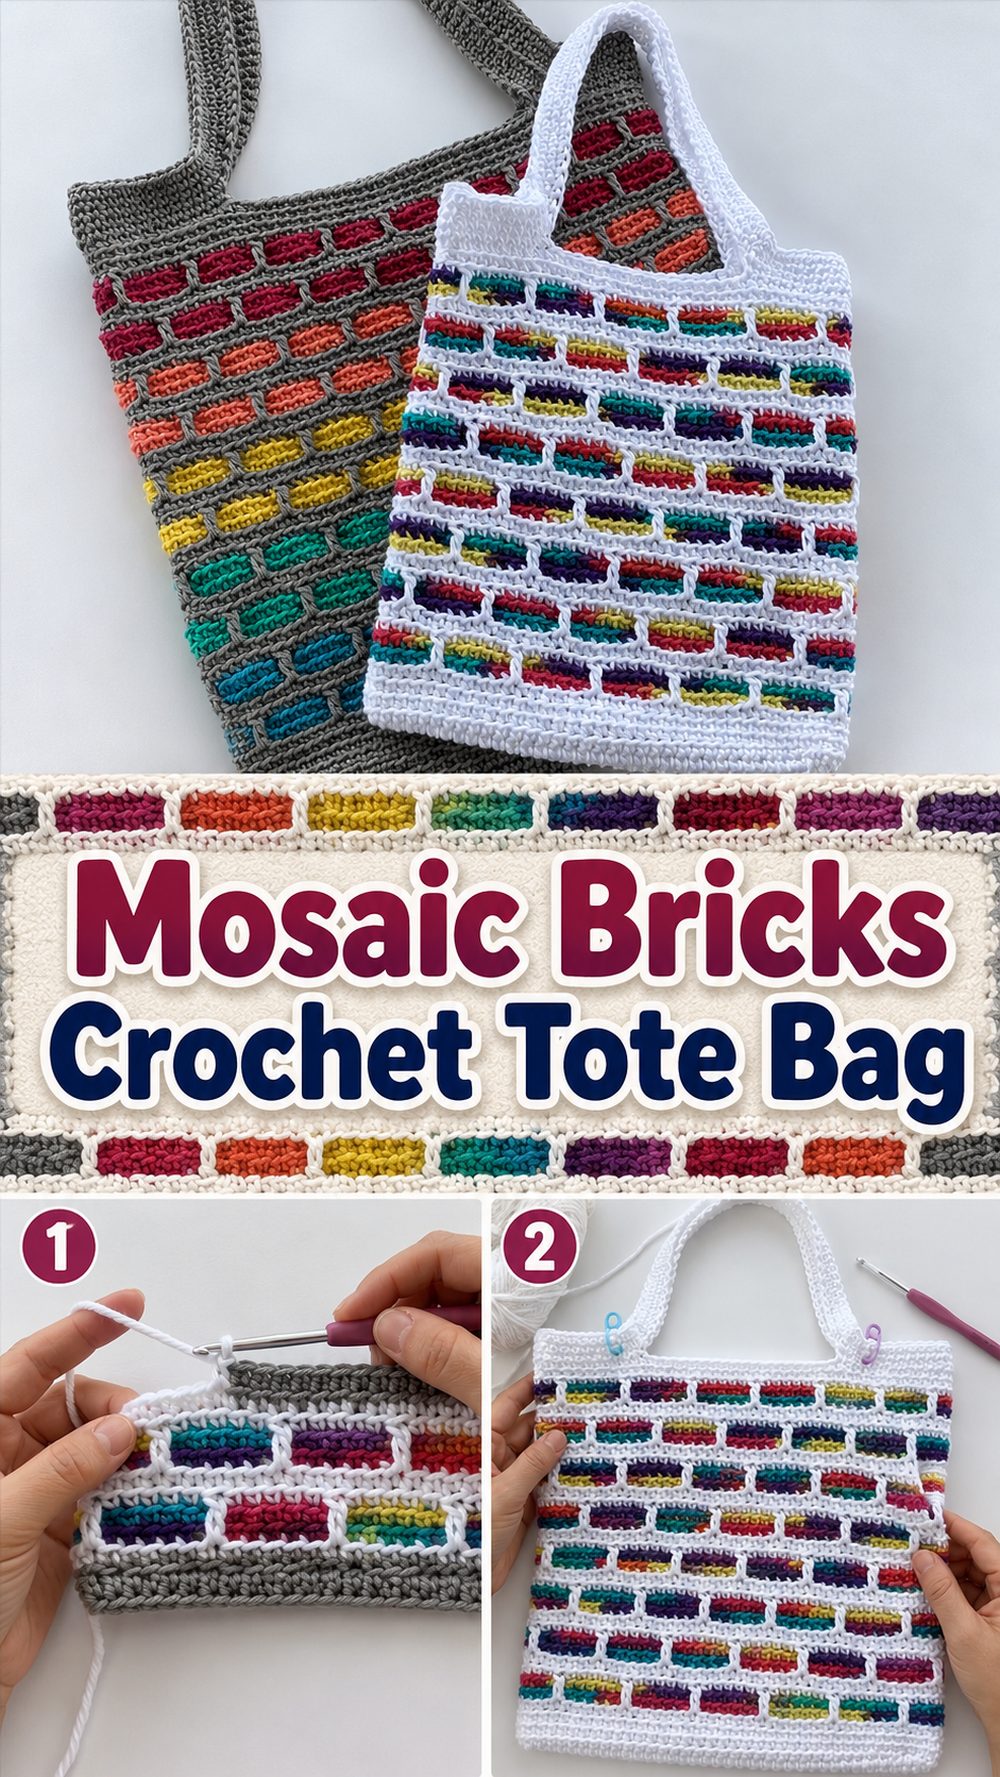
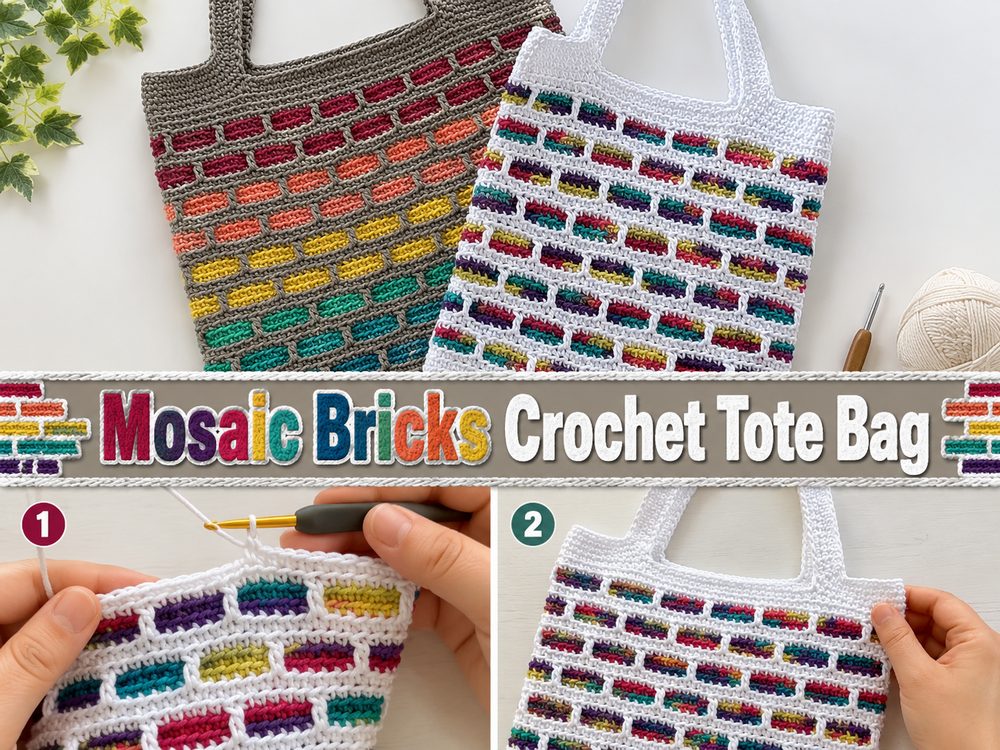
A mosaic crochet bag is one of those projects that looks super special right from the moment you finish it. It has a bold, textured surface that’s decorative to the touch, but the finished bag is still practical enough for daily use. The tutorial I chose is for a tote worked from the bottom up, with the base, body and handles all in one full walk-through, making it a great choice for crocheters who want something stylish and useful in the same project. Its brick-like mosaic pattern gives the bag a modern handmade look and it’s great for running errands, storing yarn, market days or just as an everyday bag. If you like eye catching colourwork without the constant shaping, this is the sort of bag that is fun to make and satisfying to use.
Reasons You’ll Love This Project
This bag is a wonderful and functional combination. The mosaic texture gives it a polished look and the tote shape keeps it practical for real everyday use. It’s the kind of crochet project that’s fun to work on because the pattern creates visual interest as you go, and the finished product is still a simple, wearable, useful bag.
Materials Required
Yarn in 2 or more colours to create the mosaic effect.
Crochet Hook,
scissors.
Yarn needle
Progress markers
Measuring tape.
Pick a yarn and hook size that will give you the fit and texture you want.
Best Yarn for This Project
A heavy yarn works best for a mosaic bag because you want the fabric to hold its shape well. Cotton is an excellent option if you’re looking for a crisp, durable tote that is tough enough for everyday use. Cotton blend is good too if you want a little softness. You’ll want to avoid yarn that is too stretchy or fuzzy, as bold mosaic patterns tend to look best when the stitch definition is clear and easy to see.
Skill Level
This project is great for confident beginners or easy intermediate crocheters. The bag shape is very approachable, but the mosaic pattern asks you to pay attention to colour placement and stitch order.
This is a very enjoyable next-step bag project if you are comfortable with basic stitches and can keep your rows or rounds even.
Size & Fit Guide
It’s a tote bag, so sizing is flexible. Increase the length of the body pattern to make the bag taller, or keep it short for a compact everyday purse shape. If a roomier tote is what you’re after, you can work a wider base before building up. It helps to check the width and height as you go so the finished bag fits the way you want to use it. Add more depth for a project bag or market tote. For a lighter everyday handbag, make the body a bit more compact.
Stitches Used
From the tutorial style and the mosaic construction this project clearly employs:
Chain
Slip stitch (sl st)
Single crochet
Double crochet
The mosaic look is created by combining simple stitches to create a layered brick-like design.
How to Pull It Off
Step 1: Launch the Foundation
The tote bag starts at the bottom, which is a very practical way to make a bag because you get to control the width and shape from the get-go. You start making the base and then continue building up to the body. Take your time here and keep the foundation clean, since the whole bag grows from this section. A neat start will help the tote sit better, and will make the sides look cleaner down the road. The tutorial chosen goes through the bag base before moving onto the main body.
Step 2: Construct the Base
When the foundation is ready, you work the bag base into a firm rectangle or oval-like base shape, depending on how the stitches were placed around the starting section. The goal here is to make the bag wide and deep enough so it feels like it’s useful and not floppy. This is something to spend time on, as a good base gives the tote more structure and helps the mosaic section look better once it starts to rise.
Make sure that the base remains flat as you crochet it. If the corners start to pull, you may be a little tight on your tension. If the base starts to ripple, it might be too loose or you might have too many added stitches around the ends. Small tweaks at the beginning make a big difference in the finished shape.
Step 3: Write the Main Body
Once the base is complete, work up the body of the tote. This is where the mosaic design really comes to the fore of the project. The texture builds up row-by-row to create that bold brick-like pattern that gives the bag its name and visual charm. Mosaic crochet looks detailed but often ends up feeling easier once you get to know the repeat. The design starts to flow and you really get to enjoy watching the colourwork build.
Try to keep your tension consistent throughout this section so the pattern stays crisp. The general rule for mosaic designs is to use fabric that is uniform and has a definite colour contrast. The pattern will look so beautiful if you are using a light and dark shade together. If you use softer, closer shades, the effect will be gentler and more subtle.
Step 4: Keep an Eye on the Size
As the bag body grows, stop every so often and check if the height feels right for you. This is the simplest place to customise the tote. You may want a shorter bag for everyday, or a deeper one for shopping, beach stuff, books or yarn. Repeat the pattern over and over again until your bag is the desired height.
It also helps to hold the piece open gently and imagine how it will sit when filled. A crocheted bag will usually stretch a bit with use, particularly if you put heavy items in it, so a well-balanced size often works better than making it too large to begin with.
Step 5: Make the top and the handles
One of the nicest things about this tut is how the handles are worked into the top of the bag instead of being added much later as separate straps. That gives the tote a more finished look and can add strength too. The tutorial shows the handles at the top in the context of the full construction process.
As you go up the opening is shaped and the spaces for the handles are formed. This step is what turns the bag from a simple tube of stitching into a real tote. Keep both sides even, and note where the handles start so they line up nicely. Firm handles are particularly important if your bag will carry heavier items, so crochet this area with consistent tension.
Step 6: Complete the Edges
Once the handles are done, the top edge is cleaned up to give it a nice, polished look. A clean up round can make the whole bag look more professional. When finished weave in all ends neatly, especially where the colours change. Mosaic crochet is all about contrast and loose ends can be visible if not secured properly.
Now your finished tote should have a solid base, a textured mosaic body, and integrated handles that feel balanced with the overall shape. The end result is practical, modern and hand-made in the best possible way.
Tips and Tricks
Use colours that contrast well so the mosaic pattern shows up clearly.
Keep your tension tight so the brick pattern looks nice and even.
Check the height of the bag before finishing the top.
Use stitch markers to keep the placement of the handle symmetrical.
Neatly weave in ends at colour changes.
When you’re finished, if the bag is a little wonky, gentle blocking will even it out.
Typical Errors to Avoid
Building upon a foundation that’s too tight
allowing the base to ripple from uneven stitch placement
Loss of mosaic repeats
Using too soft or stretchy of a yarn for a structured tote
Making one handle longer or tighter than the other
Forgetting to check width and height before finishing the top
Customisation concepts
Change the colours, adjust the height or add a softer or bolder contrast in the mosaic section to make this bag your own. A neutral base with one bright accent colour feels modern and clean, and a richer colour mix gives the tote more personality. Or you could line the inside with fabric for extra strength, add a magnetic snap or sew in a simple pocket for small essentials.
Style Inspirations
This type of tote bag is perfect as an everyday bag, yarn project bag, market tote or casual weekend carryall. It looks good with simple outfits because the textured pattern adds interest without trying too hard. It would also make a lovely thoughtful handmade gift for someone who enjoys practical accessories with that special handmade feel.
Care & Instructions
The safest bet is to wash by hand, particularly if you want the bag to keep its shape and texture nicely. Use either cool or warm water and a mild soap. Reshape it and lay flat to dry. Avoid high heat, particularly if your yarn has fibres that can stretch or lose their shape.
Time Required
Depending on your speed, yarn, size and stitch pattern this may take a couple of hours to complete. It is a full tote with a base, body and handles so it feels like a satisfying medium sized project rather than a very quick one
Conclusion
If you want a crochet bag that feels useful but still has that eye-catching handmade detail, this mosaic tote is a lovely project to try. The shape is practical, the texture is beautiful, and you can easily adjust the size and colors to suit your own style. It is the kind of project that lets simple stitches turn into something that looks wonderfully creative.
FAQs
Is this beginner-friendly?
Yes, for a confident beginner. If you already know the basic stitches and can follow a repeating pattern, you should be able to enjoy this project.
What yarn is best for this bag?
A sturdy cotton or cotton-blend yarn is usually the best choice because it helps the bag keep its shape and shows the mosaic texture clearly.
Can I adjust the size?
Yes. You can make the base wider for more room or continue the body longer for a taller tote.
Do the handles need to be sewn on?
No. In the selected tutorial, the handles are worked as part of the top section, which helps keep the bag strong and nicely finished.
How can I make the bag more comfortable to use?
Use a sturdy yarn, keep the handles even, and avoid making the bag too heavy if you want it to stay comfortable for regular carrying.