
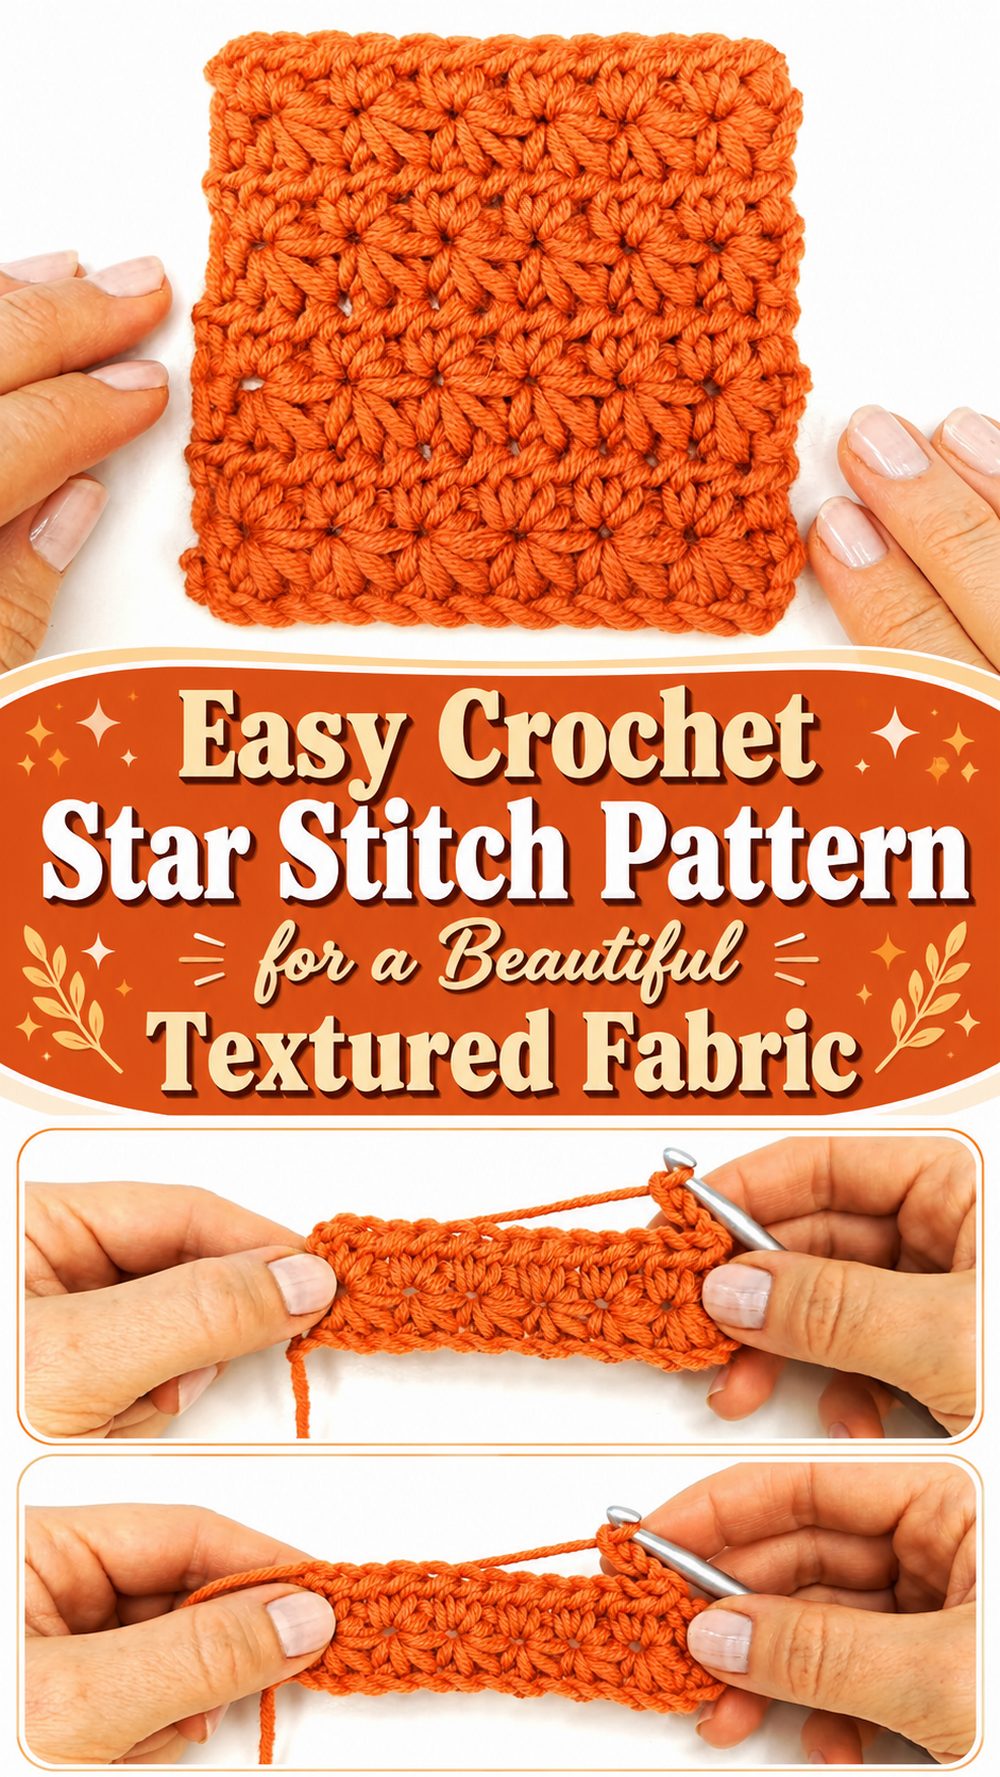
The crochet star stitch is one of those stitches that looks extra special the moment that it begins to show up in your hands. It’s got a soft full texture with little star shapes running across the fabric, so it feels decorative without being too complicated. This is a lovely stitch to learn when you want something more interesting than basic rows, but still practical enough for scarves, baby blankets, washcloths, panels and cosy accessories. The tutorial I chose is a detailed, beginner-friendly, step-by-step video in US terms, so it’s a good option for learning how the stitch is done from the foundation row on up.
Reasons You’ll Love This Project
This stitch is fun because this gives you a rich, textured result without a huge list of complicated techniques. It’s so satisfying to repeat when the rhythm starts to come together. The final fabric is polished, soft and eye-catching. It’s the kind of pattern that can make even a simple rectangular project feel special.
Materials Required
Thread.
Crochet needle
Scissors.
Yarn needle to weave in ends.
Stitch marker if you like to mark first stitch or row turning points
Check width and length with tape measure
If you are not using the exact yarn from the tutorial, use a yarn and hook size to suit your desired feel and texture.
This Project’s Best Yarn
A smooth yarn with good stitch definition is especially nice for the star stitch because it makes it easier to see where to insert the hook and it makes the texture stand out more clearly. Soft acrylic is a great everyday option for practice swatches, scarves and blankets. Cotton is also good if you want a stiffer fabric for home projects like cloths or placemats. Very fuzzy yarn can hide the stitch pattern, so it is usually best to practise this stitch on something plain and easy to see.
Level of Skill
easy to confident beginner
Once you get the feel for where the hook goes and how the loops are gathered to make each star, this stitch is very doable. If you’re a total novice you may want to slow down and practise a small swatch first, but the step-by-step style of the tutorial makes it approachable.
Size & Fit Guide
It’s a stitch pattern not a fixed size item so you can use it for lots of different projects. Begin with the width you want, then just work rows until the piece is the length you want. If you are using it for a wearable project, measure as you go and stop when the fabric fits the area you need.
Stitches Employed
Chain
Loop knot
Loop collecting
Joining the loops to form the star
A finishing stitch worked in the middle of each star.
Wheel turning
In this tutorial we’ll show the star stitch as a textured pattern worked from a foundation chain, row by row.
The Way To Do It
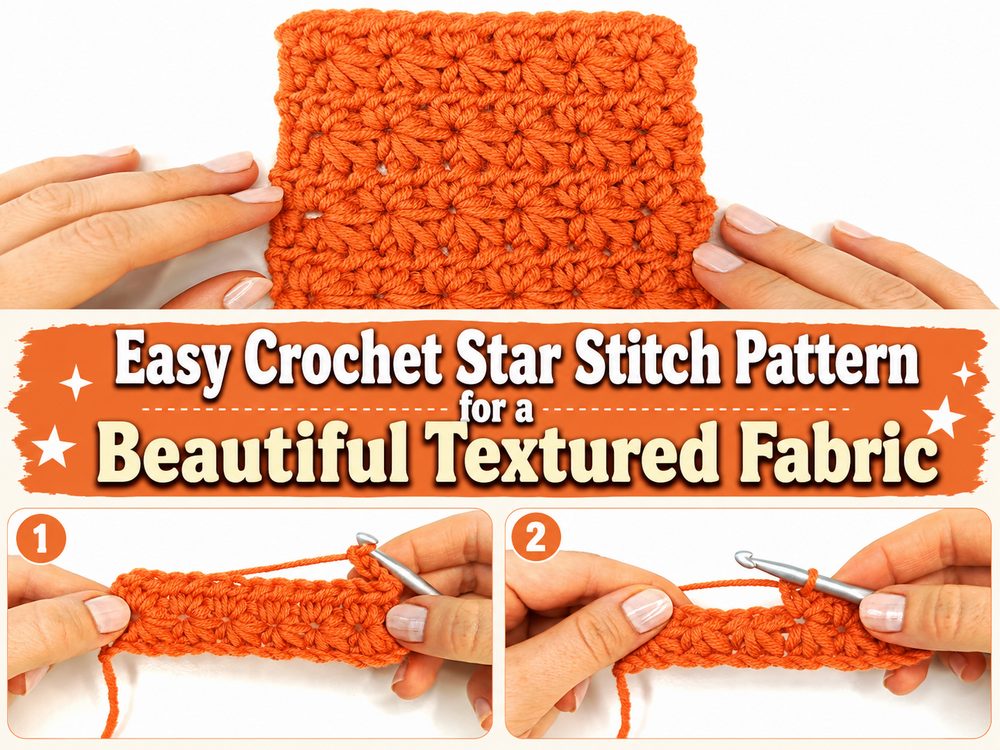
Step 1: Start the Foundation
Begin with a base chain slightly longer than the desired width. It helps if the chain is loose, not too tight, the first time you work this stitch. A tight chain can make it harder to pull up the loops evenly, and this stitch looks much nicer when the base has a little flexibility.
When the chain is complete, the first star is made by pulling up loops from a series of starting points close to the beginning of the row. This creates the characteristic look of the stitch. Instead of working a normal stitch in the usual way, you gather a few loops on the hook and pull them all through together, this forms the body of the star. Then a small tack stitch is put to hold the shape in place.
Step 2: Create the First Row of Stars
Keep going across the row, each star starting from the eye or center of the previous star, then going on into nearby side points and the next chain spaces. And that same path is what keeps the stars connected, and evenly spaced. It can feel strange at first as you’re not always placing the hook in the same obvious place as you do in basic stitches.
Take your time. Bring all the loops to the same height so the stars look neat and balanced. If one loop is much taller or tighter than the others, the row can start to look uneven. When the loops are gathered, pull them together and sew a small stitch right in the middle to secure. Repeat the sequence all the way across to complete the row. By the end of the first row you should have a line of soft star shapes beginning to take shape.
Step 3: Flip and Prepare Next Row
When the first row is completed, turn your work and make the setup for the next row. Star Stitch The return row provides the shape and the points you will work into next. This is important, as it stops the fabric from collapsing inwards and allows the stars to be clearly seen.
As you work back across, note the center of each star. That middle opening is a key anchor point for later stitches. Keeping your row even and consistent here makes the next star row a lot easier. If your edges get messy easily, take it slow on the beginning and end of each row so you can see exactly where the edge stitches are supposed to go.
Step 4 – Repeat the Star Stitch Pattern
The pattern becomes more natural after the setup row. You will again pull up loops from the right sequence of places, including the center of the previous star, and the nearby edge points that help shape the next one. And you loop them together and knot out the star.
This is where things get interesting with the pattern. The more stars you make the easier it is to see the eye of each star and the side bars that guide the placement of the hook. There is no need to rush. But more important than speed is a steady pace, even tension. The little star shapes become more prominent with every row and the fabric starts to look plush and oh so beautifully textured.
Step 5: Change the Width or Length
If you are making a practice swatch, carry on until it feels large enough to clearly show the pattern. If you are using this stitch for an actual project, continue to repeat the star rows and return rows until you reach the desired width or length.
This pattern is good on simple shapes like rectangles, because the stitch texture is the main feature. For scarves, keep going until the piece is long enough to wrap around comfortably. For blanket panels or dishcloth projects, check the size often with a measuring tape. The star stitch creates a dense textured fabric, so it might feel a little more compact than very open crochet patterns, so it’s always helpful to measure as you go.
Step 6: Finish off the Last Edge
When your piece is the size you want, fasten off with a clean last row. Cut yarn and pull the end through. Weave in the tails neatly using a yarn needle. Carefully press or very lightly block the piece if necessary to make the edges lay flatter.
The finished fabric will have a repeating row of textured stars, a soft, raised surface and a structured appearance that looks decorative but is still robust enough to be used daily.
Useful Tips
It is easier to see the loops if you practise with a light or medium-colored yarn.
Make your foundation chain loose enough to work in easily.
To make neater stars, pull each loop up to a similar height.
Stop after each star is finished and find the eye in the middle, then go on.
If your edges are hard to see, use a stitch marker near the first or last stitch.
Test on a small swatch before starting a bigger project.
Avoid These Common Mistakes
Too tight on the beginning chain
Lifting loops to various heights
Forgot to work into the center of the previous star.
If you lose the edge stitches at the beginning or end of a row
Too quick before the stitching way is known
For your first practice piece, opt for dark or fuzzy yarn.
Ideas for Customisation
The stitch can be very different depending on the yarn you select. Use a solid colour for clear stitch definition, or a gentle variegated yarn for a more playful feel. Make the stitch into a scarf, cowl, baby blanket section, cushion panel or textural border. You can also change the drape of the fabric by using a slightly larger hook for more drape or a smaller hook for a firmer, denser texture.
Styling Ideas
This stitch is great if you want a handmade piece to be rich and detailed without lots of colour changes. A star stitch scarf is cosy and sophisticated, a baby blanket panel is adorable and softly textured. It also looks lovely in home decor projects, because the little stars naturally create interest even in a simple shape.
How to Care
If you used a delicate yarn, hand washing is a safe option. If the yarn label states it is machine washable, use a gentle cycle. When done, lay flat to dry so it holds its shape well. Avoid high heat especially with acrylic yarns.
Time Required
This may take a few hours depending on your speed, yarn, size and familiarity with the stitch pattern. It’s usually the first row that’s the most concentration, after that it’s easier to get the rhythm.
Conclusion
The crochet star stitch pattern is a beautiful way to add depth and texture to your work without making the project feel overwhelming. Once you understand how each star is built, the pattern becomes calm, repetitive, and very rewarding. It is a lovely stitch to keep in your crochet toolbox for scarves, blankets, accessories, and textured panels. Try it with a simple swatch first, then play with different yarns, colors, and project sizes to make it your own.
FAQs
Is this stitch beginner-friendly?
Yes, especially for a beginner who already knows the basics and is ready to try something more textured.
What yarn is best for star stitch?
A smooth yarn with good stitch definition is best, especially while learning.
Can I adjust the size easily?
Yes. Start with the width you want and keep repeating rows until you reach the needed length.
Why does my star stitch look uneven?
This usually happens when the pulled-up loops are not all the same height or the tension changes too much.
What can I make with this stitch?
It works well for scarves, blankets, washcloths, cushion panels, and other textured crochet pieces.