
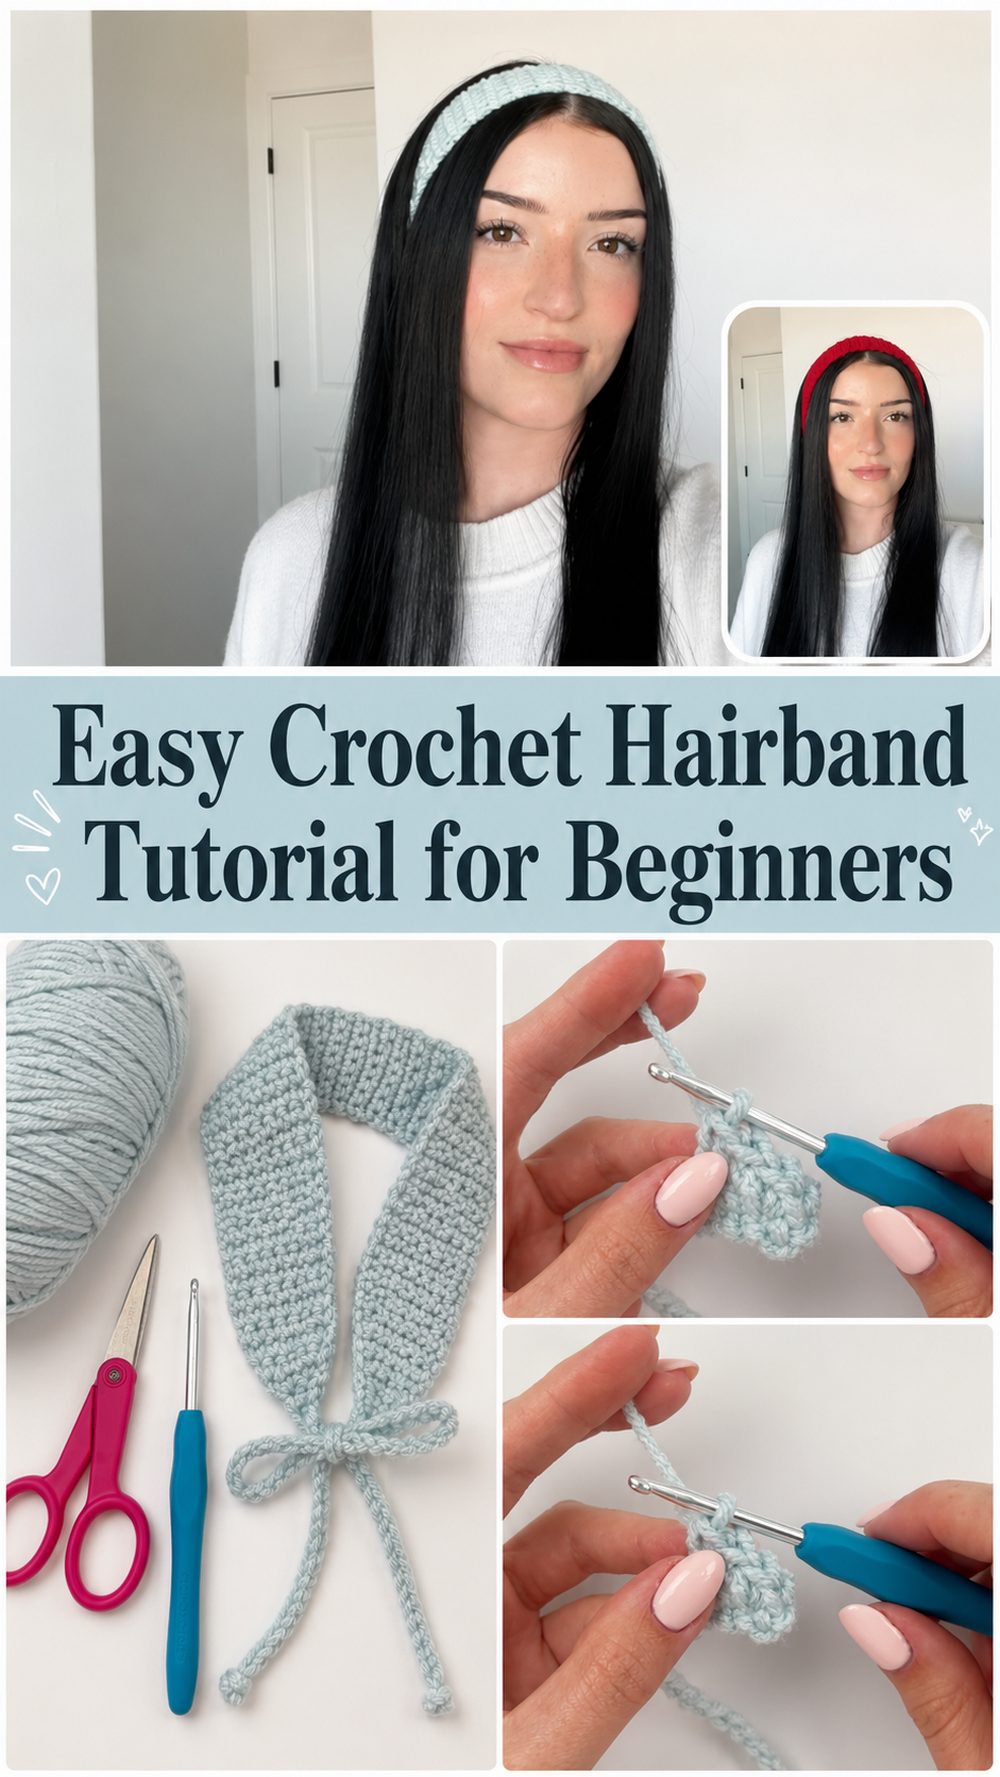
A crochet hairband is one of those sweet little projects that feels simple, useful, and pretty all at the same time. It is perfect when you want something quick to make, especially if you have leftover yarn sitting in your basket. This style of hairband is beginner-friendly, lightweight, and easy to adjust, so you can make it for yourself, a child, a friend, or even as a small handmade gift. The finished piece can be worn with loose hair, a ponytail, or a bun, and it adds a soft handmade touch without feeling too heavy. Since the design works up fast and does not need a lot of yarn, it is also a lovely project for practicing neat stitches and even tension.
Why You’ll Love This Project:
This crochet hairband is quick, cute, and very useful. It is small enough for beginners to finish without feeling overwhelmed, but still pretty enough to wear often. You can make it in many colors, adjust the width, and use different yarn textures to create a soft everyday hair accessory.
Materials Needed:
- Yarn of your choice
- Crochet hook suitable for your yarn
- Scissors
- Yarn needle
- Measuring tape
- Stitch marker, optional
Use a yarn and hook size that matches your desired fit and texture.
Best Yarn for This Project:
For a comfortable hairband, soft cotton, cotton blend, bamboo blend, or light acrylic yarn works nicely. Cotton is a lovely choice if you want a breathable hairband for warm weather. A soft acrylic yarn can make the hairband stretchier and cozy for everyday wear. Try not to use yarn that feels rough, scratchy, or too stiff, because the hairband will sit close to your head and hair.
Skill Level:
This project is beginner-friendly. It is a good choice if you already know how to make a slip knot, chain, and basic crochet stitches. The shape is simple, and the size can be adjusted as you go, which makes it forgiving for new crocheters.
Size and Fit Guide:
The easiest way to size a crochet hairband is to measure around the head where you want the band to sit. You can also wrap the starting chain or crocheted strip gently around your head to check the fit. Make it snug but not tight. If your yarn stretches a lot, keep that in mind and avoid making the band too loose. For a wider hairband, add more rows or make a wider foundation. For a thinner hairband, keep the strip narrow.
Stitches Used:
- Chain
- Slip stitch
- Single crochet or basic crochet stitches
- Simple row repeats
- Joining seam
How to Make It:
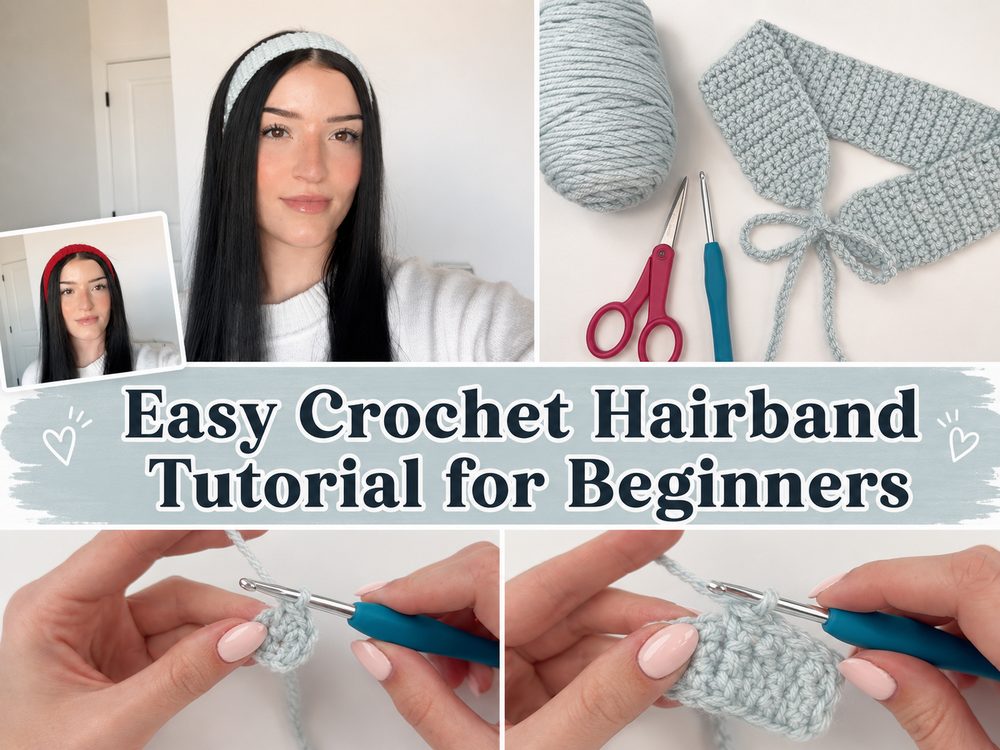
Step 1: Start the Foundation
Begin by making a slip knot and chaining enough stitches for the width or length needed, depending on the direction you are working. For a simple beginner hairband, the design is usually made as a long narrow strip that wraps around the head. Since head sizes and yarn thickness can vary, it is better to check the length against your own measurement instead of relying on one fixed number.
Keep your starting chain relaxed. A tight chain can make the edge pull in and feel uncomfortable. If your chain always turns out tight, you can use a slightly larger hook just for the foundation, then switch back to your regular hook for the rest of the project.
Step 2: Work the First Row
After the foundation chain is ready, work into the chain to create the first row of stitches. The tutorial keeps the idea simple and beginner-friendly, so focus on placing your stitches neatly and keeping the edge straight. Take your time on this first row because it sets the shape for the whole hairband.
Try not to pull the yarn too tightly after each stitch. A hairband should have a little softness and movement, especially if it will be worn for several hours.
Step 3: Build the Main Body
Continue working back and forth in rows. Each row builds the hairband into a soft strip. The beauty of this project is that you can stop once the piece reaches the size you like. If you want a slim hairband, make fewer rows. If you want a wider band that holds more hair back, continue adding rows until it feels right.
As you work, check that both long edges are staying even. If the sides start leaning in or growing wider, you may be accidentally skipping stitches or adding extra stitches at the row ends. Counting your stitches every few rows can help keep the shape clean.
Step 4: Check the Fit
Before joining the hairband, wrap it around your head and see how it feels. It should sit comfortably without sliding off. If it feels too loose, remove a little length or adjust the joining area. If it feels too tight, add more rows or length before closing.
For children’s sizes, measure carefully and avoid making the band too tight. For adults, a slightly snug fit is usually best because yarn can relax after wearing.
Step 5: Join the Hairband
Once the strip is long enough, bring the two short ends together. Make sure the piece is not twisted unless you are intentionally making a twist-style headband. For a basic hairband, keep the strip flat and line up the ends evenly.
Join the ends with slip stitches, single crochet, or by sewing them together with a yarn needle. A sewn seam can look very neat, while a crocheted seam is quick and sturdy. After joining, turn the seam toward the inside so it is less visible when worn.
Step 6: Finish the Edges
After the hairband is joined, weave in all yarn tails securely. Trim the ends neatly. If the edges need a cleaner look, you can add a simple border around the top and bottom edges, but keep it soft so the hairband does not become stiff.
A light blocking can help the hairband sit flatter, especially if you used cotton yarn. Lay it flat, shape it gently, and let it dry completely.
Step 7: Final Look
The finished crochet hairband should look like a soft handmade band with a simple texture and comfortable stretch. It should be neat enough to wear out, but easy enough to make again in different colors. This is the kind of project that looks lovely in solid shades, soft neutrals, bright colors, or even leftover yarn stripes.
Helpful Tips:
Use a yarn that feels nice against the skin and hair. Keep your tension even so the band does not become wavy or tight in some places. Try the hairband on before joining the ends. If you are making more than one, write down what yarn and hook you used so the next one comes out the same size. Use stitch markers at the row ends if you keep losing your first or last stitch.
Common Mistakes to Avoid:
- Making the foundation chain too tight
- Forgetting to check the fit before joining
- Adding or skipping stitches at the row ends
- Using yarn that feels rough or heavy
- Joining the band with a twist by mistake
- Leaving yarn tails too loose after finishing
Customization Ideas:
You can make this hairband thin and delicate or wide and bold. Try using two colors, soft stripes, or a pretty variegated yarn. Add a small crochet bow, flower, button, or scalloped edge for a more decorative style. For a summer version, use breathable cotton and keep the band light. For a cozy version, choose soft acrylic or a warmer yarn and make the band wider.
Style Ideas:
Wear your crochet hairband with loose waves for a casual handmade look. It also works well with a ponytail, messy bun, or half-up hairstyle. Make a few in different colors to match everyday outfits. These hairbands are also sweet handmade gifts because they are quick, practical, and easy to personalize.
Care Instructions:
Hand wash gently in cool water, especially if you are using cotton or delicate yarn. Do not wring the hairband harshly, because that can stretch the stitches. Press out extra water with a towel and lay it flat to dry. Avoid high heat, as it may shrink or damage the yarn.
Time Needed:
This may take a short amount of time or a few hours depending on your speed, yarn, hook size, and how wide you want the hairband to be. Once you understand the repeat, it becomes a very quick project to make again.
Conclusion:
A crochet hairband is a lovely little project for beginners and experienced crocheters alike. It is simple, useful, and easy to adjust for different sizes and styles. You can keep it plain for everyday wear or decorate it with small handmade details. Choose a soft yarn, check the fit as you go, and enjoy making a pretty accessory that you can wear right away.
FAQs:
Is this crochet hairband beginner-friendly?
Yes, it is a good beginner project because it uses basic stitches and a simple shape.
What yarn is best for a crochet hairband?
Soft cotton, cotton blend, bamboo blend, or light acrylic yarn works well.
Can I adjust the size?
Yes. Measure around the head and add or reduce length before joining the ends.
Can I make this for summer?
Yes. Use lightweight cotton or bamboo blend yarn and keep the band breathable.
Can I sell the finished hairbands?
Yes, handmade crochet hairbands are great for gifts, craft fairs, or small shop items.