
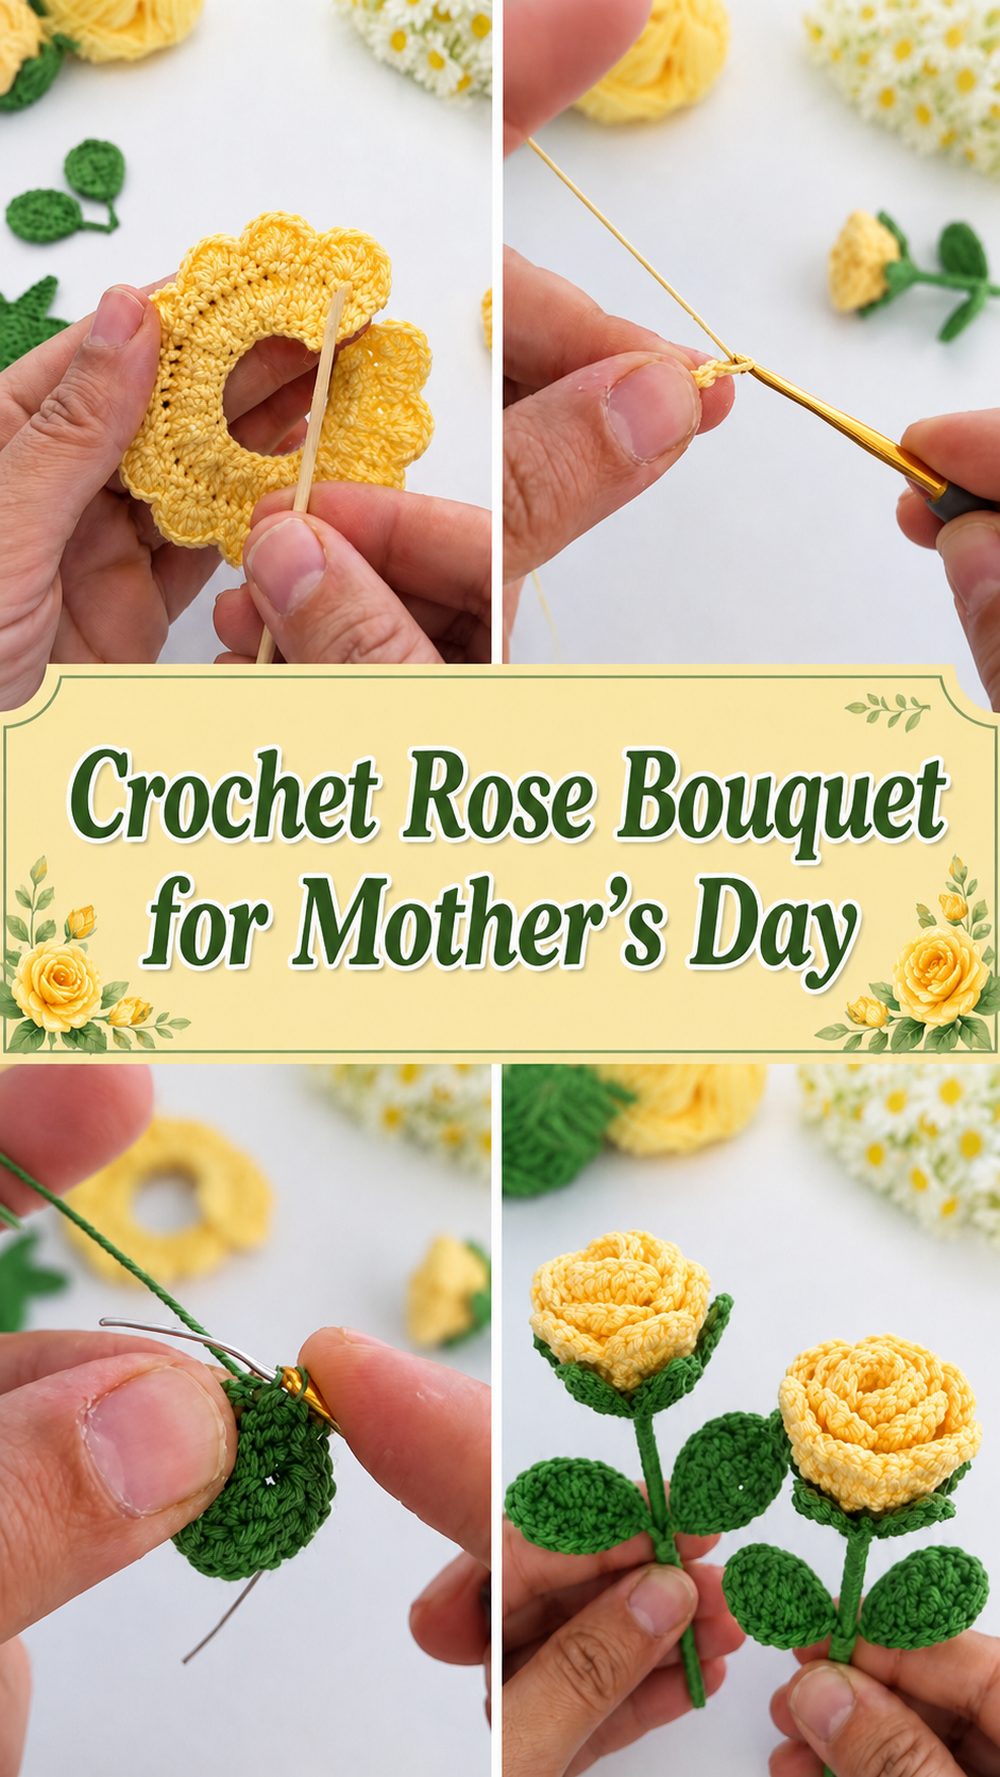
A crochet rose bouquet makes such a lovely Mother’s Day gift because it feels personal, thoughtful, and lasting. Instead of flowers that fade after a few days, this version can sit on a desk, shelf, or bedside table and stay beautiful season after season. The tutorial I selected shows how to make a rose bouquet with shaped flowers, leaves, and bouquet assembly, so it feels like a complete handmade project rather than just a single flower. It’s a wonderful choice for anyone who wants to make something heartfelt without needing to follow a complicated wearable pattern. Whether you are crocheting for your mom, grandmother, mother-in-law, or someone who simply deserves a handmade thank-you, this project has that soft, special look that makes a gift feel truly memorable.
Why You’ll Love This Project
This crochet bouquet is the kind of project that feels meaningful from start to finish. You get to build each flower piece by piece, add leaves for a fuller look, and then bring everything together into a bouquet that looks gift-ready. It is decorative, thoughtful, and much more lasting than fresh flowers, which makes it perfect for Mother’s Day.
Materials Needed
The tutorial shows a crochet rose bouquet project with roses, leaves, and bouquet assembly, so you will want your basic flower-making supplies ready.
- Yarn for the roses
- Green yarn for leaves and floral details
- Crochet hook
- Scissors
- Yarn needle
- Floral stems, sticks, or something similar for bouquet shaping
- Stitch marker if you like marking sections
- Wrapping ribbon or bouquet wrap for finishing
Use a yarn and hook size that matches your desired fit and texture.
Best Yarn for This Project:
A soft yarn that holds shape well works best for crochet roses. Cotton or cotton blends are a great choice if you want cleaner stitch definition and petals that look crisp. If you want a softer and slightly fuller bouquet, a smooth acrylic or acrylic blend can also work nicely. Since this is a decorative Mother’s Day project, the best yarn is one that makes the petals look neat and the leaves hold their shape without feeling too stiff. This tutorial focuses on creating a realistic flower bouquet effect, so yarn with clear stitch visibility is especially helpful.
Skill Level:
This is best for confident beginners or easy-intermediate crocheters. The bouquet is beginner-friendly in the sense that it is taught step by step, but it helps if you already feel comfortable with basic stitches, shaping petals, and sewing pieces together neatly.
Size and Fit Guide:
Because this is a bouquet rather than a wearable, sizing is very flexible. You can make more roses for a fuller bunch or fewer roses for a smaller gift. You can also change the size of the flowers by adjusting yarn thickness, hook size, or petal layering. If you want a compact bouquet, keep the stems shorter and the rose heads smaller. If you want a statement gift, make extra flowers and leaves so the arrangement looks fuller. This kind of project is easy to personalize by volume and stem length rather than exact measurements.
Stitches Used:
The selected tutorial is presented as an easy step-by-step rose tutorial with leaf instructions and bouquet assembly, so the stitches clearly center around common flower-making basics.
- Chain
- Slip stitch
- Single crochet
- Half double crochet
- Double crochet
- Repeats for petal shaping
- Sewing or joining pieces together
How to Make It
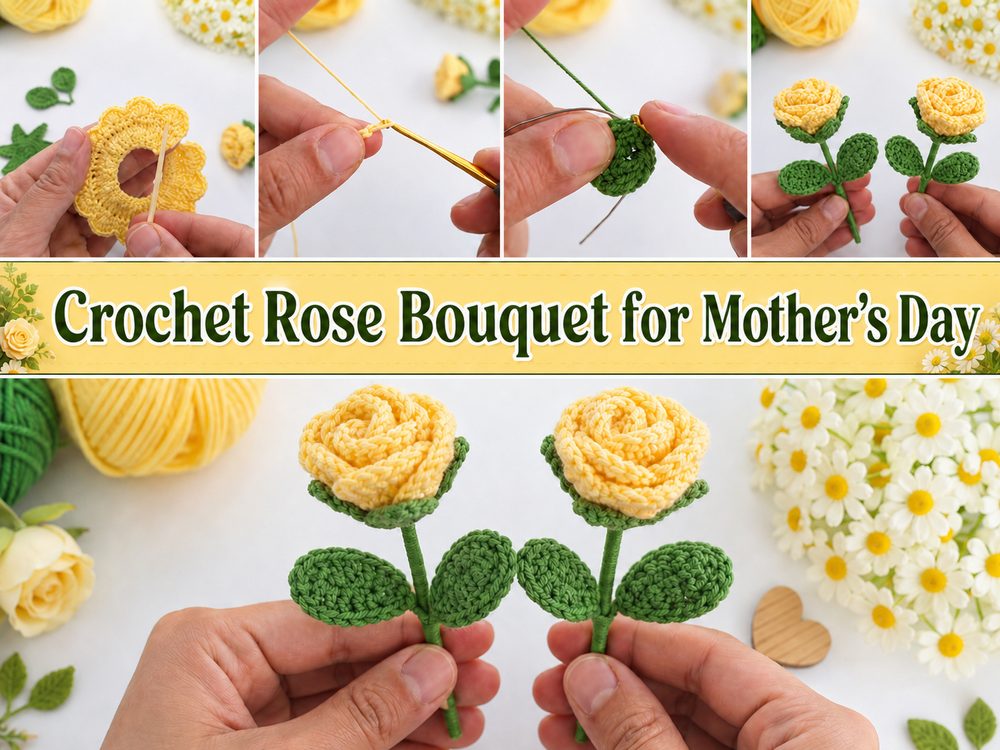
Step 1: Start the Foundation
This bouquet begins with making the flower sections that will later be rolled or shaped into roses. In projects like this, the foundation usually starts with a base chain or a narrow strip that becomes the petal structure. The main thing to focus on here is keeping your tension even, because that helps the rose look smooth when it is finally wrapped into shape. If your starting chain feels too tight, the petals can bunch awkwardly. A soft, even beginning will give you a nicer final flower.
Step 2: Build the Rose Petals
The rose shape is created by working a sequence of stitches that form petal curves across the strip. This is the fun part because the flower starts to show its personality quite quickly. Some petals will be smaller and tighter near the center, while outer sections look fuller and more open. As you crochet, try not to rush the petal pattern. Consistent stitch height helps the rose look balanced once it is rolled. When the petal strip is finished, it should already look decorative even before assembly.
Step 3: Shape the Rose
Once the petal section is complete, the flower is formed by rolling and securing the crocheted piece into a rose shape. Start from the tighter end so the center looks like a real rosebud, then continue wrapping outward to build the bloom. This step is where the project really comes alive. Take your time and adjust the wrap slightly as you go so the petals sit naturally. You do not need every rose to look identical. In fact, a slightly different wrap on each flower can make the bouquet feel more realistic and handmade in the best possible way. Stitch the base securely so the flower keeps its shape.
Step 4: Crochet the Leaves
The tutorial also includes leaf instructions, which is important because the leaves help the bouquet look finished and fuller. Leaves usually work up quickly compared with the roses, so they are a nice part of the project when you want visible progress. Keep them neat and try to make enough to balance the bouquet visually. You can place one or two around each flower or use them more sparingly between stems depending on the look you want. Green details make a big difference here and give the arrangement that classic bouquet feel.
Step 5: Assemble the Stems
After the flower heads and leaves are done, it is time to build the bouquet. Attach each rose to a stem or stem-like support and secure it neatly. Then place the leaves where they soften the transition between flower and stem. Assembly matters a lot in a bouquet project, because even simple flowers can look much more polished when they are arranged carefully. Try grouping the flowers loosely before tying everything together so you can see where the bouquet looks too flat or too crowded. This is the stage where you can make it look delicate, full, compact, or dramatic depending on the gift style you want.
Step 6: Arrange the Bouquet
The tutorial includes bouquet assembly tips, which means the final presentation is part of the project rather than an afterthought. Gather the completed roses together and rotate them in your hand until the bouquet looks balanced from the front. Place larger or fuller roses near the center and tuck leaves into open spots to add softness. Once you like the arrangement, tie or wrap the stems together. You can finish it with ribbon, simple wrapping paper, or a neat bow for a proper Mother’s Day gift look. This final step turns separate crochet pieces into something that feels complete and ready to give.
Step 7: Finish and Neaten
Before calling it done, check the base of each rose, trim loose ends, and make sure the leaves are secure. If any flower looks too tight or too loose, you can often improve it just by gently adjusting the petal layers with your fingers. That little bit of shaping makes the bouquet look much more elegant. The final result should feel soft, pretty, and giftable, with enough structure to hold its bouquet shape while still looking handmade and warm.
Helpful Tips
Use a yarn that shows stitch definition well so the petals do not get lost. Keep your tension steady across all flowers so the bouquet looks cohesive. Make all roses first before final assembly if you want to compare size and shape more easily. Add extra leaves if the bouquet feels too bare. When shaping each rose, do a loose test wrap before sewing so you can see how full you want the bloom to look. A ribbon wrap at the end makes the whole gift feel extra special.
Common Mistakes to Avoid
Do not crochet the starting chain too tightly or the petals may curl awkwardly. Do not sew the rose base too loosely, or the flower can unravel or lose shape. Avoid making every rose exactly the same tightness if you want a more natural bouquet. Do not skip the leaves if you want the arrangement to look full and finished. Try not to crowd the bouquet too much during assembly, because the flowers need a little space to show their shape. Also, do not leave yarn ends bulky at the flower base, since that can make the bouquet look messy.
Customization Ideas
You can make this bouquet in classic rose shades like red, pink, cream, or peach, or go for soft mixed colors for a spring look. Add more flowers for a fuller arrangement, or keep it small and simple for a sweet mini gift. You could also wrap the bouquet in kraft paper, lace, or satin ribbon depending on the style you want. For a more personal touch, pair the bouquet with a handwritten card or place it in a small vase or gift box. Since the tutorial includes bouquet assembly, it is easy to adapt the final presentation to suit your own style.
Style Ideas
This project works beautifully as a Mother’s Day bouquet, but it can also be used as shelf decor, a table accent, or part of a handmade gift basket. A small bouquet looks lovely beside chocolates, candles, or a mug. A fuller bouquet can stand on its own as the main present. You could even make one in your mom’s favorite colors to make it feel more personal.
Care Instructions
Since this is a decorative crochet bouquet, it is best kept away from heavy moisture and high heat. If it gets dusty, gently shake it out or lightly clean it with a soft cloth. If needed, reshape petals and leaves by hand. Store it somewhere dry so the flowers keep their form nicely.
Time Needed:
This may take a few hours depending on your speed, yarn, bouquet size, and how many roses and leaves you decide to include. Since it is made in separate parts and then assembled, it is a nice project to work on in stages.
Conclusion
If you want a Mother’s Day crochet project that feels heartfelt and beautiful, this rose bouquet is a lovely choice. It gives you the joy of making flowers by hand and turns them into a gift that can be treasured long after the day has passed. You can keep it simple or make it fuller and more decorative, and that flexibility is part of what makes it so enjoyable.
FAQs
1. Is this project beginner-friendly?
Yes, it is suitable for confident beginners, especially if you already know a few basic stitches and are comfortable sewing crochet pieces together.
2. What yarn works best for a crochet rose bouquet?
Cotton or smooth acrylic yarn works well because it helps the petals and leaves hold their shape nicely.
3. Can I adjust the bouquet size?
Yes. You can make more or fewer roses, change the stem length, and add extra leaves to create the look you want.
4. Do all the roses need to match exactly?
No. Slight differences in shaping can actually make the bouquet look more natural and charming.
5. Can I give this for occasions other than Mother’s Day?
Yes. A crochet rose bouquet also works beautifully for birthdays, anniversaries, thank-you gifts, or room decor.