
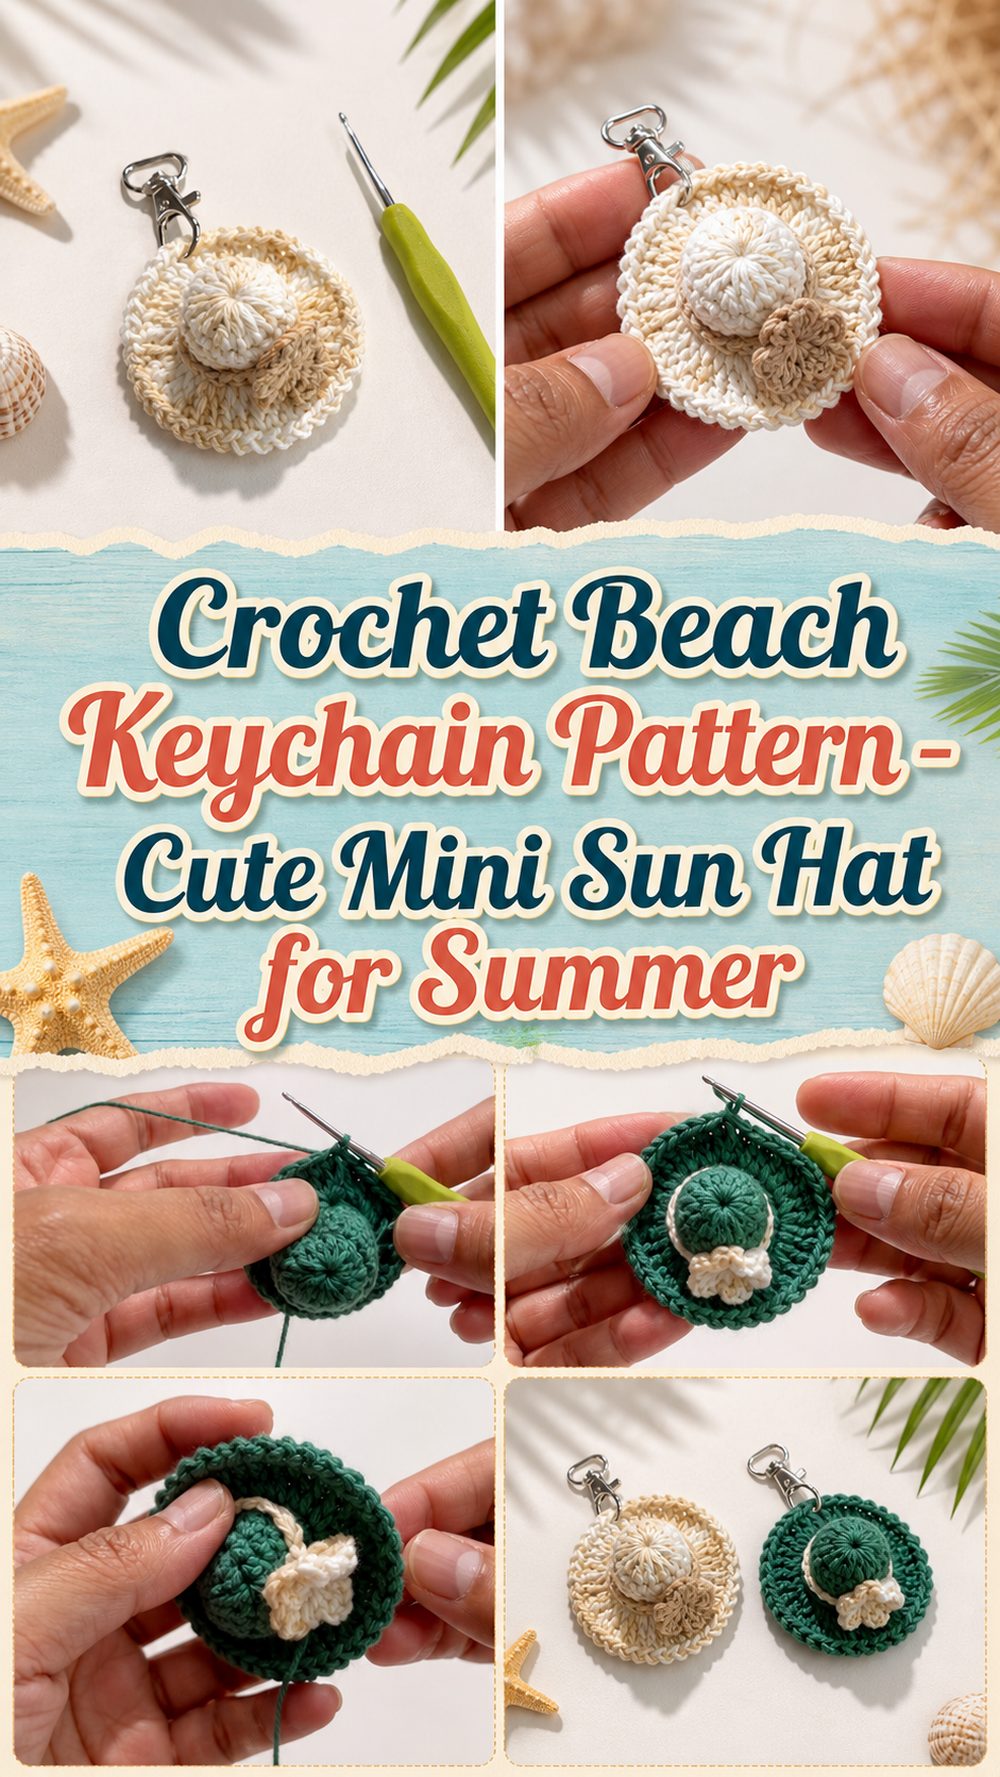
A crochet beach keychain is one of those small projects that feels cheerful from the very first stitches. This version has the look of a tiny summer hat, which gives it that fun beachy feel without taking much time or yarn to make. It is light, cute, easy to carry around, and perfect for keys, tote bags, zipper pulls, or even a little handmade gift for a friend. Because it is such a small project, it is also a lovely way to use leftover yarn and enjoy a quick finish when you are not in the mood for a large pattern. If you like simple crochet pieces with a playful summer style, this is the kind of project that can be both relaxing and satisfying to make. The selected tutorial shows a mini beach hat keychain worked as a small round piece with shaping that creates the crown and brim.
Why You’ll Love This Project
This project is fun because it gives you that sweet summer look in a very small amount of time. It is useful as a keychain or bag charm, it works well for scrap yarn, and it feels like an easy little make when you want something cute and practical. The tutorial presents it as a little summer hat keyring, which makes it especially nice for warm-weather accessories or gift making.
Materials Needed
- Yarn
- Crochet hook
- Scissors
- Yarn needle
- Keyring or keychain hardware
- Optional stitch marker
Use a yarn and hook size that matches your desired fit and texture.
Best Yarn for This Project
For a beach-style keychain like this, lightweight cotton or a cotton blend is a lovely choice. Cotton helps the little hat keep its shape better, especially around the brim, and it also gives the finished piece a clean, crisp look. If you want a softer feel, you can use another smooth yarn, but something with a little structure usually works best for tiny accessories like this.
Skill Level
This project feels beginner-friendly to easy. It suits someone who already knows the basics of working into a ring, crocheting in rounds, and joining neatly at the end of a round.
Because it is small, it is a nice practice project. You can build confidence with shaping, even tension, and finishing without committing to a larger item.
Size and Fit Guide
Since this is a keychain, the size is flexible. You can make it slightly smaller by using thinner yarn and a smaller hook, or a bit larger by using thicker yarn and a larger hook.
As you work, check the look of the crown and brim. If you want a flatter beach-hat style, keep an eye on how the brim spreads outward. If you want a softer, more relaxed look, use gentler tension and let the hat curve naturally.
Stitches Used
The tutorial clearly presents this as a simple crochet keychain project, and a mini hat like this is typically built with basic stitches and round shaping. The main stitches and techniques are:
- Chain
- Slip stitch
- Single crochet
- Double crochet or another taller stitch for shaping the brim
- Working in the round
The selected video is presented as a very easy mini beach hat keychain pattern.
How to Make It
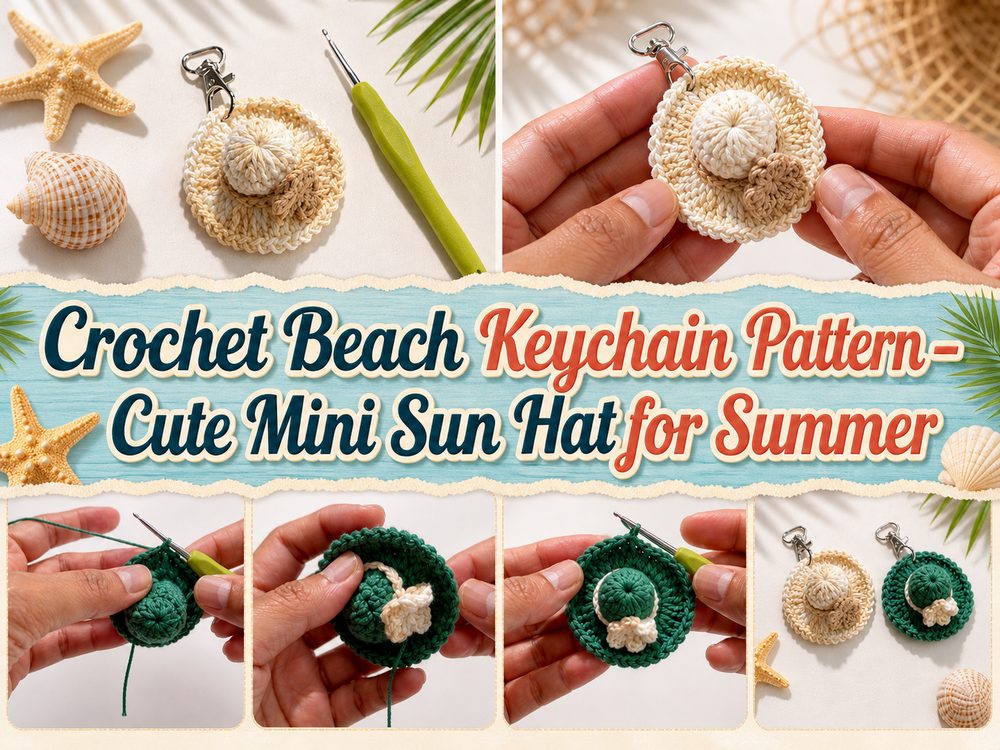
Step 1: Start the Foundation
Begin at the top center of the hat. This kind of project usually starts in a ring so you can form a neat little circle for the crown. Work your opening stitches into the center, then pull the ring closed so the top looks tidy and compact.
At this stage, the piece will look like a small flat circle. This is the part that becomes the top of the hat, so keep your stitches even and try not to leave a gap in the center. Because the whole keychain is small, neatness here really shows in the finished piece.
Step 2: Build the Crown
Once the top is made, continue working around to create the sides of the hat. Instead of spreading wider and wider, the next rounds begin to build a soft wall around the circle so the piece starts to look more like a tiny hat than a flat coaster.
This is where your tension matters. If your stitches are very tight, the hat may feel stiff. If they are very loose, it may collapse too much. A balanced, comfortable tension usually gives the prettiest shape. You want the crown to hold its form while still looking soft and handmade.
Step 3: Shape the Main Body
Keep working around until the hat has enough depth to look like a miniature summer hat. Since exact stitch counts are not always the most important part in a tiny decorative project like this, it helps to watch the shape as much as the numbers. You are aiming for a small rounded top with enough side depth to make the brim stand out clearly when you add it.
If you want your beach keychain to look especially cute, this is a nice point to think about color. A natural straw-like shade looks classic and beachy, while pastel shades can make it feel sweeter and more playful.
Step 4: Create the Brim
The brim is what really gives this piece its beach-hat look. To make that happen, you work a round that allows the edge to spread outward. This is usually done by using a taller stitch or by placing extra stitches around the edge so it begins to flare gently.
As the brim grows, lay the piece flat in your hand and check the shape. You want a soft outward curve rather than a heavy ruffle. If the brim starts to wave too much, your increases may be a little too generous. If it pulls inward, it may need more room to open up. The prettiest result is a small, sun-hat silhouette with a light, even edge.
Step 5: Add the Keychain Attachment
Once the crochet part is finished, fasten off and weave in the yarn neatly. Then attach your keyring hardware through the top of the hat or through a small loop made for hanging. Make sure it feels secure, especially if you plan to use it on keys instead of just as a bag charm.
If you prefer, you can also add a short crocheted loop before attaching the ring. That can help the hat hang more naturally and keep the shape from being pulled too tightly at the top.
Step 6: Finish the Edges
Take a moment to shape the hat with your fingers. Smooth the top, flatten the brim slightly, and make sure the edge looks even all the way around. If your yarn allows it, a very light blocking can make the finished keychain look cleaner and more polished.
The final look should feel bright, summery, and playful. The selected tutorial specifically presents the finished piece as a little summer hat keychain, which is exactly what gives it that beachy charm.
Helpful Tips
- Cotton yarn helps the hat keep a nicer shape.
- Keep your stitches even so the brim sits smoothly.
- Check the brim often while working so it does not get too ruffled.
- Weave in ends carefully because tiny projects show messy finishing quickly.
- Use a secure keyring attachment if the piece will get everyday use.
- Make a few in different shades for a cute summer set.
Common Mistakes to Avoid
- Making the center ring too loose
- Pulling stitches too tight so the hat becomes stiff
- Adding too many stitches at the brim and creating unwanted ruffles
- Forgetting to check the shape as you go
- Attaching the keyring too loosely
- Leaving yarn ends bulky inside such a small piece
Customization Ideas
You can make this keychain feel even more personal with small changes. Try a neutral sand color for a classic beach-hat look, or use bright summer colors for something more playful. You could add a tiny bow, a contrasting brim edge, a small flower, or even a bead detail if you want it to feel more decorative.
Another cute idea is to make several and use them as party favors, market makes, or summer gift toppers. A striped version would also look lovely and give it a cheerful vacation feel.
Style Ideas
This little crochet beach keychain looks sweet on house keys, tote bags, market bags, cosmetic pouches, and backpack zippers. It would also be cute tied onto a wrapped gift for someone who loves handmade items, crochet accessories, or beach-inspired decor.
For summer, it pairs especially well with woven bags, neutral accessories, and light colorful fabric pouches.
Care Instructions
Since it is a small handmade item, gentle care is best. If it gets dirty, hand wash it softly in cool or lukewarm water. Press out excess water without twisting, reshape the hat, and lay it flat to dry. Avoid high heat, especially if you want the brim to keep its shape.
Time Needed
This may take a few hours depending on your speed, yarn, size, and stitch pattern. Because it is a small project, many crocheters will find it a nice quick make.
4 Credit By YouTube Chanel
Conclusion
This crochet beach keychain is a sweet little project with a fun summer personality. It is simple, lightweight, and easy to personalize with different yarn colors and finishing touches. If you enjoy small crochet makes that are both decorative and useful, this mini beach hat style is a lovely one to try. You can keep it classic, make it colorful, or turn it into a whole collection of sunny little keychains.
FAQs
Is this beginner-friendly?
Yes, it is a good small project for beginners who already know basic crochet stitches and simple round work.
What yarn is best for this project?
Cotton or a cotton blend is a great choice because it helps the hat hold its shape.
Can I adjust the size?
Yes. Change the yarn and hook size, or slightly adjust the rounds, until you get the size you like.
Can I make it more beachy?
Yes. Use sandy neutrals, ocean shades, or add a small bow or flower for a cute summer look.
Is this good for gifts or selling finished items?
It works very well as a small handmade gift, bag charm, or market-friendly crochet accessory.