
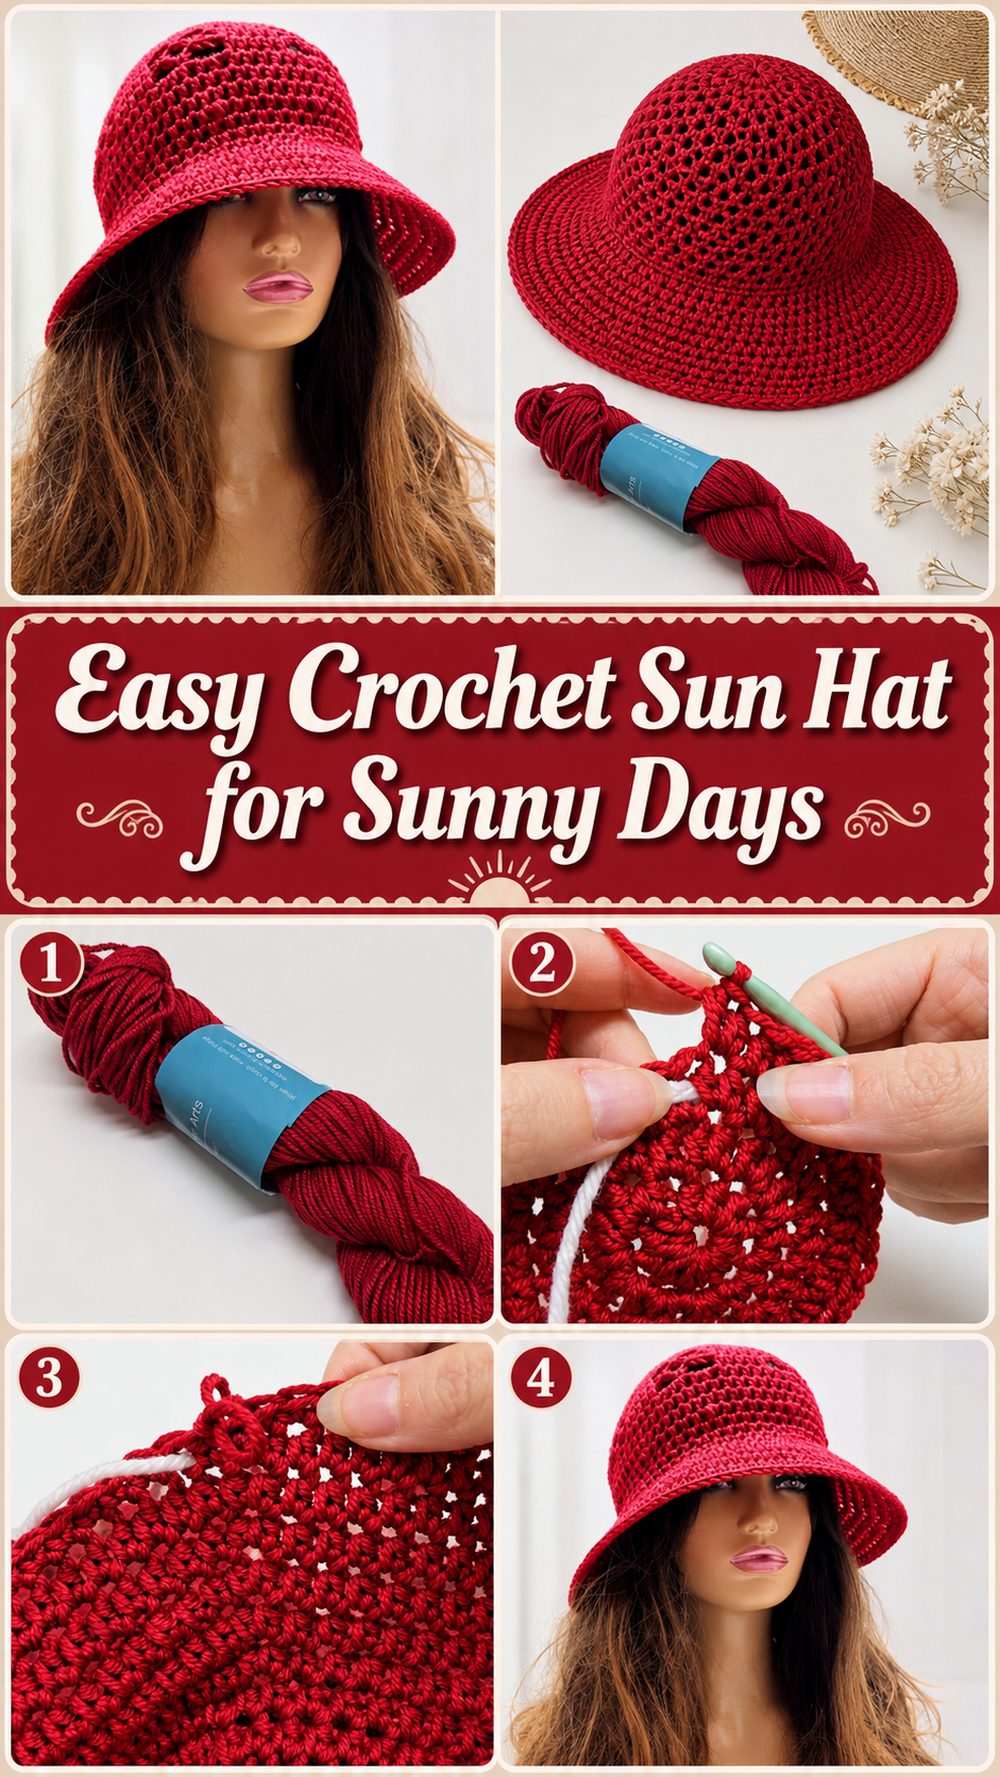
A handmade crochet sun hat is one of those projects that feels practical and fun at the same time. You get to enjoy an easy wearable make, and in the end you have something useful for beach days, garden walks, vacations, or just adding a soft handmade touch to a summer outfit. This style has a relaxed, wide-brim look that gives nice shade without feeling too heavy, and the stitch pattern keeps it looking light and pretty. It is a lovely project for crocheters who want something simple but still satisfying to build. Since a sun hat needs both shape and comfort, this kind of design is especially nice for warm weather when you want breathability, softness, and a bit of structure all together.
Why You’ll Love This Project
This sun hat is easy to enjoy because it gives you a useful finished piece without needing an overly complicated stitch pattern. It has a pretty shape, a wearable summer look, and enough texture to keep the project interesting while still feeling approachable.
Materials Needed
- Yarn
- Crochet hook
- Scissors
- Yarn needle
- Stitch markers
- Measuring tape
Use a yarn and hook size that matches your desired fit and texture. The tutorial uses a simple wide-brim hat structure with mostly basic stitches, so you do not need a huge supply list to get started.
Best Yarn for This Project:
For a summer hat, lightweight cotton, a cotton blend, or a breathable bamboo blend works especially well. These fibers feel cooler in warm weather and usually help the hat hold its shape better than very soft stretchy yarns. If you want the brim to sit nicely, choose a yarn with a bit of body instead of something very drapey.
Skill Level:
Easy to beginner-friendly.
This project suits beginners who already know the basic motions of crochet and want to try shaping a wearable item. Since the hat is built with simple stitches and repeated sections, it is a nice way to practice working in rounds and adjusting size as you go.
Size and Fit Guide:
To adjust the size, measure around the head before you begin. The crown should grow until it sits comfortably across the top of the head, then you can continue the sides until the depth feels right. The brim can be made shorter or wider depending on the amount of shade and style you want. Try the hat on while working so you can stop or continue at the point that feels best.
Stitches Used:
- Chain
- Slip stitch
- Single crochet
- Half double crochet
- Chain spaces
The tutorial is mainly worked with half double crochet, with some single crochet and chain spaces to shape and style the hat.
How to Make It
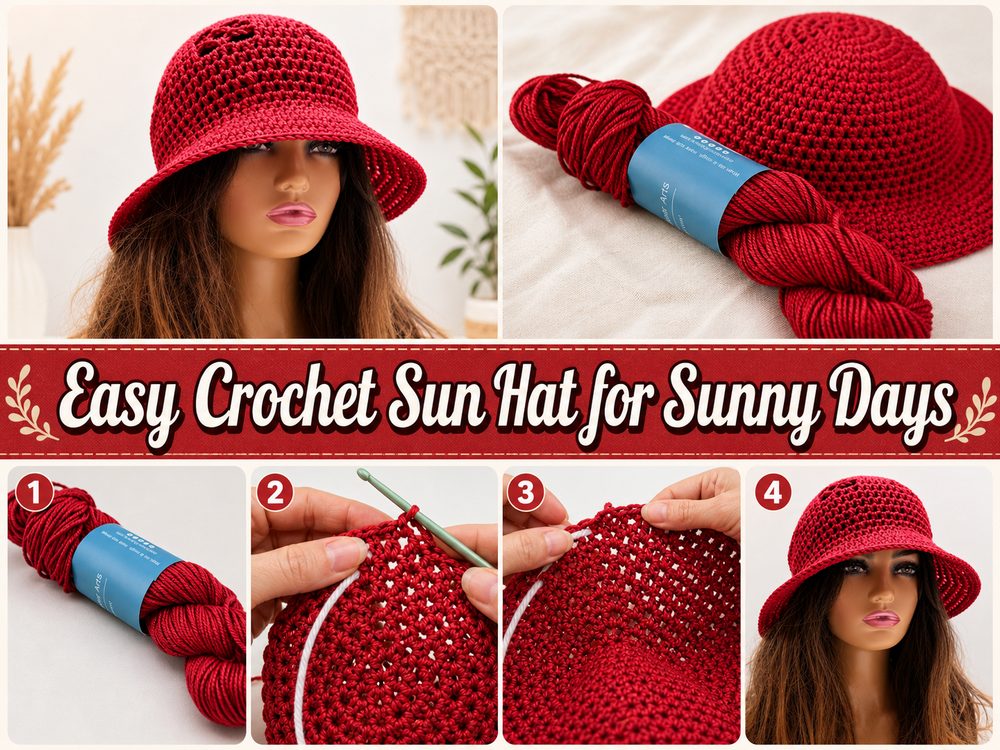
Step 1: Start the Foundation
The hat begins at the crown, which is the top center area. This is the usual starting point for a sun hat because it lets you build outward in a smooth circle and control the size more easily. You will begin with a small center and crochet around it, then keep adding rounds so the circle grows evenly.
At this stage, the most important thing is to keep the crown flat. If it starts curling up too early, you may need a little more room in your increase pattern. If it gets ruffly or wavy, you may be adding too much too quickly. A flat crown gives the whole hat a neater shape later.
Step 2: Build the Crown
Once your center is made, continue working outward in rounds. This part creates the top of the hat that sits over the head. Because the tutorial uses mostly half double crochet, the fabric builds nicely without becoming too stiff or too loose. That makes it a good stitch choice for a hat you want to wear comfortably in summer.
Keep repeating the shaping rounds until the crown is wide enough for your head size. This is a good time to pause and place the circle over the top of your head to check how it looks. You do not need to chase exact numbers if the tutorial’s sizing is not your exact match. Just focus on the fit.
Step 3: Form the Sides of the Hat
After the crown is wide enough, the next rounds stop growing outward so much and begin to drop down. This creates the sides of the hat. You will notice that the piece starts looking less like a flat circle and more like a real hat shape.
Work evenly around and keep your tension steady. If your stitches tighten too much here, the hat may feel snug. If they loosen too much, the sides may look floppy in the wrong way. This middle section is where the hat gets its depth, so keep checking how far it comes down on your head. You can make it a little shallower for a lighter casual look or a little deeper for more coverage.
Step 4: Create the Main Hat Body
As the body grows, the stitch pattern becomes more visible. The use of simple stitches and open areas from chain spaces helps keep the design feeling airy and suitable for warm weather. That is one of the nicest things about a crochet sun hat like this. It gives coverage, but it still feels handmade and breathable instead of bulky.
Keep working around until the body reaches the point you like. Usually, this is where the hat sits comfortably on the head without slipping too high. If you wear your hair up sometimes, check the fit with your usual hairstyle in mind.
Step 5: Shape the Wide Brim
Once the hat body is the right depth, you move into the brim. This is the section that gives the hat its sunny, relaxed look. The brim is worked outward from the lower edge so it extends away from the head. A wide brim is especially lovely for summer because it adds extra shade and gives the hat that classic sun-hat feel.
As you crochet the brim, watch how it behaves. If you want a softer floppy finish, let it stay relaxed. If you want a firmer brim, use a yarn with more structure and keep your stitches neat and even. This part is easy to customize. A shorter brim feels casual and simple, while a wider one looks more dramatic and beachy.
Step 6: Adjust the Look and Fit
Before finishing, try the hat on again. Check these small details:
- Does the crown sit smoothly?
- Is the body deep enough?
- Does the brim give the amount of shade you want?
- Does the hat feel breathable and comfortable?
This is where you can add or reduce a few rounds. Because the project is based on repeated rounds and simple stitch sections, it is easy to personalize without changing the whole design.
Step 7: Finish the Edges
When the hat has the shape you want, finish off neatly and weave in the yarn ends. Smooth out the brim with your hands and look at the edge. If needed, you can lightly block the hat to help the brim sit more evenly and look polished.
The finished hat should look soft, summery, and easy to wear. It has a clean crown, comfortable body, and a pretty wide brim that makes it useful as well as stylish.
Helpful Tips
- Use cotton yarn if you want a cooler summer feel.
- Check the fit before making the brim too wide.
- Keep your tension even so the hat shape stays balanced.
- Use stitch markers to track the start of each round.
- Try it on as you go instead of relying only on pattern guesses.
- Light blocking can help the brim look smoother and neater.
Common Mistakes to Avoid
- Making the crown too small before moving down the sides
- Adding too much width too quickly and creating a wavy brim
- Using very stretchy yarn if you want a more shaped hat
- Crocheting too tightly and ending up with a stiff or tight fit
- Forgetting to check the depth before starting the brim
- Leaving the second half of the shaping unchecked and ending with an uneven look
Customization Ideas
You can make this hat feel more personal in lots of simple ways. Try a neutral shade for a classic everyday hat, or go with a cheerful summer color for something brighter. You can add a ribbon, a small crochet flower, a decorative band, or even a contrasting edge around the brim. You can also make the brim narrower for a simpler everyday style or wider for a more dramatic vacation look.
Style Ideas
This kind of crochet sun hat looks lovely with summer dresses, casual tops, swimsuits, and lightweight cover-ups. It also makes a sweet handmade gift for someone who enjoys beach trips, gardening, or outdoor markets. A soft natural yarn color gives it a timeless look, while bright shades make it playful and fun.
Care Instructions
Hand wash gently when needed, especially if you used cotton or a plant-fiber blend. Reshape the hat while damp and lay it flat or over a rounded surface to dry. Avoid high heat, since that can affect the shape and texture of the finished piece.
Time Needed
This may take a few hours depending on your speed, yarn, size, and stitch pattern.
Conclusion
An easy crochet sun hat is such a satisfying warm-weather project because it is useful, pretty, and simple to adjust for your own style. You can keep it soft and casual or give it more shape depending on your yarn and tension. It is the kind of project that feels relaxing to make and rewarding to wear, especially once the sunny weather arrives. Pick a breathable yarn, check the fit as you go, and enjoy making a hat that feels truly your own.
FAQs
Is this beginner-friendly?
Yes, it is a good project for beginners who know basic stitches and want to practice working in rounds.
What yarn works best for a crochet sun hat?
Cotton or a breathable cotton blend usually works very well for summer hats.
Can I adjust the size?
Yes. You can grow the crown to fit your head, adjust the depth of the body, and make the brim as short or wide as you like.
Will this work for summer weather?
Yes. A breathable yarn and an open, comfortable texture make it a nice warm-weather accessory.
How can I make the hat more comfortable?
Check the fit while working, avoid making it too tight, and choose a soft yarn that still has enough body for the brim.