8 DIY Popsicle Stick Houses
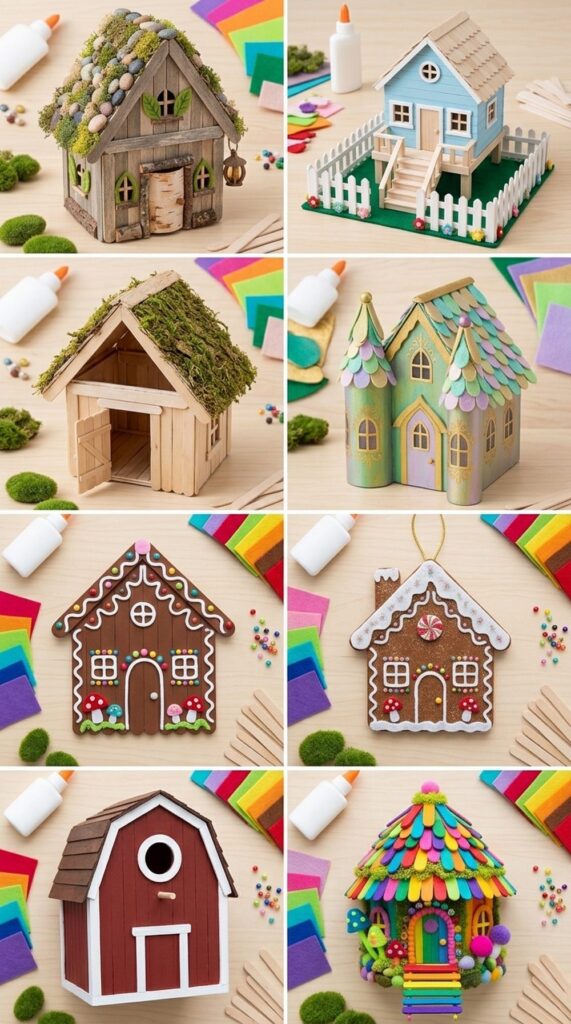
Popsicle stick houses are one of those crafts that look charming without needing fancy supplies or advanced skills. You can turn a small pile of craft sticks into fairy cottages, birdhouses, gingerbread homes, and colorful mini displays that work for playtime, décor, or seasonal crafting. This list mixes easy builds with a few more decorative ideas so you can pick something simple for kids or something a little more detailed for a weekend project. Each idea below includes basic materials, quick steps, a tutorial source, and a close-match image prompt so you can recreate the same look in a clean, Pinterest-worthy style.
Simple Button-Roof Fairy House
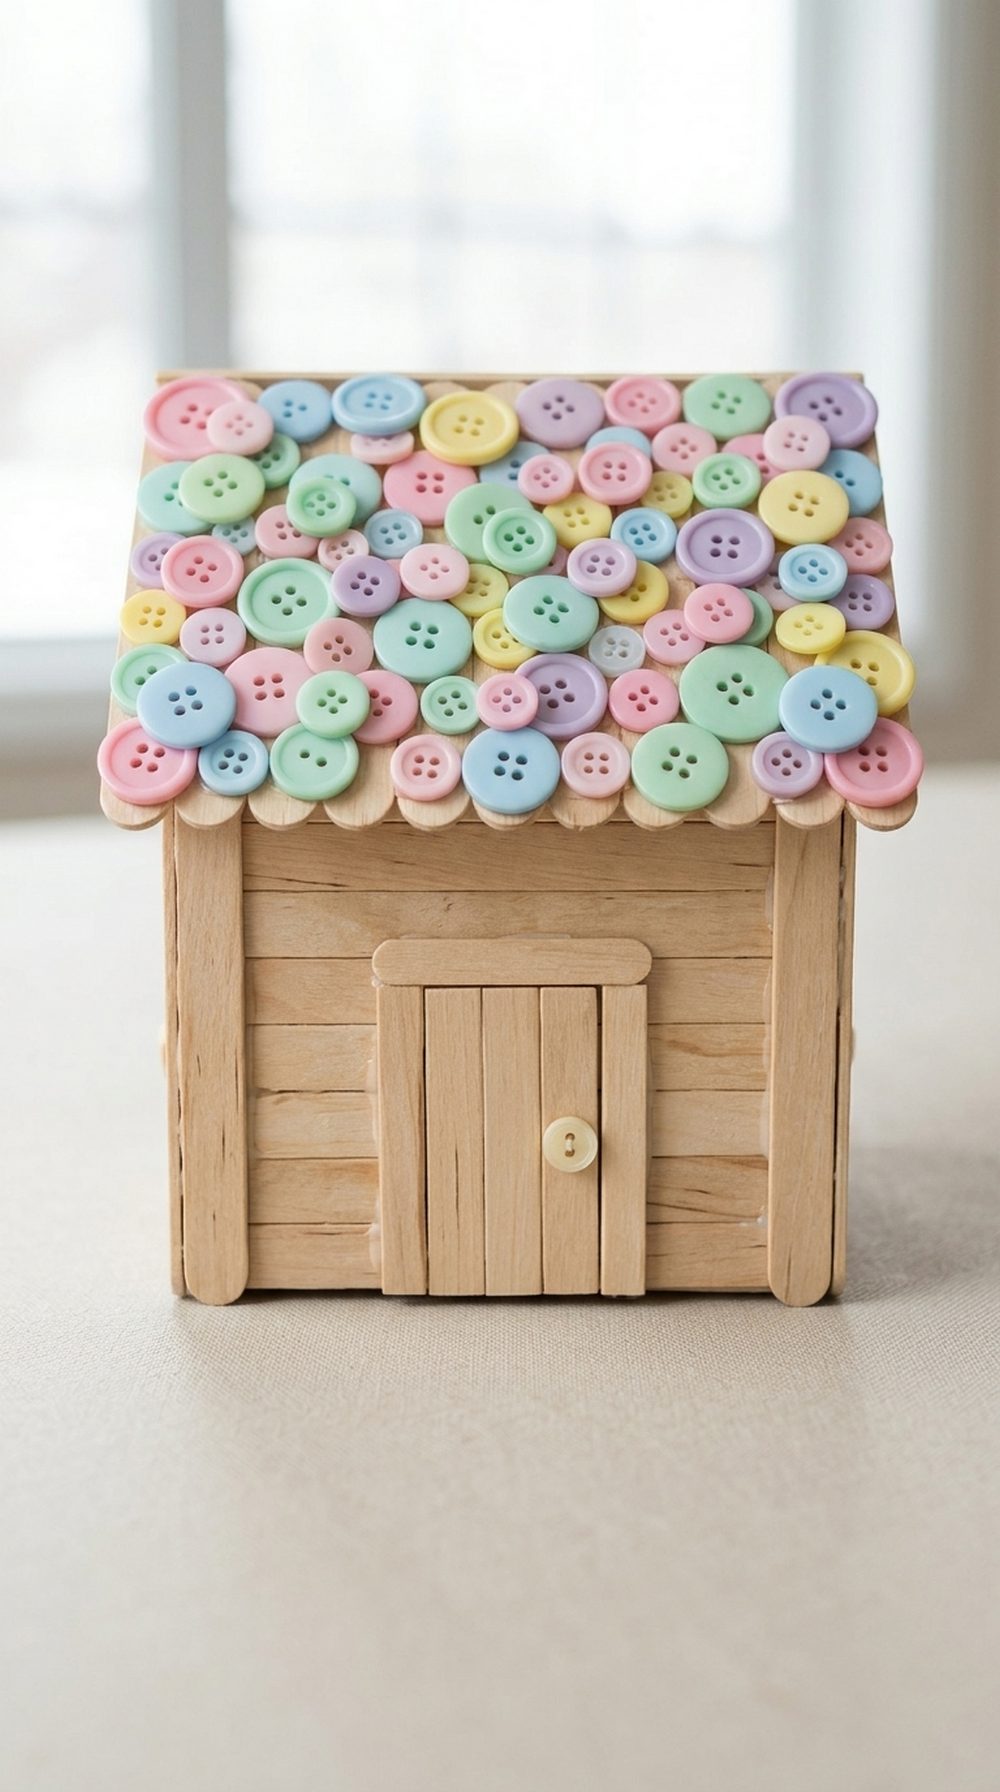
This little fairy house is great for beginners because the shape is basic but the finished look still feels sweet and magical. The plain wood walls, tiny door, and button-covered roof make it easy to personalize without overcomplicating the build.
Materials:
Popsicle sticks, hot glue, wire cutters, pencil, buttons
Steps:
- Make two long walls and two shorter side walls.
- Cut angled tops for the front and back.
- Glue on a pitched roof.
- Add a small door and button roof details.
Tutorial Link:
Fairy Garden DIY
Mini Popsicle Stick House with Fence and Stairs
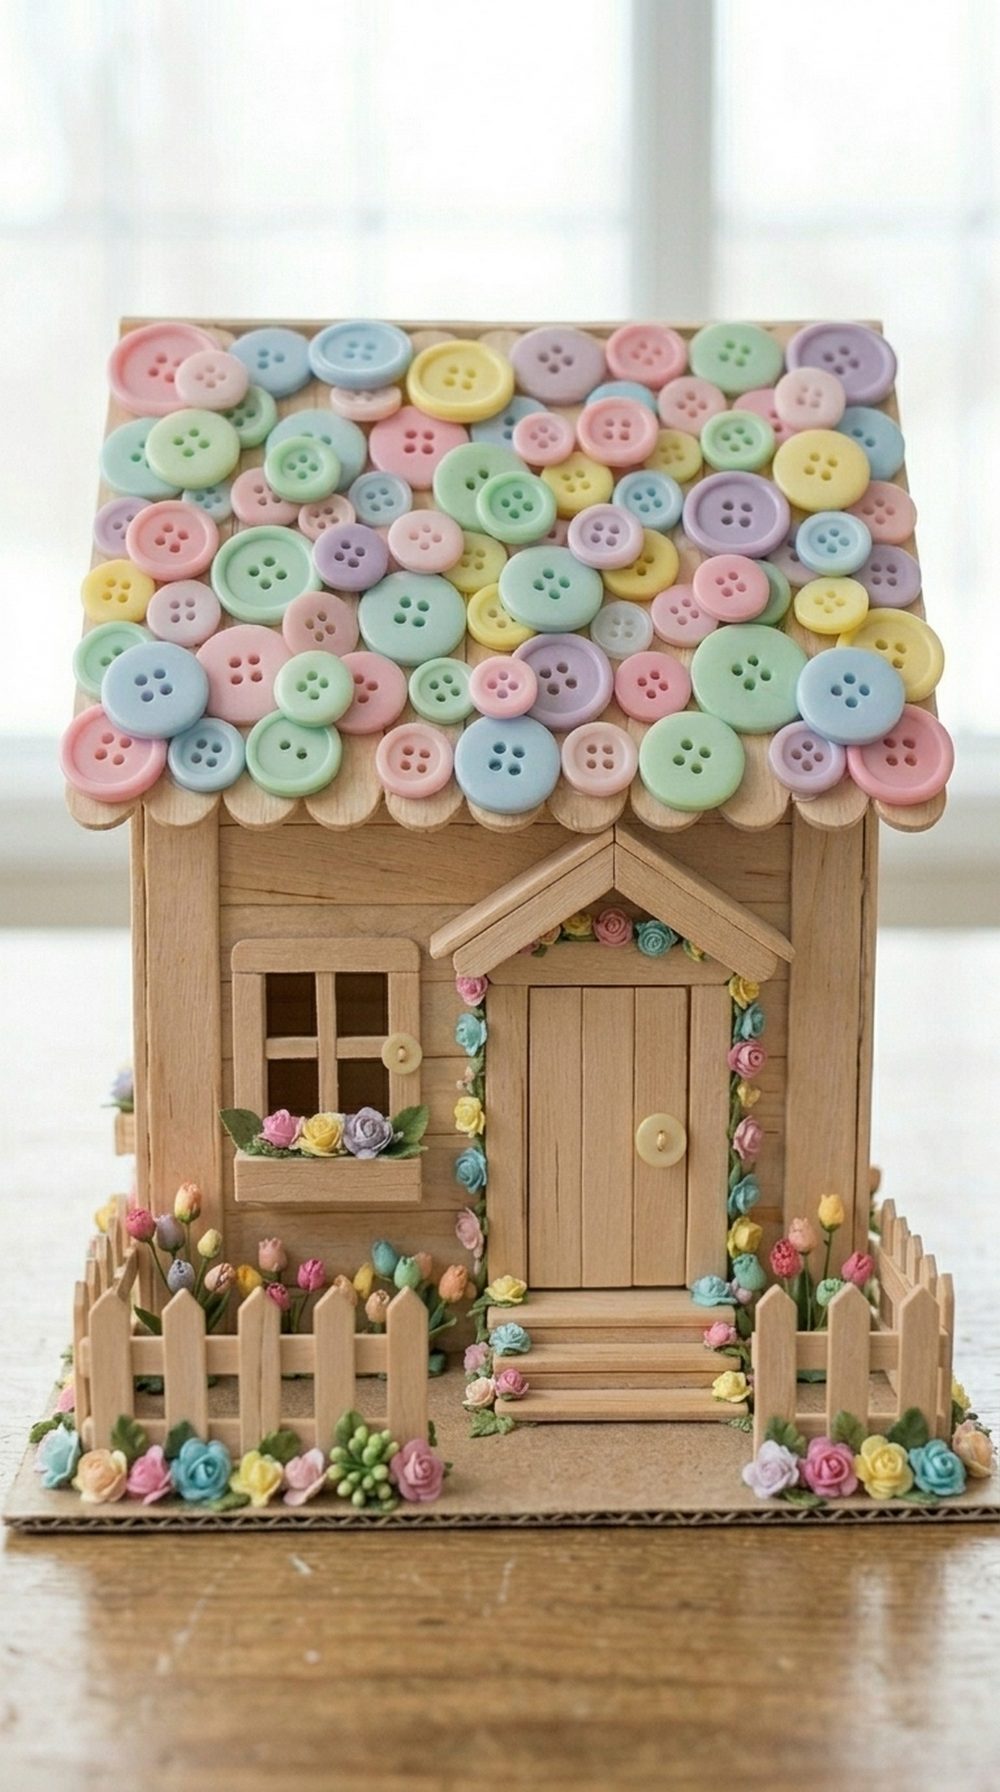
This version feels more like a full miniature home, with windows, a front entrance, stairs, fencing, and little flowers around the base. It is a fun choice when you want a school project or display piece that looks more finished.
Materials:
Popsicle sticks, hot glue, scissors, net fabric, fake flowers
Steps:
- Build flat wall panels from stacked sticks.
- Make a square window and front entrance.
- Assemble the house on a base platform.
- Add roof, fence, stairs, and flowers.
Removable-Roof Fairy Cottage
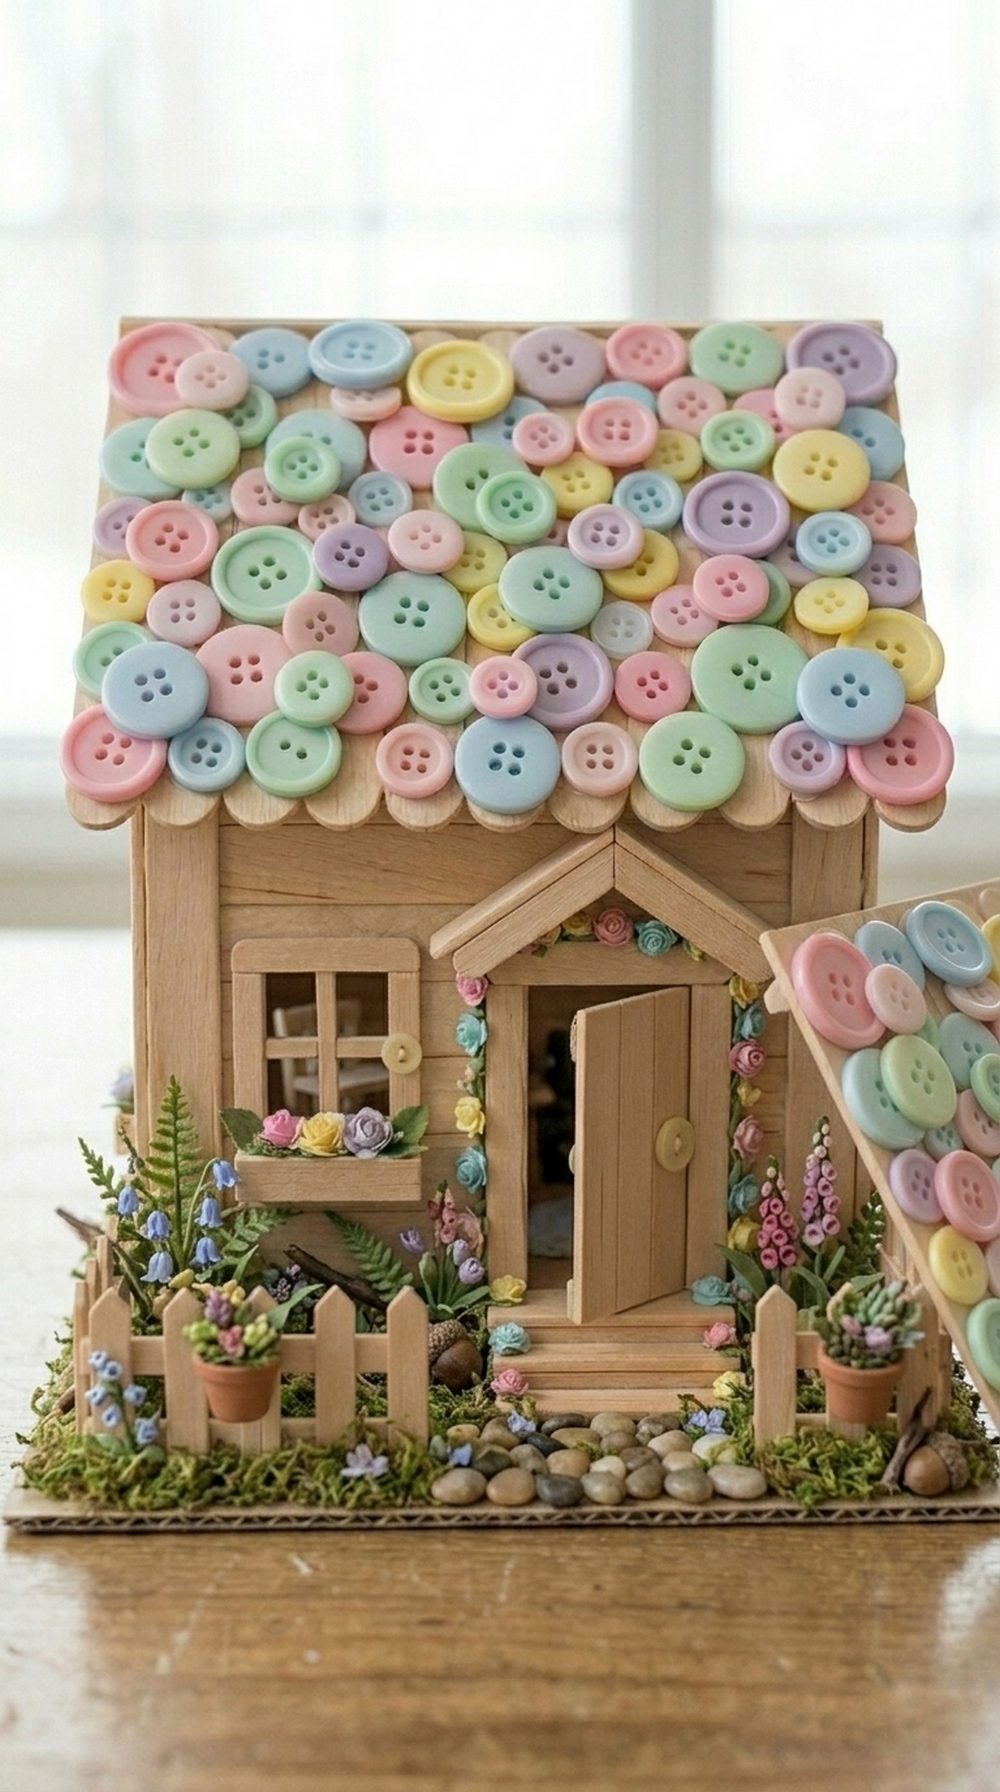
This fairy cottage is lovely for imaginative play because the roof can lift off and the windows use clear plastic for a real house feel. Natural extras like moss, pebbles, and leaves make it look like a tiny woodland home.
Materials:
Popsicle sticks, hot glue, cardboard base, zip bag plastic, pebbles, moss, leaves
Steps:
- Make wall panels and two roof panels.
- Build a front wall with door and window openings.
- Glue in plastic windows and join the walls.
- Set the roof on top and decorate with nature finds.
Painted Tinkerbell Fairy House
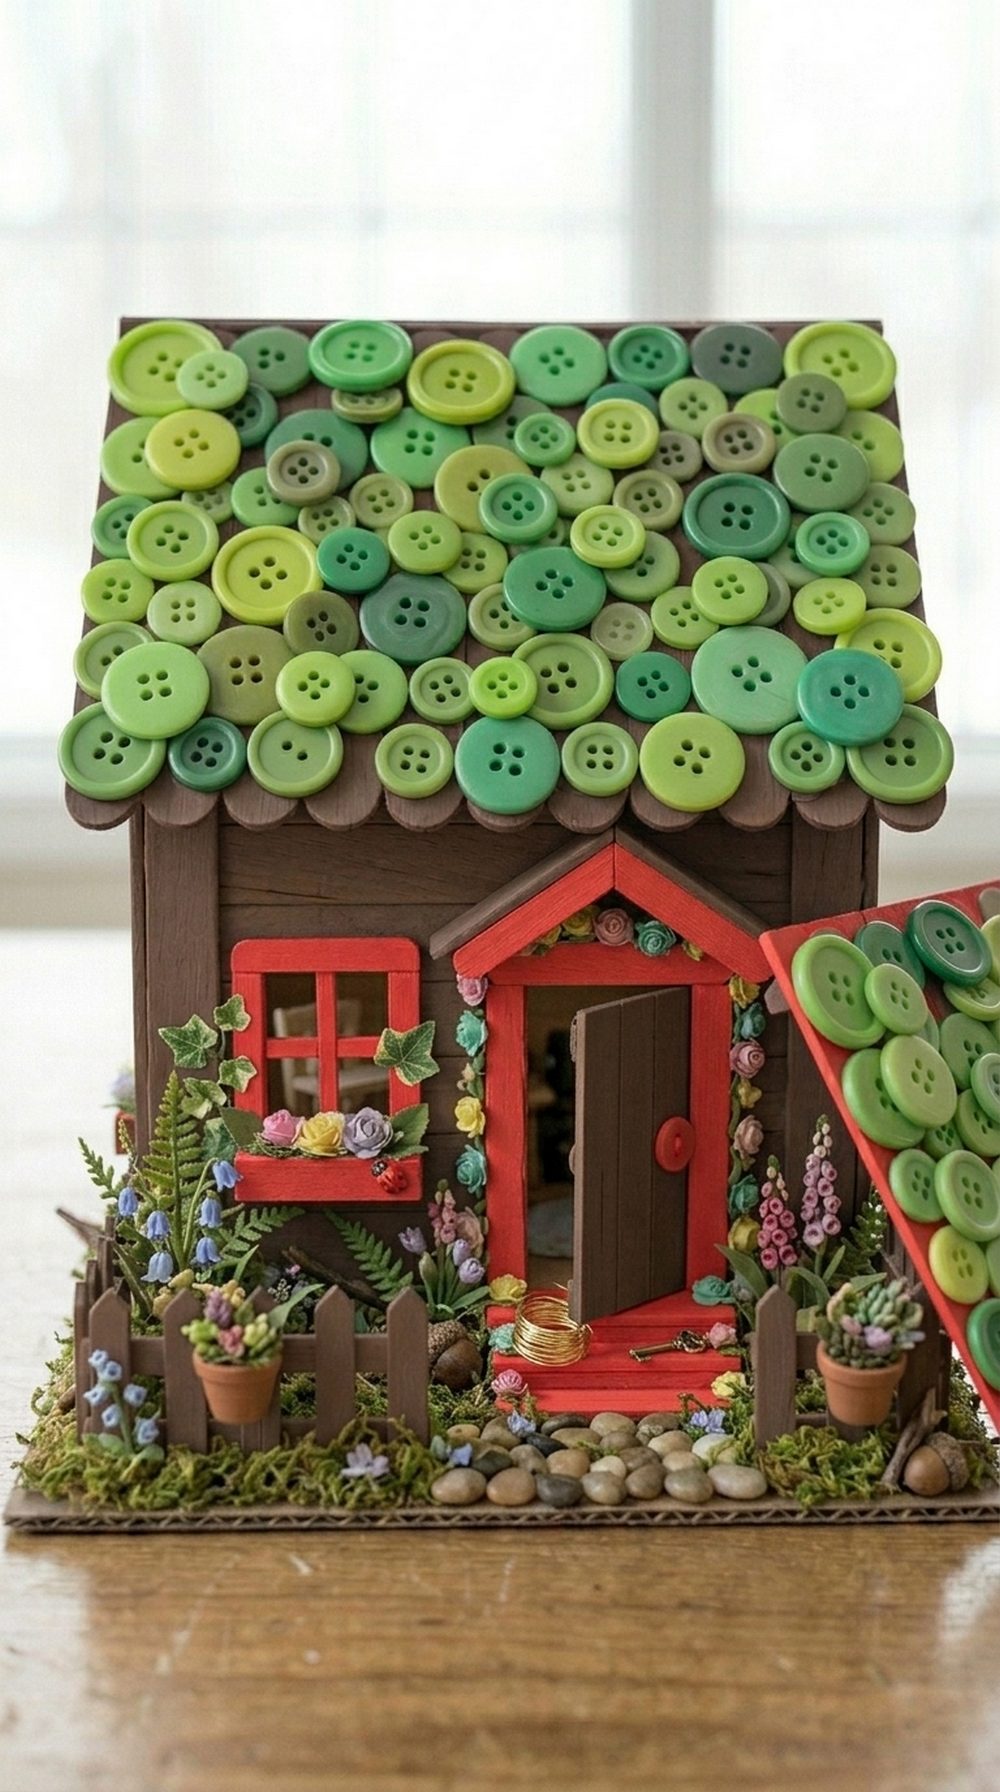
This house is a good pick when you want a more decorative fairy-home look. The painted wood slat walls, green roof, red trim, and leafy embellishments make it feel storybook-inspired and cheerful on a shelf or play table.
Materials:
Popsicle sticks, cardboard, craft paint, hot glue, fake greenery, ribbon, buttons
Steps:
- Build the house panels on a cardboard base.
- Paint walls, roof, door, and trim.
- Glue the structure together.
- Finish with leaves, ribbon, and button accents.
Tutorial Link:
Theories of a Mom
Flat Gingerbread House Plaque
This is an easy holiday version that works well for younger crafters. The house is mostly flat, so it builds quickly, and the triangle roof gives it that classic gingerbread silhouette without needing a full 3D structure.
Materials:
Popsicle sticks, glue, scissors, paint, embellishments
Steps:
- Glue seven sticks side by side for the base.
- Add a top stick and triangle roof section.
- Secure the back with extra sticks.
- Paint and decorate like a gingerbread house.
Tutorial Link:
Learning and Exploring Through Play
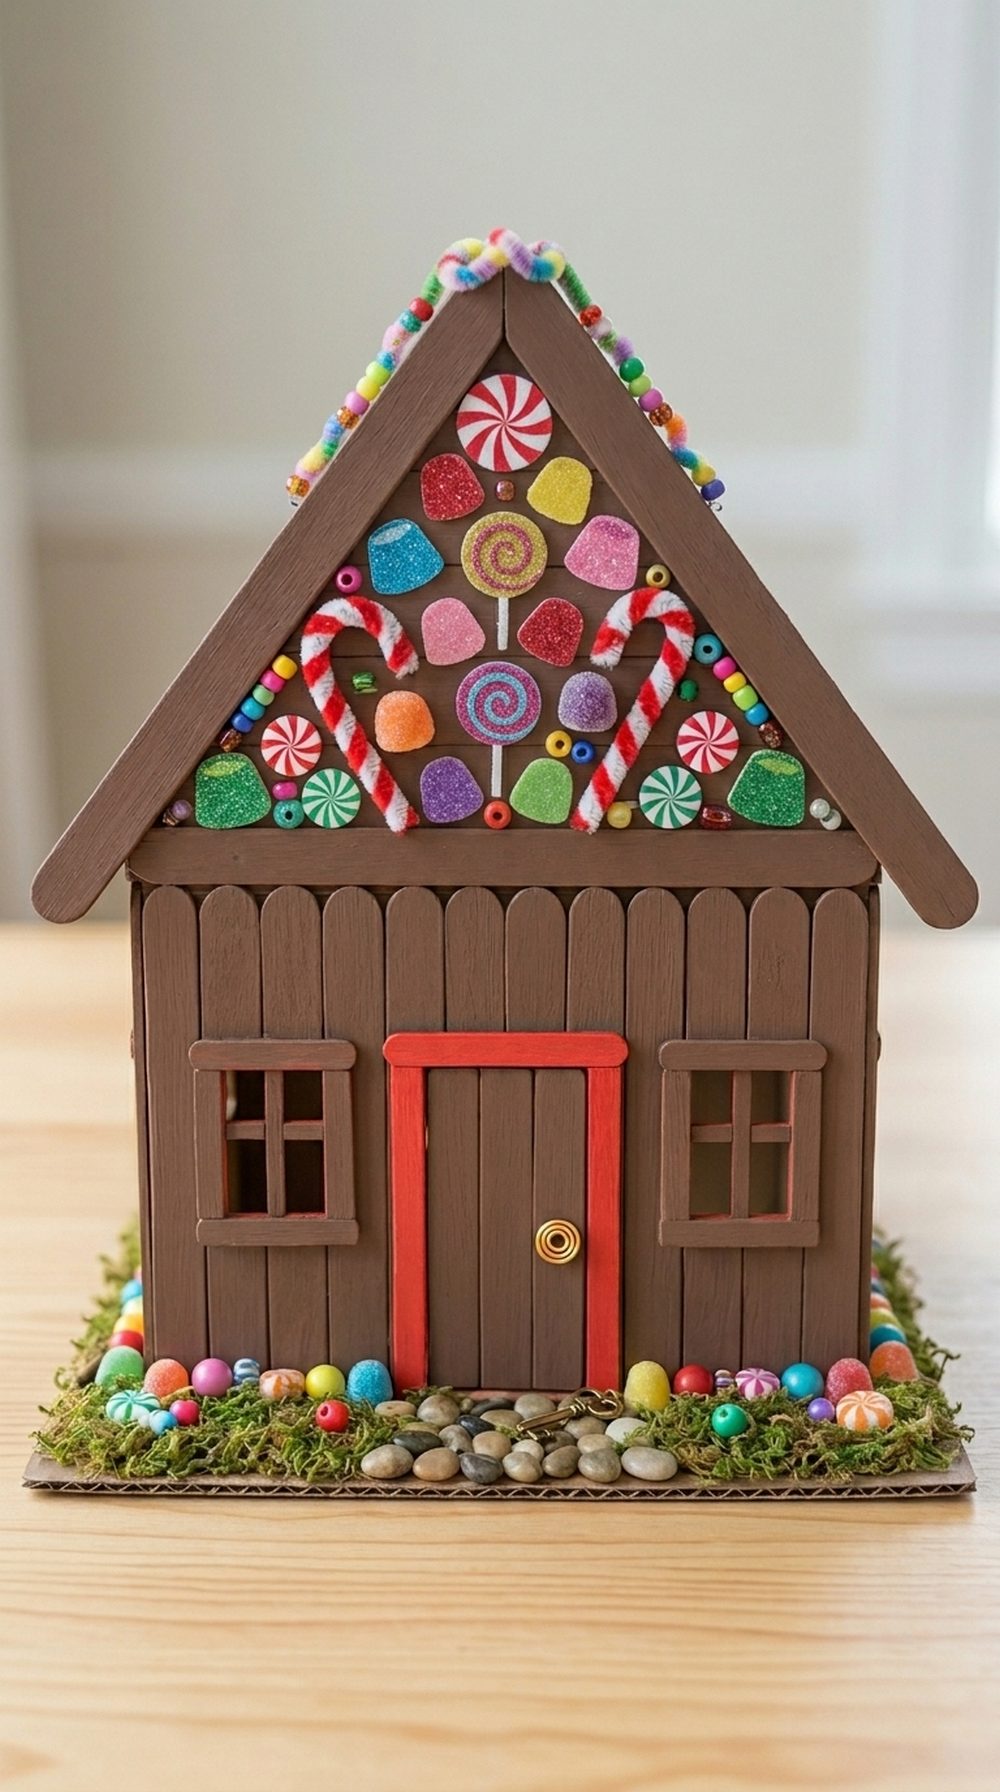
Decorated Gingerbread House Ornament
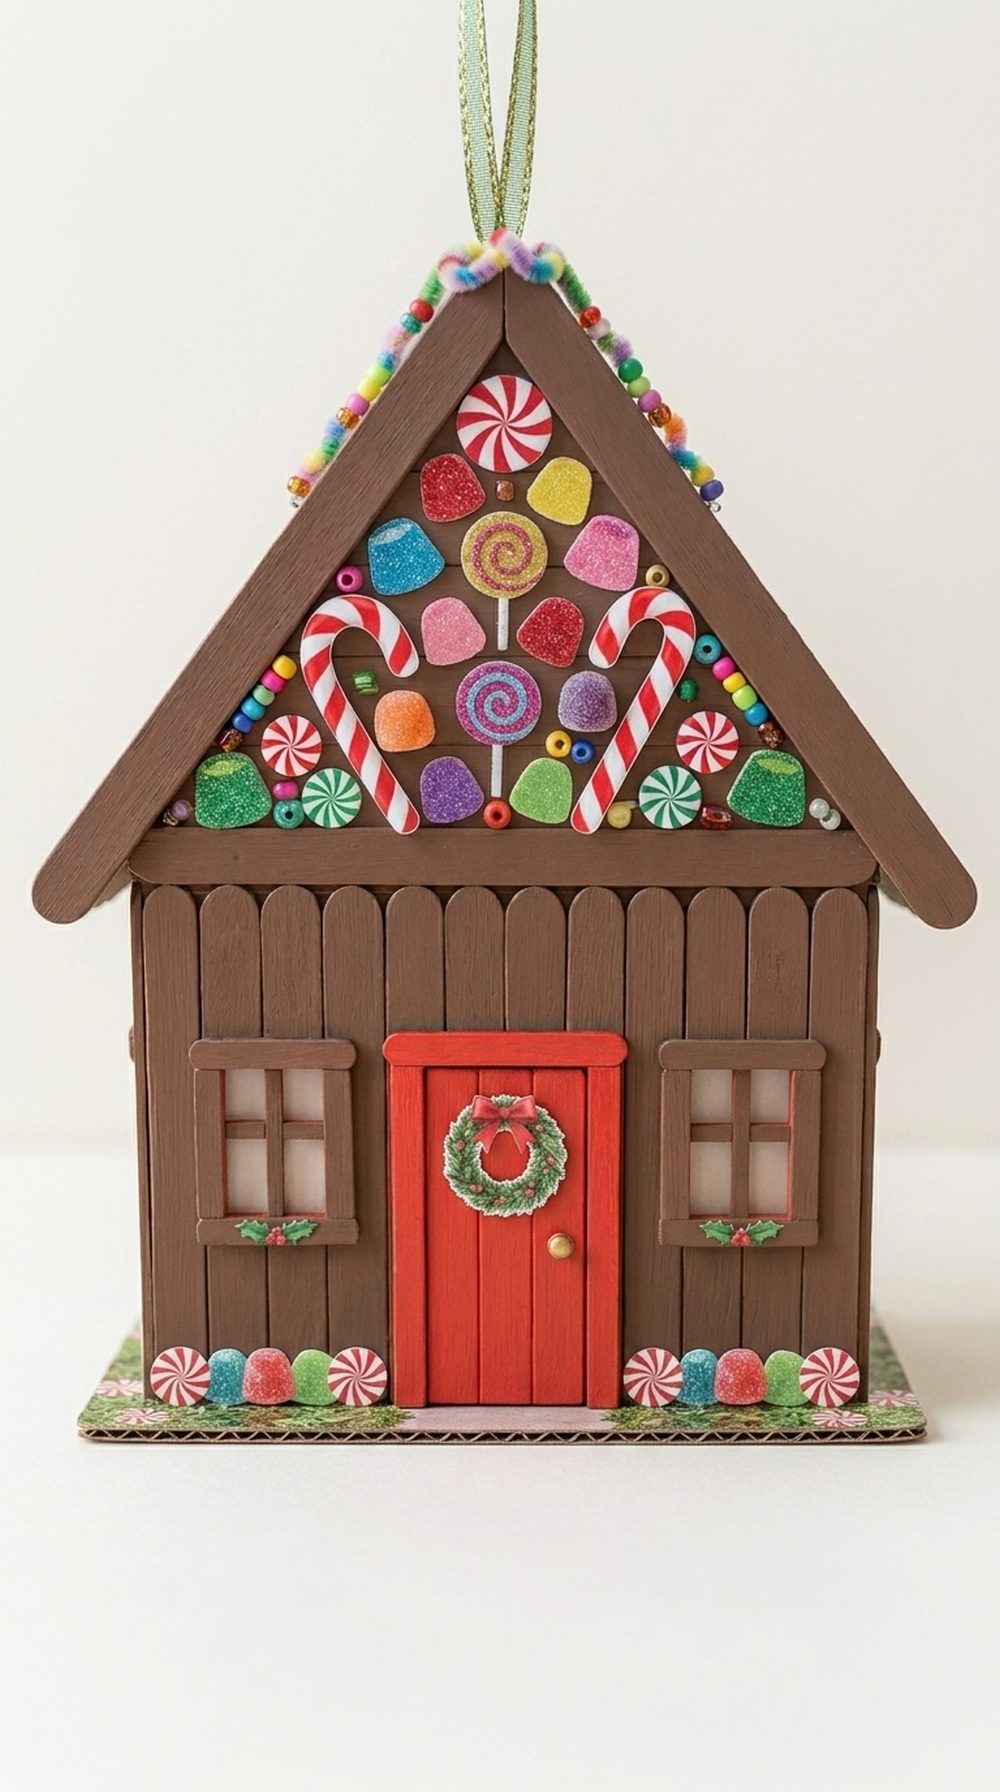
This one is perfect when you want a festive keepsake. The painted brown sticks and printed candy decorations create a neat, polished result that can be turned into a tree ornament or fridge magnet after the holidays.
Materials:
Popsicle sticks, acrylic paint, white glue, scissors, printable ornaments
Steps:
- Paint the sticks brown and let dry.
- Glue a wall panel from ten sticks.
- Build and attach the layered roof.
- Decorate with candy-style paper ornaments.
Tutorial Link:
The Printables Fairy
Farmhouse Popsicle Stick Birdhouse
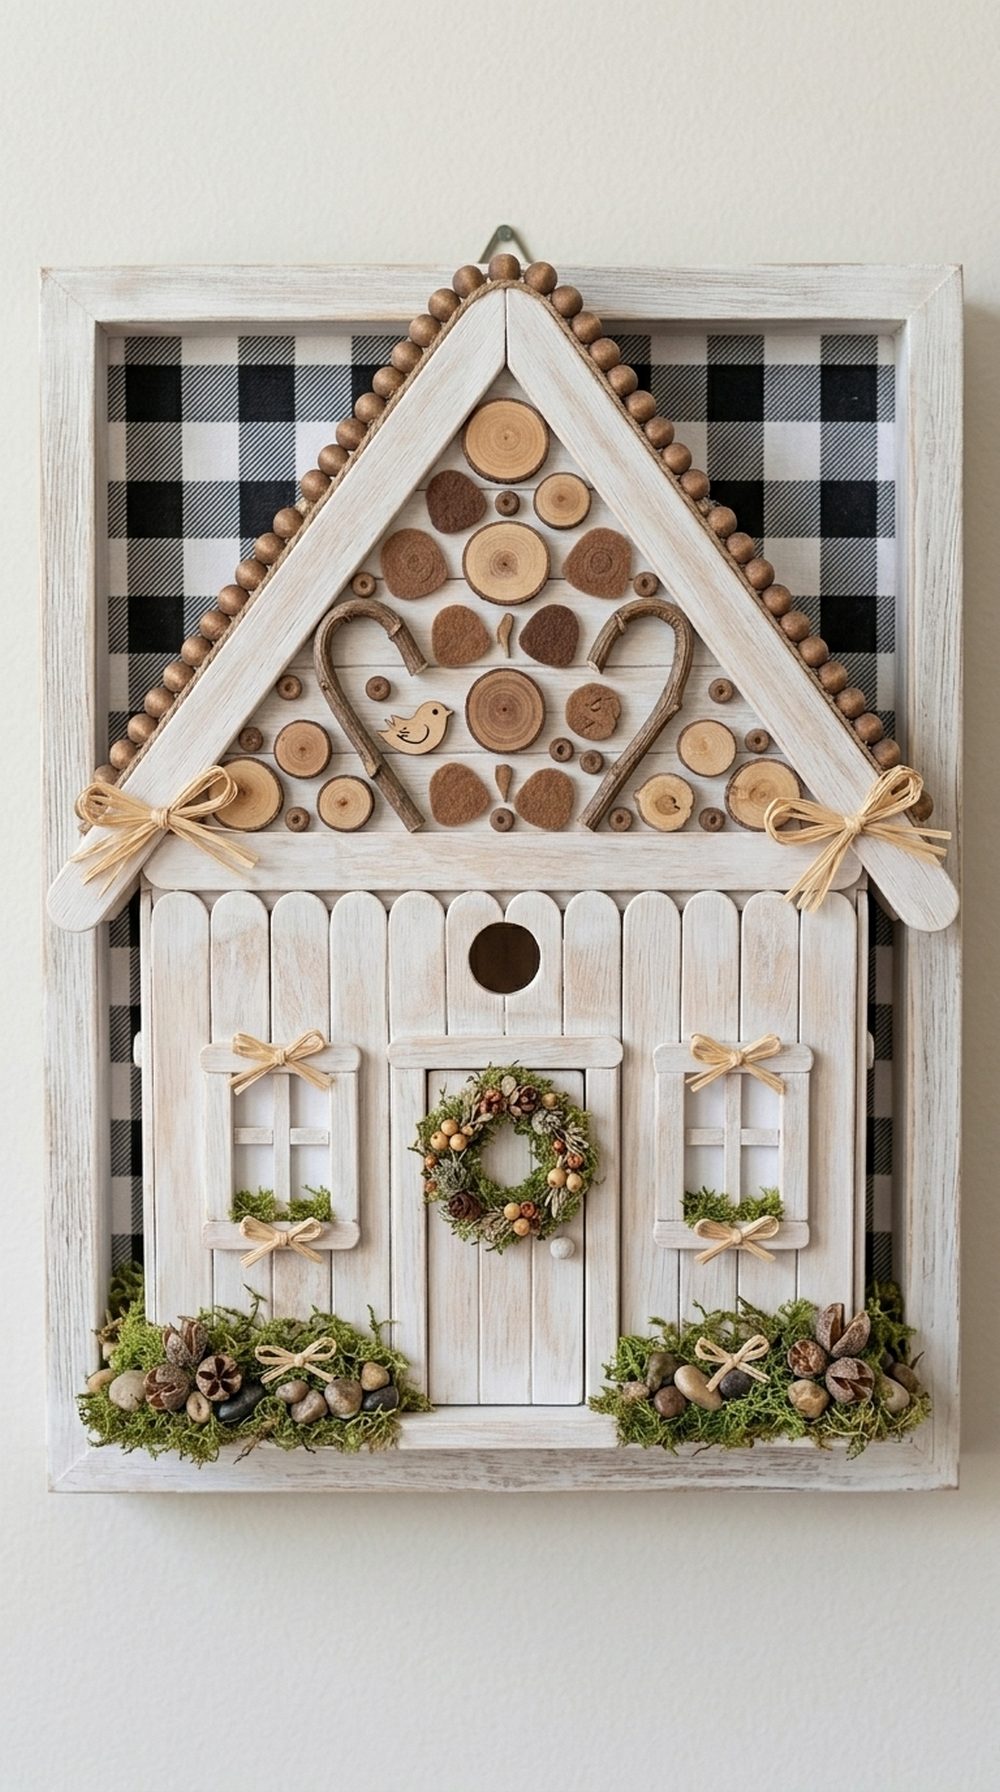
This birdhouse-style house has a more decorative home décor feel than a kids’ craft look. The whitewashed frame, buffalo-check backing, moss, and raffia details give it a soft farmhouse finish that looks nice on a seasonal display wall.
Materials:
Popsicle sticks, canvas frame, scrapbook paper, white paint, dowels, moss, raffia, hot glue
Steps:
- Paint and prep the frame and sticks.
- Add patterned paper to the frame backing.
- Build the birdhouse shape from sticks.
- Finish with dowels, moss, and raffia bows.
Tutorial Link:
The Maker’s Map
Colorful Troll House
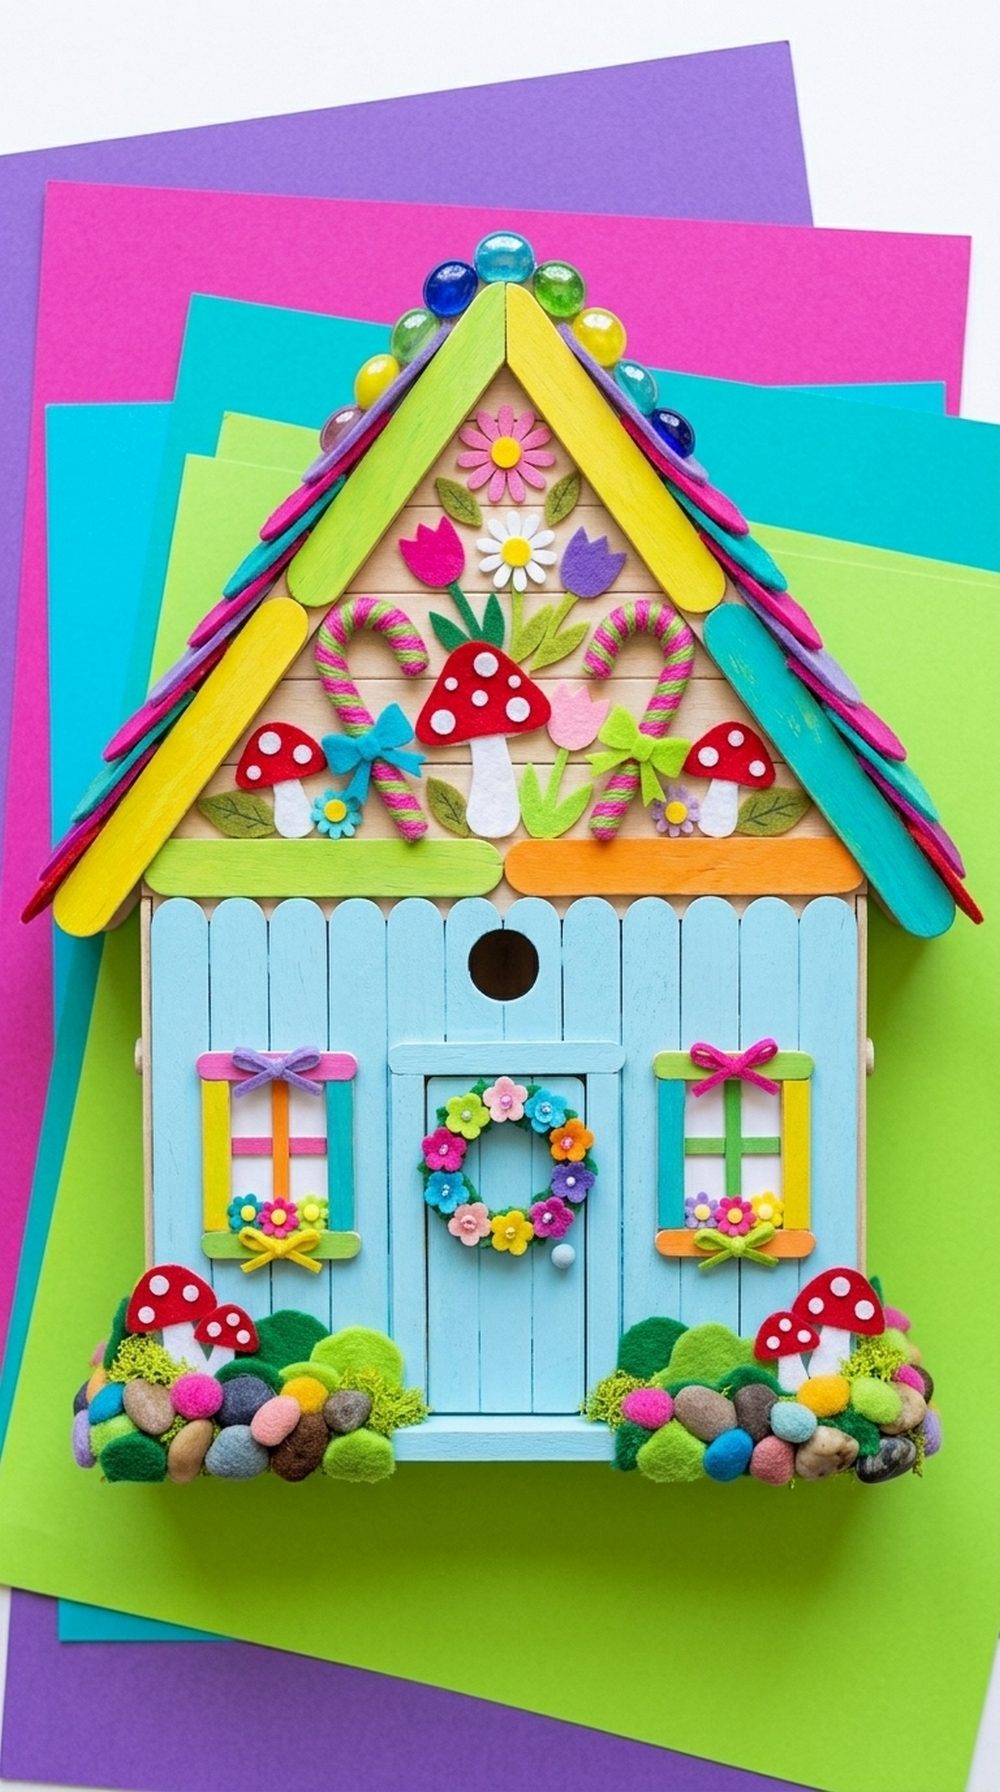
This is the most playful house in the list. The triangle shape, bright colors, rounded doorway, flowers, and mushroom details make it stand out for party décor, pretend play, or a cheerful kids’ craft afternoon.
Materials:
Jumbo popsicle sticks, school glue, cardstock, scrapbook paper, paint crayons, embellishments
Steps:
- Glue three jumbo sticks into a triangle.
- Paint the base in a bright color.
- Add paper roof and doorway pieces.
- Decorate with flowers and mushroom details.
Tutorial Link:
Glued To My Crafts
Conclusion:
These DIY popsicle stick houses are a fun way to turn simple craft supplies into something cute, seasonal, or imaginative. You can keep them natural and rustic, paint them in bright colors, or decorate them with buttons, moss, flowers, and paper candy. Start with the simplest shape, then add more details as you go.
FAQs
1. What glue works best for popsicle stick houses?
Hot glue is fastest, while tacky glue or wood glue gives a little more working time.
2. Can kids make these crafts?
Yes, especially the flat and simple house styles with adult help for cutting and hot glue.
3. How do I make the house look neater?
Trim uneven ends, press sticks tightly together, and let each section dry before assembling.
4. Can I paint the sticks first?
Yes. Pre-painting works especially well for gingerbread, troll, and fairy house designs.