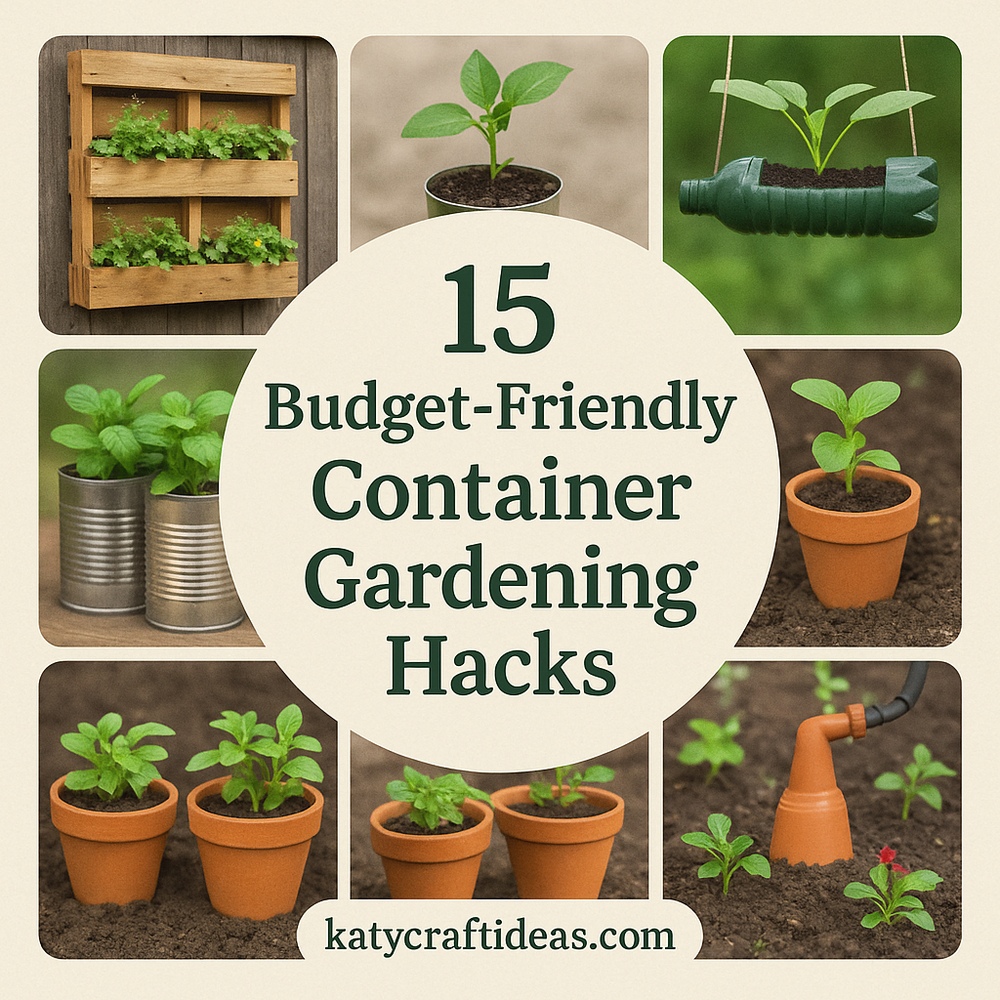
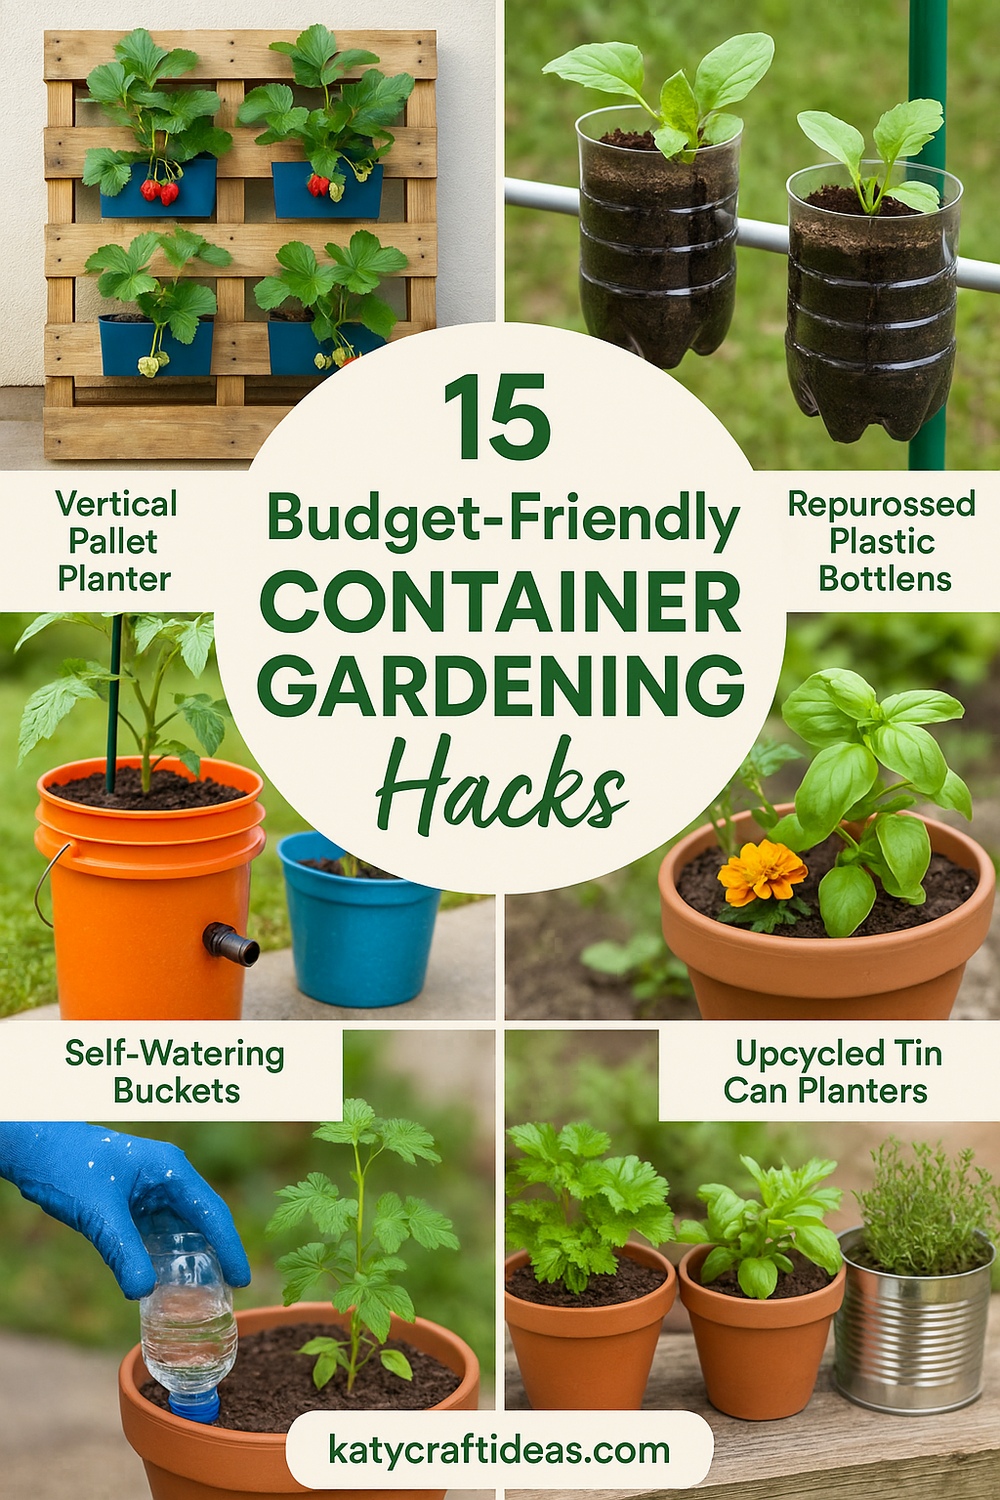
15 Budget-Friendly Container Gardening Hacks
Container gardening can be affordable and fun with a few simple hacks. By upcycling everyday items like cans, buckets, and old boots you create unique pots without spending much, and you can turn plastic bottles into hanging planters or weave landscape fabric onto a pallet to make a vertical garden that saves space. Building self-watering planters by nesting pots with a gravel reservoir and a cotton wick helps keep soil moist between waterings, and adding layers of gravel, sand, and potting mix improves drainage so roots stay healthy.
Grouping plants by their water needs makes watering easy and prevents overwatering or underwatering, and companion planting—such as growing basil with tomatoes and marigolds with peppers—keeps pests away naturally. You can save money by mixing your own potting soil from coconut coir, compost, and perlite, and you can boost plant growth by using kitchen scraps like coffee grounds and eggshells to make homemade compost tea. Installing a simple drip irrigation system with tubing and a timer delivers water right to the roots without waste, and adding mulch on top of your pots helps hold moisture and stops weeds. Starting new plants from seeds or cuttings means you avoid buying nursery starts, and rotating crops or refreshing soil with fresh compost each season keeps nutrients balanced and prevents disease build-up. Finally, personalizing pots with leftover paint or stencils adds style and celebrates your creativity, making every container garden both practical and truly beautiful.
1. Upcycle Everyday Containers
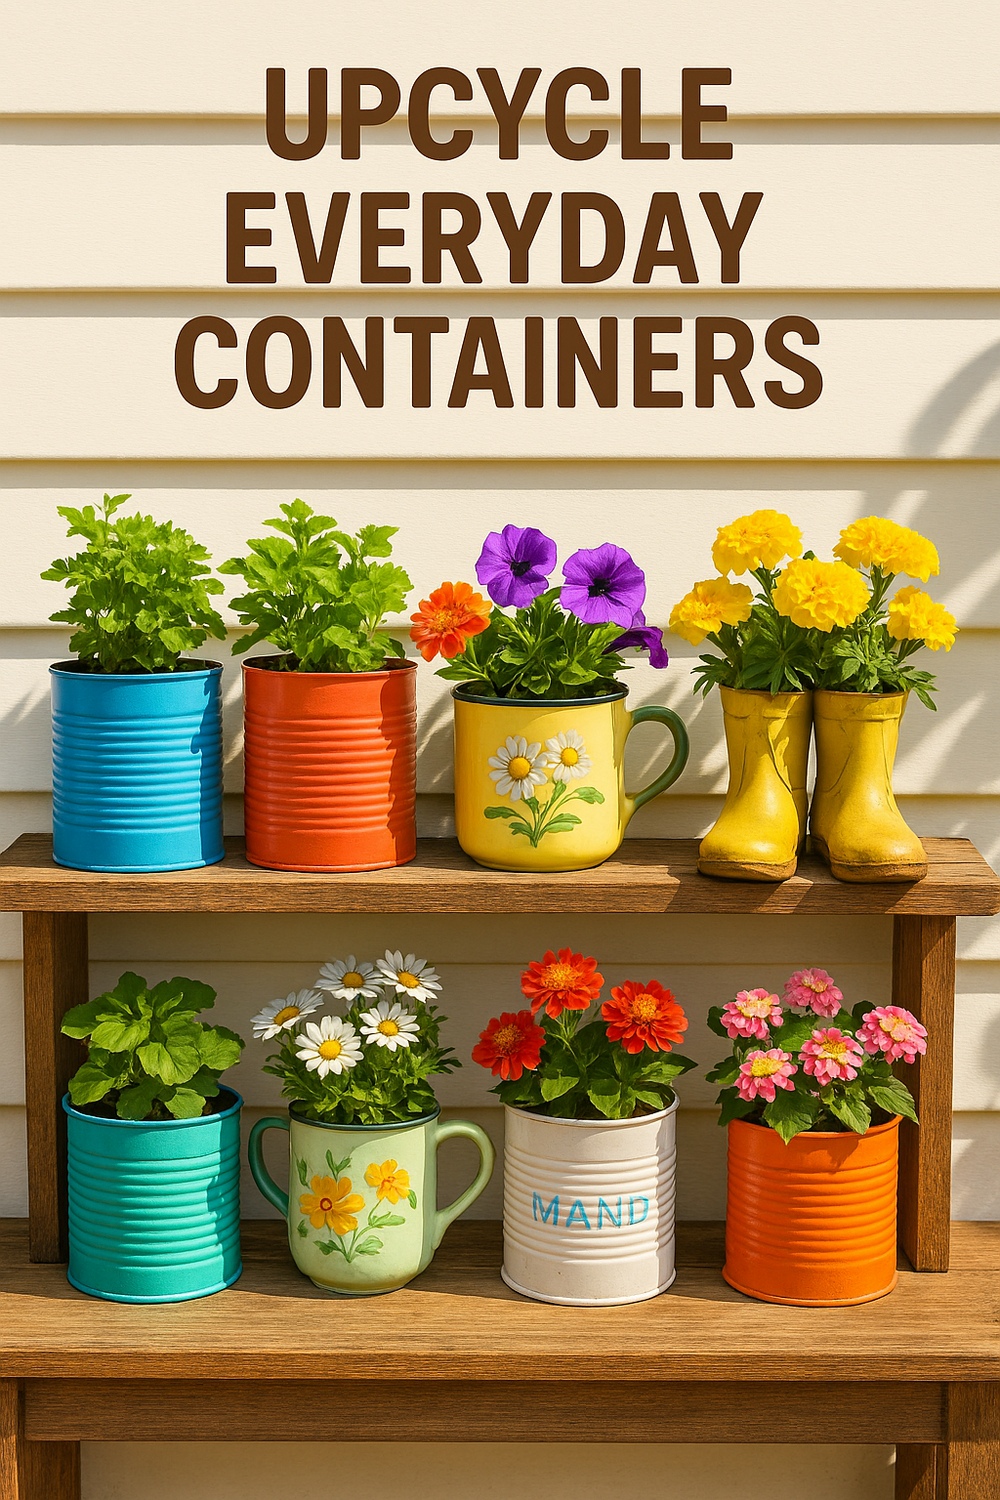
Transform everyday items into planter pots by upcycling old containers. Start by cleaning items like tin cans, coffee tins, buckets, or even worn-out boots. Drill or punch drainage holes at the bottom so excess water can escape. Line the inside with a piece of plastic if you want to protect the container’s finish. Fill with a light potting mix and plant herbs, lettuce, or colorful flowers. Upcycled pots save money and add personality to your garden. You can paint them with leftover house paint or wrap them in fabric for extra flair. Group similar items for a coordinated look and rotate plants as needed to keep things fresh.
Supplies
- Old cans, tins, buckets, or boots
- Drill or metal punch (for drainage holes)
- Potting mix
- Paint or fabric scraps (optional decoration)
- Plastic lining (e.g., a piece of plastic bag)
2. DIY Self Watering Planters
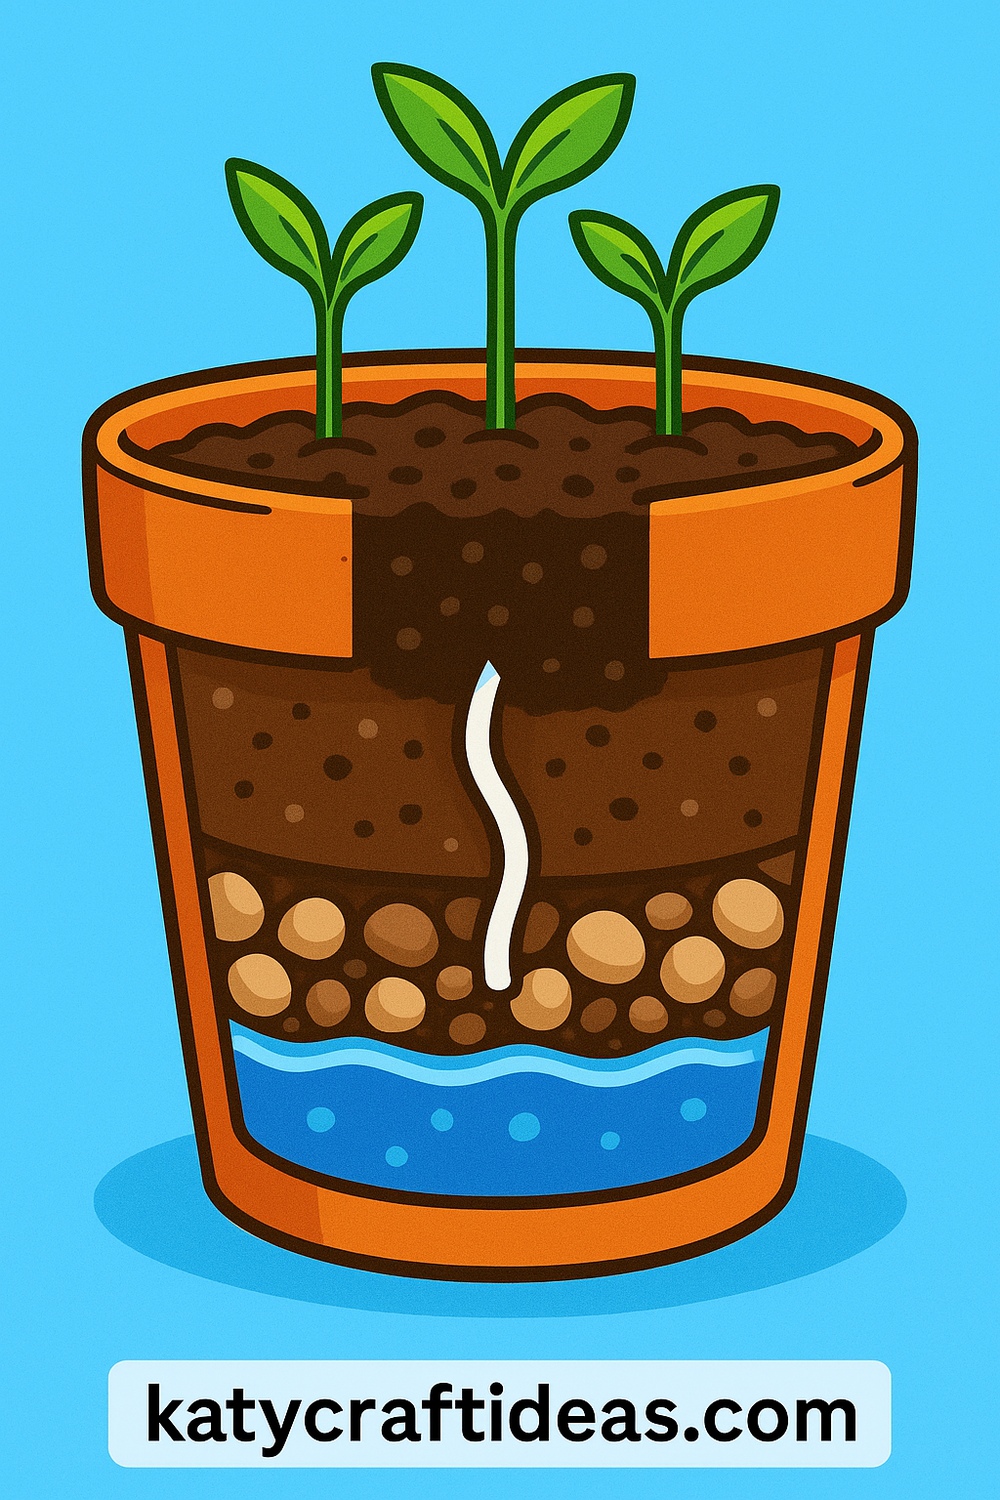
A self-watering container holds extra water so your plants drink little by little. To make one, take two pots that fit inside each other. In the outer pot, add a layer of gravel or broken pottery to create a water reservoir. In the inner pot, drill holes near the bottom and fill it with soil. Tie a cotton wick from inside the soil down into the reservoir below. When the soil dries out, water moves up the wick to keep roots moist. These planters use less water and need fewer refills, making them perfect for busy gardeners or warm weather.
Supplies
- Two pots (one fits inside the other)
- Gravel, small rocks, or broken pottery
- Cotton wick or strip of cotton cloth
- Drill (to make holes in inner pot)
- Potting mix
3. Layer for Good Drainage
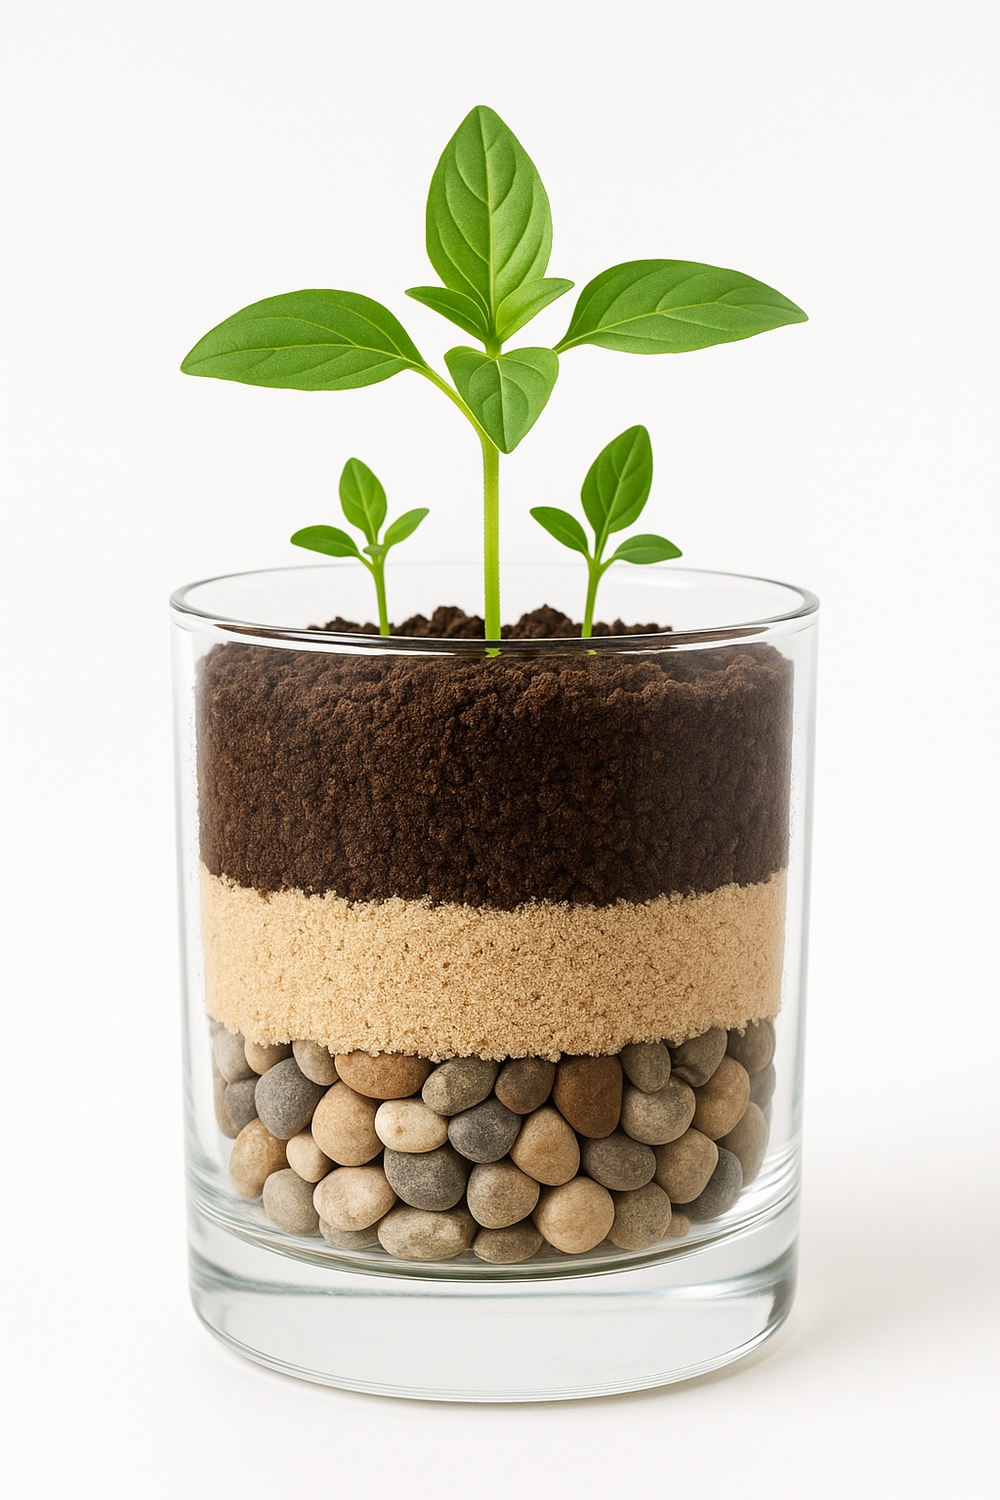
Good drainage stops roots from rotting and keeps plants healthy. Start by adding a layer of small rocks, broken clay pots, or gravel at the bottom of your container. Next, add a layer of coarse sand or coarse grit. Finally, top with a lightweight potting mix. This three-layer system lets excess water flow away from roots and prevents soil from becoming waterlogged. You can use pebbles from a local river or crushed brick from a building site to save money. Layered containers work well for veggies, herbs, and flowering annuals alike.
Supplies
- Small rocks, gravel, or broken clay pieces
- Coarse sand or grit
- Lightweight potting mix
- Container with drainage hole
4. Vertical Gardening with Pallets
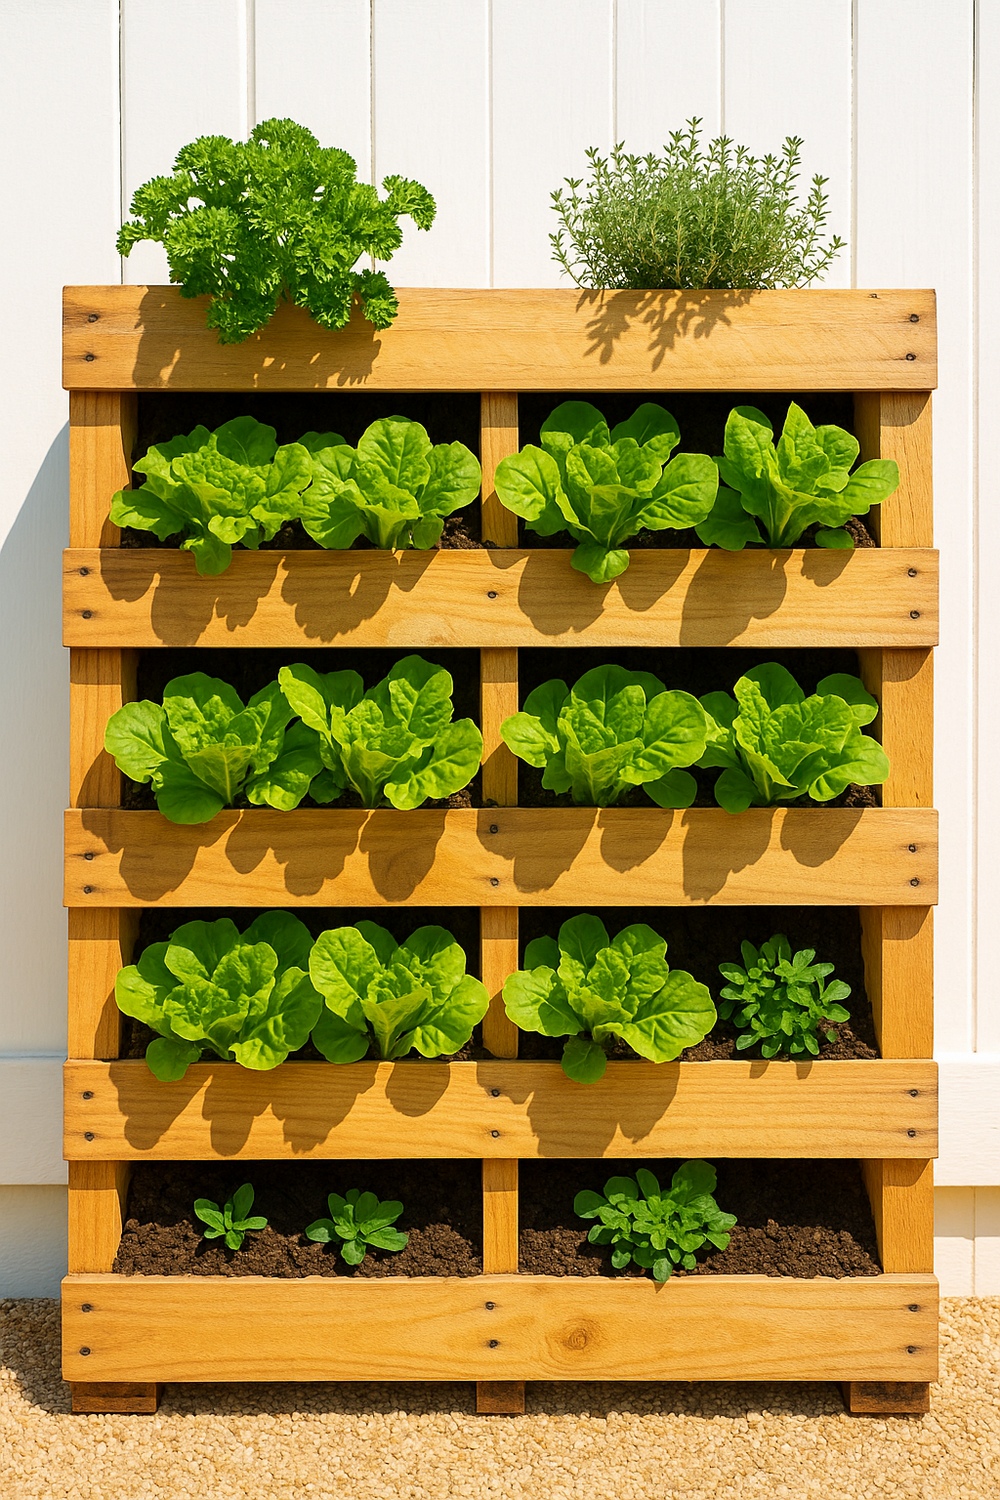
Save space and money by turning old pallets into vertical planters. Sand and seal the wood, then stand the pallet upright against a wall or fence. Attach landscape fabric to the back and sides to hold soil. Fill each board slot with potting mix and plant shallow-rooted greens like lettuce, spinach, or herbs. Vertical gardens free up ground space and make watering easier—just mist or water from the top. You can often find discarded pallets for free at warehouses or garden centers. Add a coat of paint for extra flair, and you’ve got a living wall that costs next to nothing.
Supplies
- Wooden pallet (cleaned and sanded)
- Landscape fabric or burlap
- Staple gun or small nails
- Potting mix
- Shallow-rooted plants (e.g., lettuce, herbs)
5. Reuse Plastic Bottles

Save space and money by turning old pallets into vertical planters. Sand and seal the wood, then stand the pallet upright against a wall or fence. Attach landscape fabric to the back and sides to hold soil. Fill each board slot with potting mix and plant shallow-rooted greens like lettuce, spinach, or herbs. Vertical gardens free up ground space and make watering easier—just mist or water from the top. You can often find discarded pallets for free at warehouses or garden centers. Add a coat of paint for extra flair, and you’ve got a living wall that costs next to nothing.
Supplies
- Empty plastic bottles (1–2-litre size works best)
- Scissors or craft knife
- Twine or strong string
- Potting mix
- Small plants or succulents
6. Companion Planting in Containers
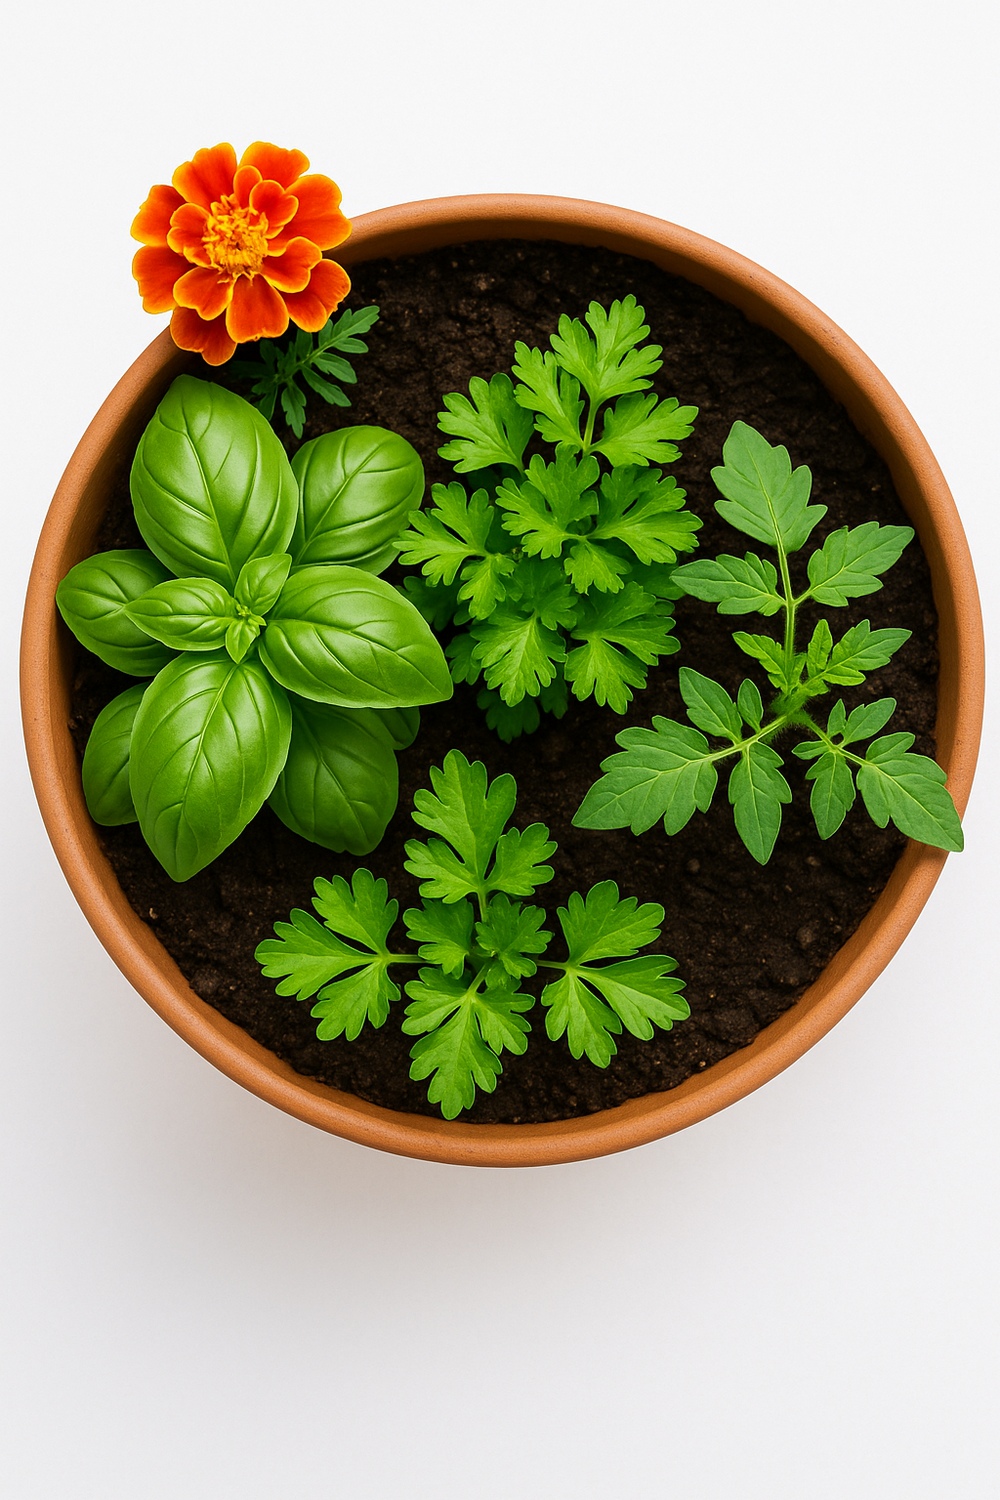
Companion planting means growing two or more plants together that help each other. In a single container, mix herbs like basil and parsley with tomatoes. Basil repels pests that bother tomato plants, while parsley can attract helpful insects. Another good pair is marigolds with peppers—they keep away nematodes and add color. Companion planting can boost yields and reduce the need for chemicals. Choose plants with similar water and light needs, and give each enough room. This smart mixing of plants keeps your container garden healthy, colorful, and low-cost.
Supplies
- Containers of your choice
- Potting mix
- Companion plants (e.g., basil + tomato, marigold + pepper)
- Labels or markers (to know what’s planted)
7. Start from Seeds and Cuttings
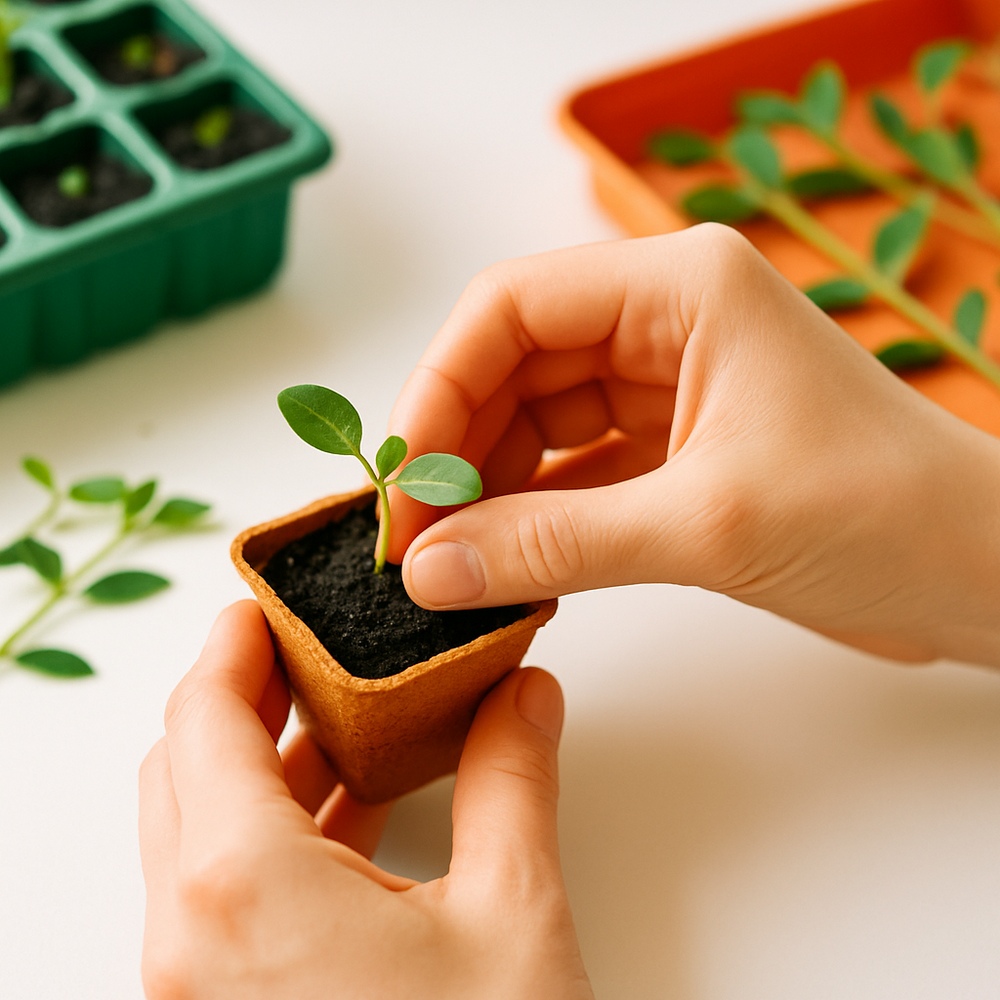
Buying young plants can get expensive. Save money by growing from seeds or cuttings instead. Plant seeds in a seed-starting tray or small yogurt cups with holes punched in the bottom. Keep soil moist and warm until they sprout. For cuttings, snip a healthy stem, remove the lower leaves, and place it in water or moist soil. Roots will form in a few weeks. Transplant seedlings or rooted cuttings into your containers once they’re strong. This hack cuts nursery costs and lets you grow rare or heirloom varieties that stores may not carry.
Supplies
- Seed-starting trays or small cups
- Seeds of your choice
- Clean jars or small pots (for cuttings)
- Water or rooting hormone (optional)
- Potting mix
8. DIY Drip Irrigation with Tubing
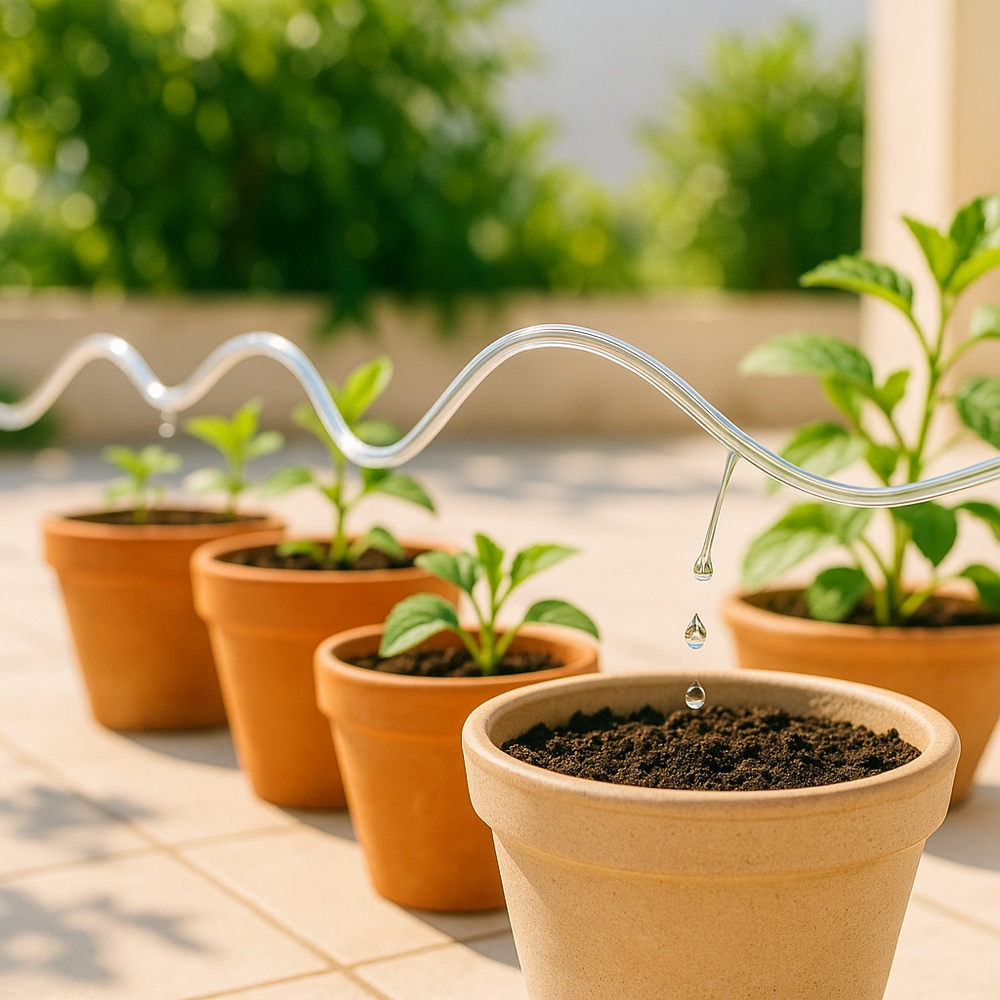
Keep plants watered without waste by rigging a simple drip system. Run thin garden tubing along the rows of containers. Punch tiny holes or attach drip emitters at each pot. Connect the tubing to an old drip head or faucet timer. When you turn the water on, each container gets a slow, steady drip. You’ll avoid runoff and can water early in the morning or while you’re away. Look for used tubing at garage sales or ask neighbors. A little tubing and a timer give you a low-cost, low-effort irrigation upgrade.
Supplies
- Thin garden tubing or old drip lines
- Drill bit or small nail (to punch holes)
- Faucet timer or drip attachments (optional)
- Scissors or tubing cutter
- Containers of plants
9. Paint and Personalize Pots
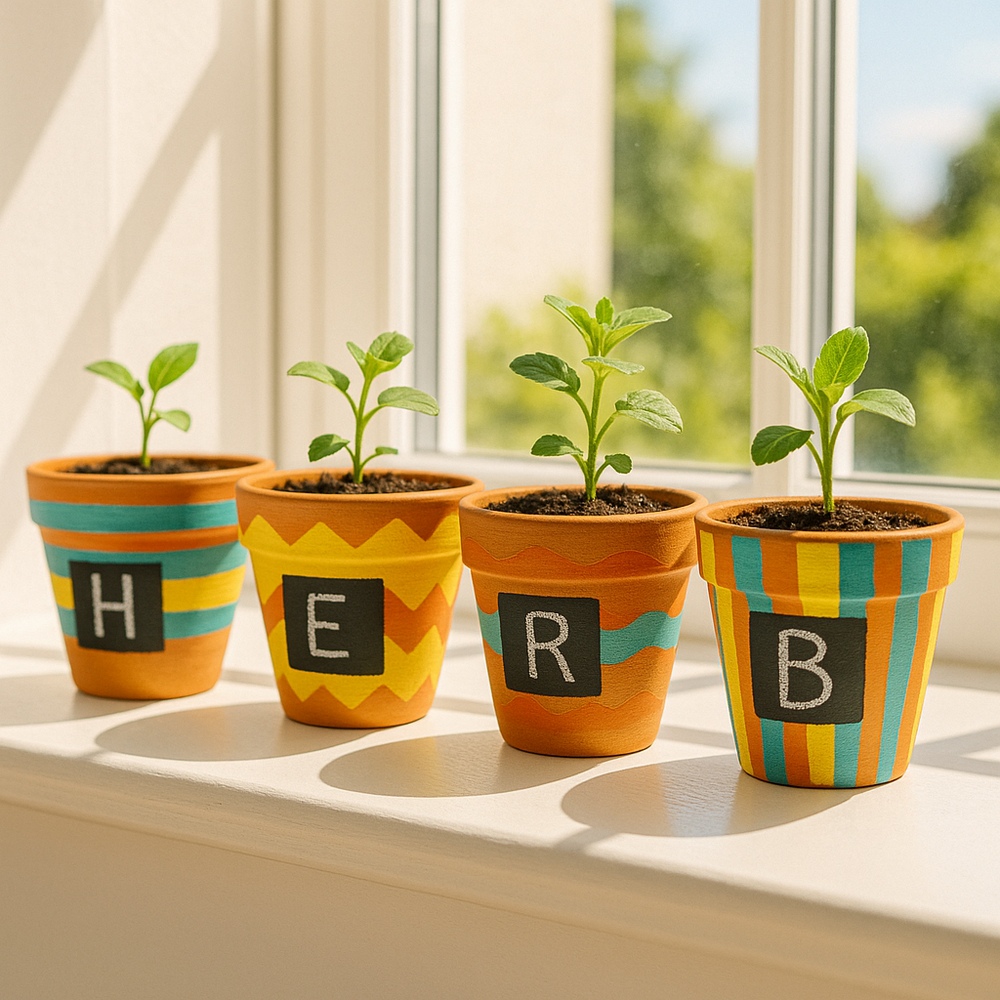
Give plain pots a fresh look with leftover exterior paint or spray paint. Use painter’s tape to mask off stripes, shapes, or geometric patterns. Stencils and craft foam letters make it easy to add words like “Herbs” or “Tomatoes.” A quick coat of paint brightens old pots and hides stains. Paint seals porous pots so they hold moisture longer. You can even use chalkboard paint on one side to label what’s planted inside. This hack costs just a few dollars in supplies and turns plain containers into custom garden art.
Supplies
- Plain pots (clay, plastic, or ceramic)
- Exterior or spray paint
- Painter’s tape or stencils
- Chalkboard paint (optional)
- Paint brushes or foam brushes
10. Group by Watering Needs
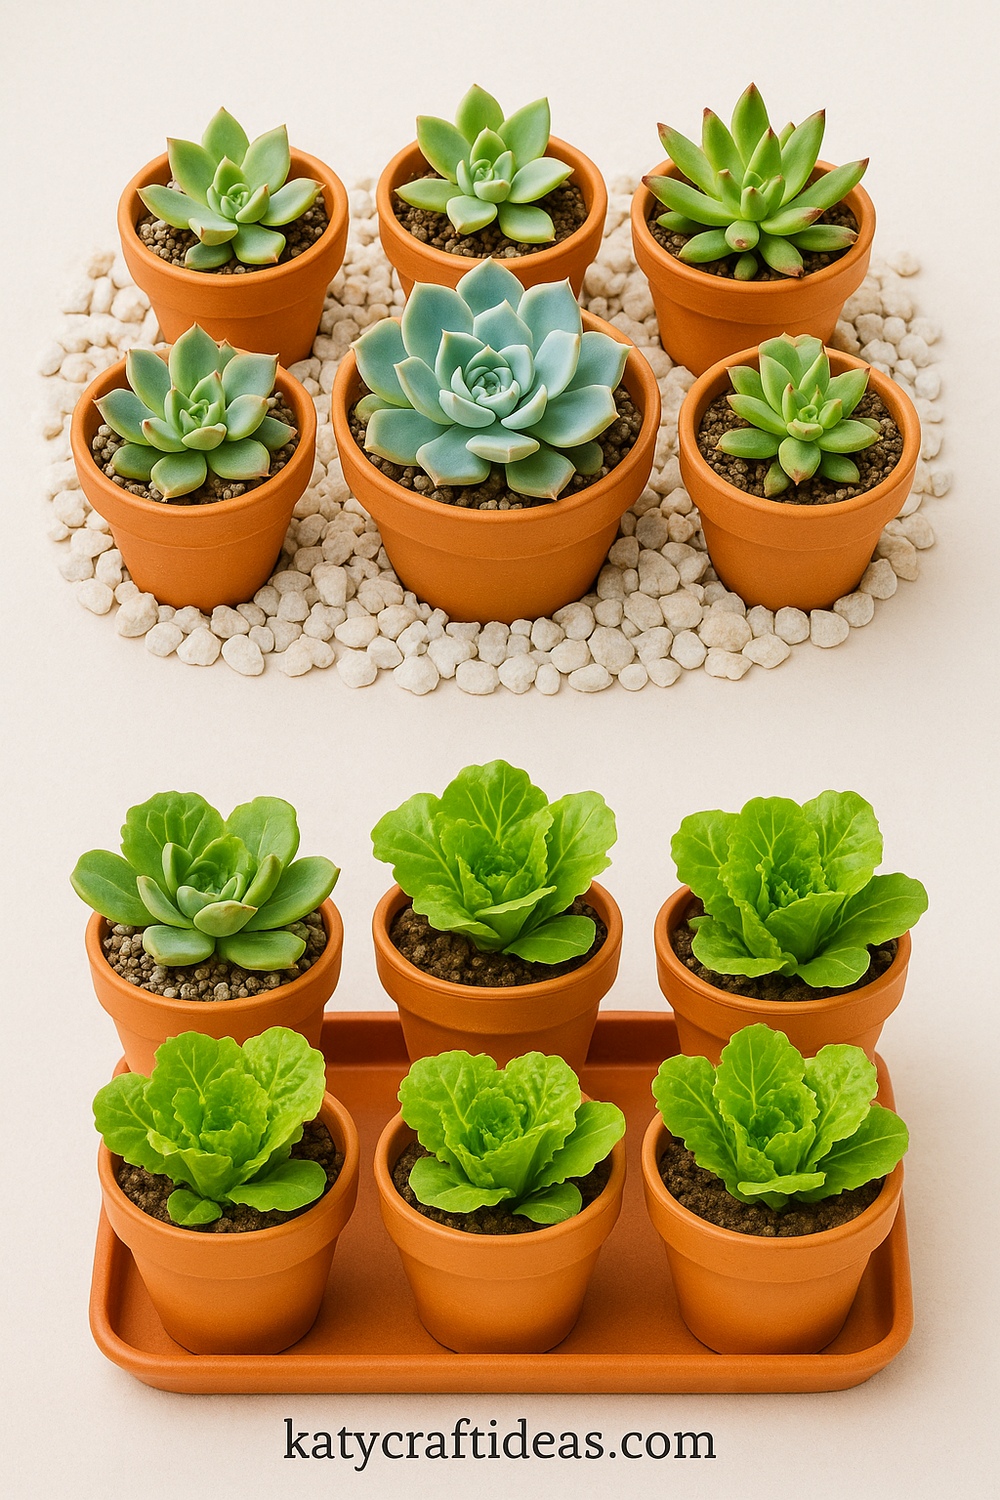
Save both money and time by grouping containers that need similar watering. Place drought-tolerant plants (like succulents or rosemary) together, and water them less often. Group moisture-loving plants (like lettuce or mint) in another area. This way, you don’t overwater some plants while underwatering others. You can also move each group to the sun or shade as needed. Grouping makes it easier to cover, mulch, or shade whole sections at once. With this simple layout hack, you cut water waste and keep every plant happy.
Supplies
- Multiple containers for different groups
- Tray or saucer for moisture-loving group
- Mulch or gravel for drought-tolerant group (optional)
- Labels (optional)
11. Mix Your Own Potting Soil
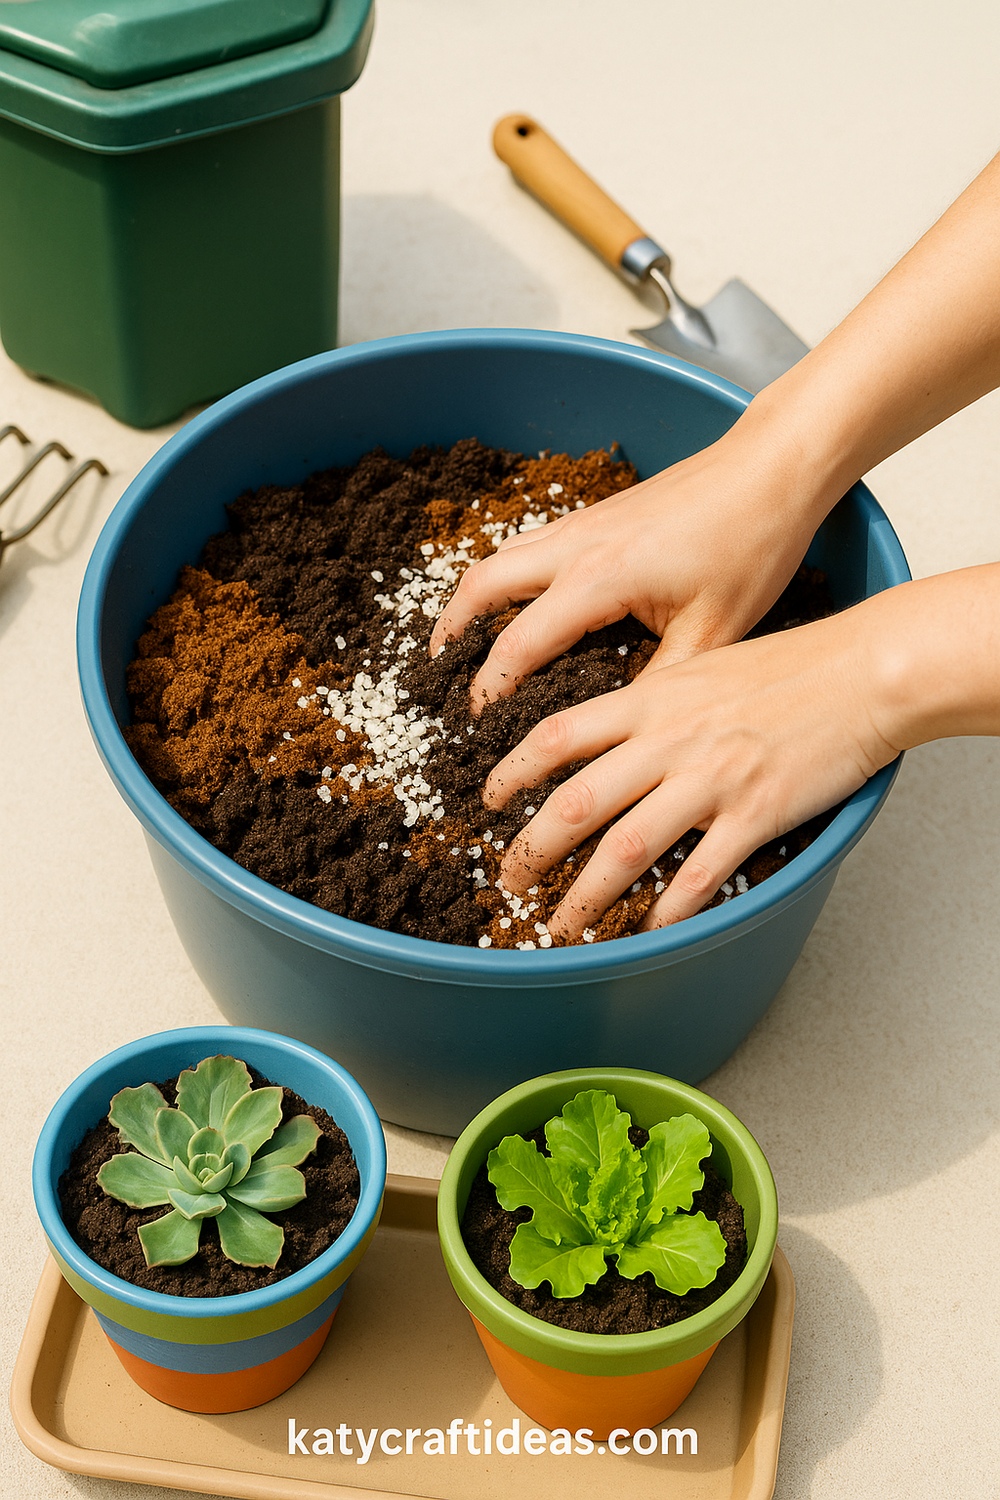
Store-bought potting mix can be pricey. Make your own by blending three parts coconut coir or peat moss, two parts compost, and one part perlite or coarse sand. Mix well in a wheelbarrow or large tub. Homemade soil drains well, holds nutrients, and costs much less. Use kitchen compost scraps—vegetable peels, coffee grounds, or crushed eggshells—to boost fertility. Store extra mix in sealed bins. This DIY mix supports healthy roots, encourages strong growth, and keeps budget on track.
Supplies
- Coconut coir or peat moss
- Compost (homemade or store-bought)
- Perlite or coarse sand
- Large tub or wheelbarrow (to mix)
- Gloves (optional)
12. Use Kitchen Scraps for Fertilizer
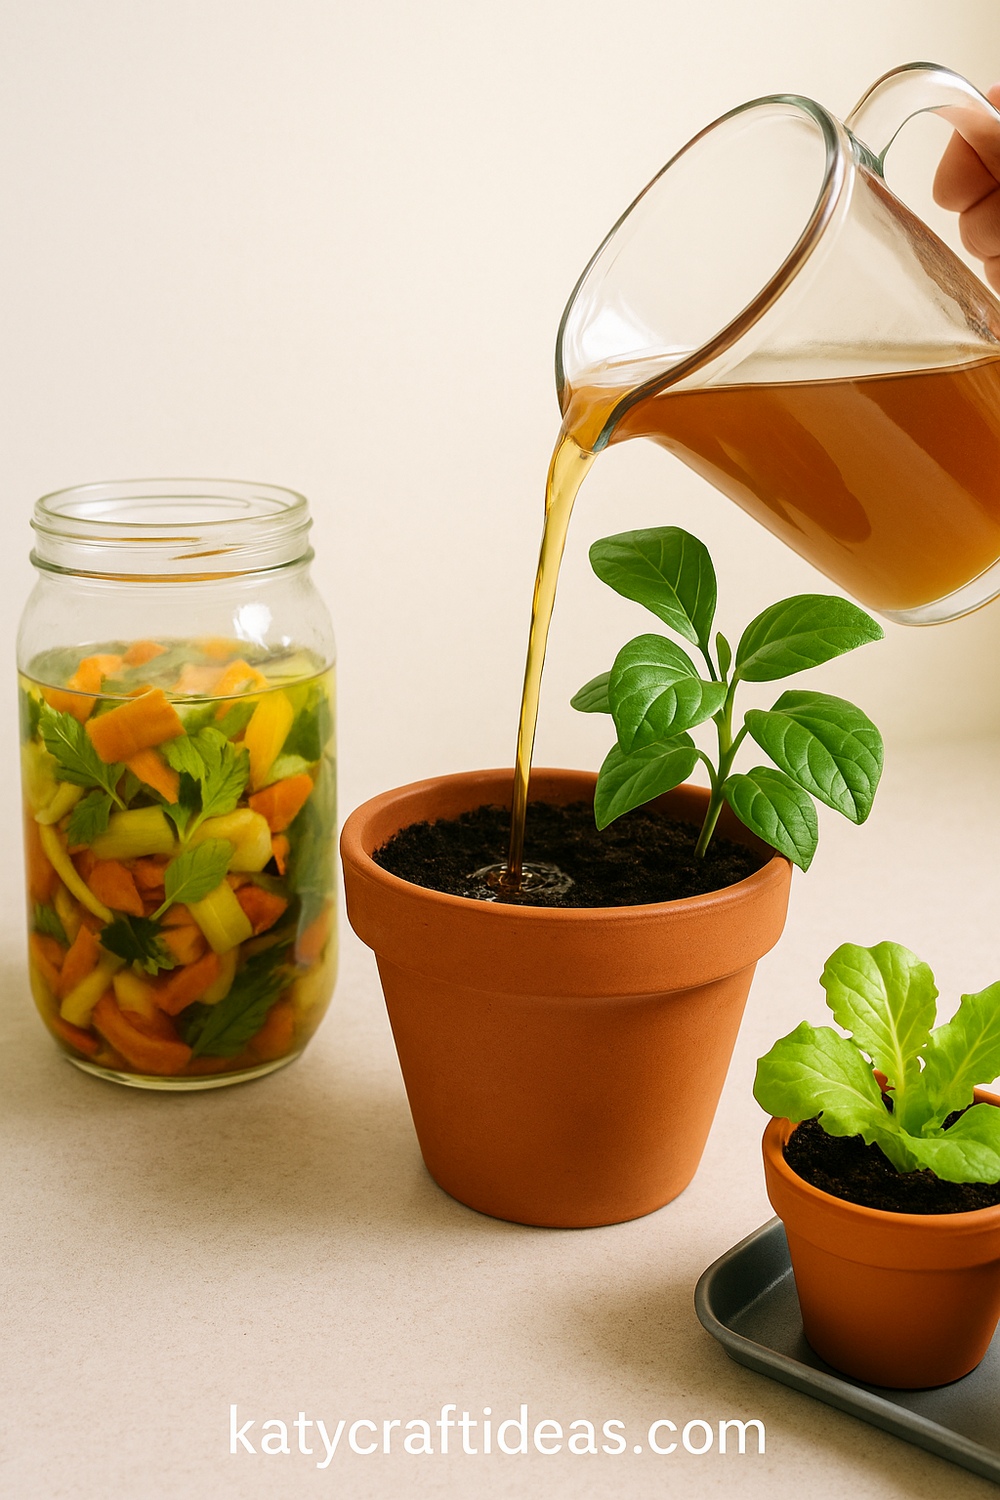
Turn food waste into free plant food. Save vegetable peelings, coffee grounds, and eggshells in a jar. Every few days, fill a bucket with water and steep the scraps for 24 hours to make “compost tea.” Strain out solids and use the liquid to water your containers. It adds nutrients like nitrogen, calcium, and potassium. You’ll reduce waste and give your plants a healthy boost. Just keep the scrap bin in a cool spot and rinse it out often to avoid bad smells.
Supplies
- Jar or bucket (for collecting scraps)
- Vegetable peelings, coffee grounds, eggshells
- Bucket or container (to steep “compost tea”)
- Strainer or old cloth
- Water
13. Mulch Tops to Save Water
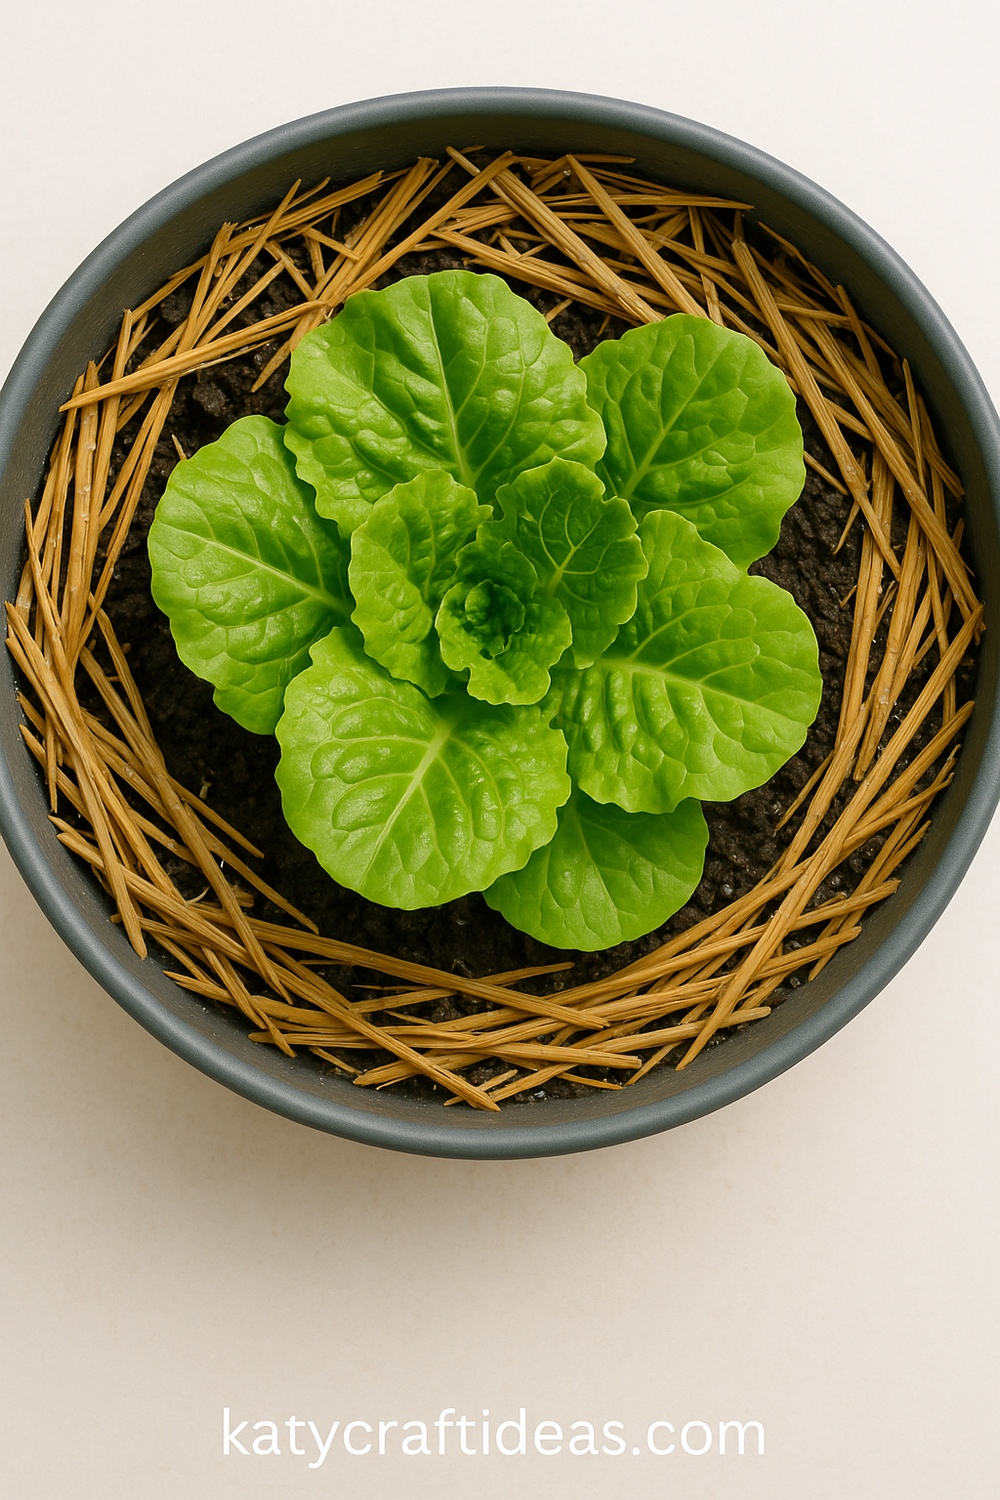
A thin layer of mulch on top of container soil helps hold moisture and keeps weeds down. You can use straw, shredded leaves, grass clippings, or wood chips—whatever you have on hand. Spread the mulch about an inch thick, leaving a small ring around each stem so air can reach the plant base. Mulch also keeps roots cool on hot days. Refresh it every few weeks as it breaks down. This low-cost step cuts down on how often you have to water and keeps containers tidy.
Supplies
- Straw, leaves, grass clippings, or wood chips
- Scissors (to cut leaves or grass smaller)
- Container plants ready for mulching
- Optional: small hand rake
14. Reuse Coffee Grounds and Eggshells
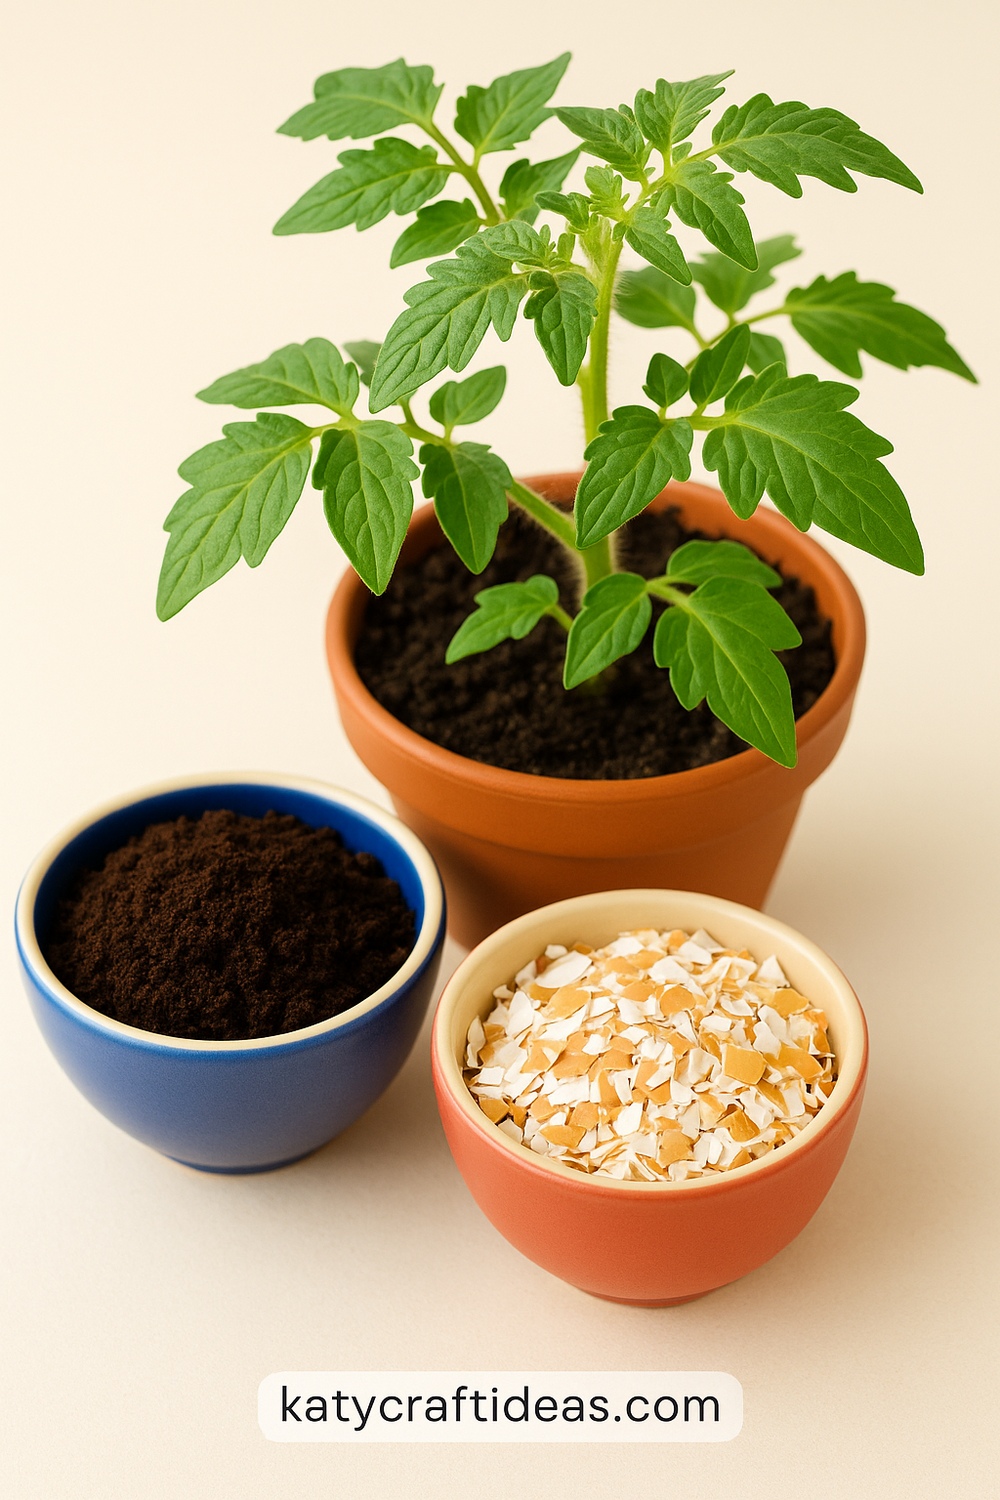
After brewing coffee, sprinkle used grounds on the soil surface or mix them into your potting mix. They add nitrogen and improve drainage. Rinse and crush eggshells, then mix them into soil for calcium, which prevents blossom end rot in tomatoes and peppers. Both waste items are free and easy to collect. Store grounds in a small bin and eggshells in a jar until you have enough. This hack feeds your plants naturally, cuts down on store-bought fertilizers, and keeps kitchen waste out of the trash.
Supplies
- Used coffee grounds
- Rinsed, crushed eggshells
- Small storage jar or bin
- Spoon or trowel (to mix into soil)
- Container plants
15. Rotate and Refresh Crops
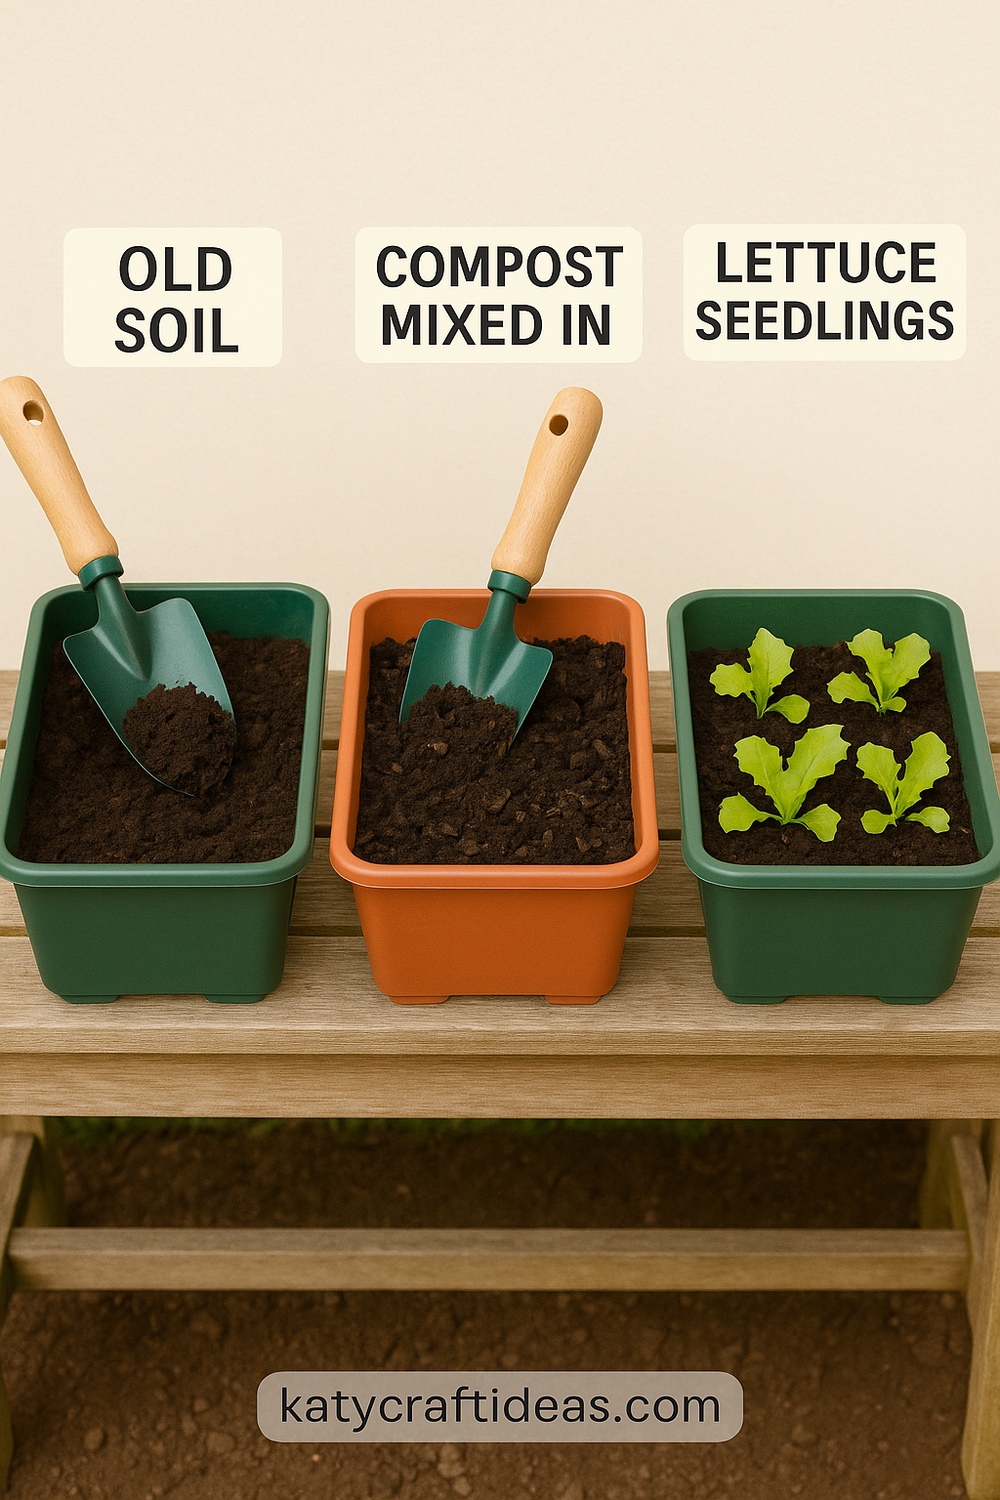
Even in containers, plants can sap nutrients over time. After each growing cycle, empty your pots and refresh the soil by mixing in new compost or homemade potting mix. Rotate the types of plants you grow—follow heavy feeders like tomatoes with light feeders like lettuce or herbs. This keeps the soil balanced and prevents pests and diseases from building up. A little soil refresh and crop rotation each season improves health and yields—without expensive soil replacements.
Supplies
- Old potting soil (to remove)
- Fresh compost or homemade soil mix
- New seedlings or seeds
- Trowel or scoop
- Labels (to track rotation)