
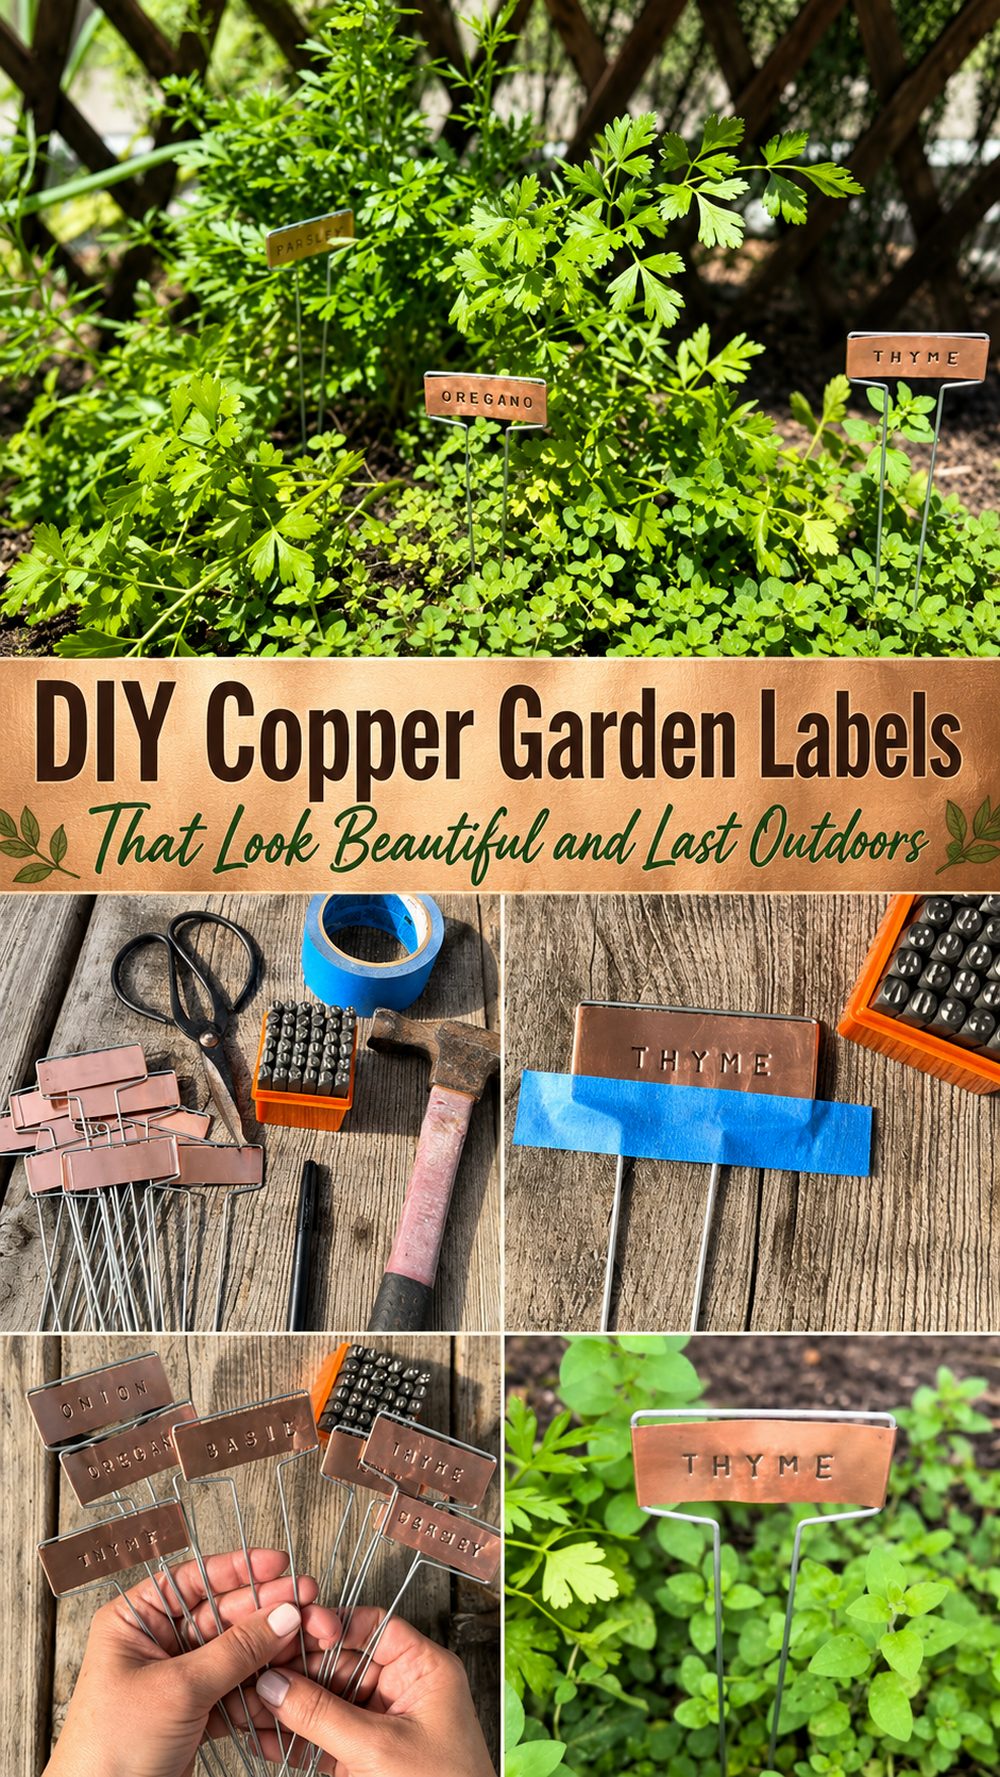
If you’d like your herb bed, flower pots or vegetable patch to look a bit more polished, handmade copper garden labels are such a lovely project to try. They are practical, easy to find and much nicer than flimsy plastic tags that can fade or crack over the years. What’s particularly nice about this idea is the combination of beauty and function. The finished labels have a warm metallic appearance, last well outdoors, and only develop more character with age. This is a great project for gardeners who like simple handmade details, and it works well for those who want plant markers that are more decorative than ordinary. They are simple to make for your own garden or you can make a small batch as a thoughtful gift for another plant lover.
Reasons to Love This Project:
These garden labels are not only useful but also durable and decorative. The copper look provides a warm vintage feel to the garden and the labels are designed to withstand the outdoors better than many standard temporary markers.
What you will need:
copper plant markers copper blanks or copper pieces for marking
Plant name stamps or some way to add the plant names
Garden stakes or copper stems fixed as shown in the picture
Mark for layout lines as required
Rubbing alcohol or a gentle finishing cleaner
Use similar products to match the look, size, and style you want.
Tools Required:
Hammer
A hard stamping face
Basic household or craft tools may also assist in the arranging and finishing.
Best Materials for This Project
Copper is particularly suitable here, as it is attractive, can be used outdoors and develops a natural patina over time. For a clean and long-lasting result choose copper pieces that feel sturdy enough to stamp clearly but are not too difficult to work with. For a project like this, outdoor-safe metal components are best for your garden.
Skill Level:
Easy for the confident beginner level. The process is simple but it does take some patience to get clean letter placement and stamping.
Size & Placement Guide:
These labels can be short for pots, medium for herb beds, or tall for raised beds where plants may grow over the marker. Use a text size that is easy to read from your normal standing distance. Copper works well with terracotta, wood, gravel paths and cottage or kitchen gardens. When placing outdoors, leave enough stake length so the label remains visible as the plants grow out.
How to Make It:
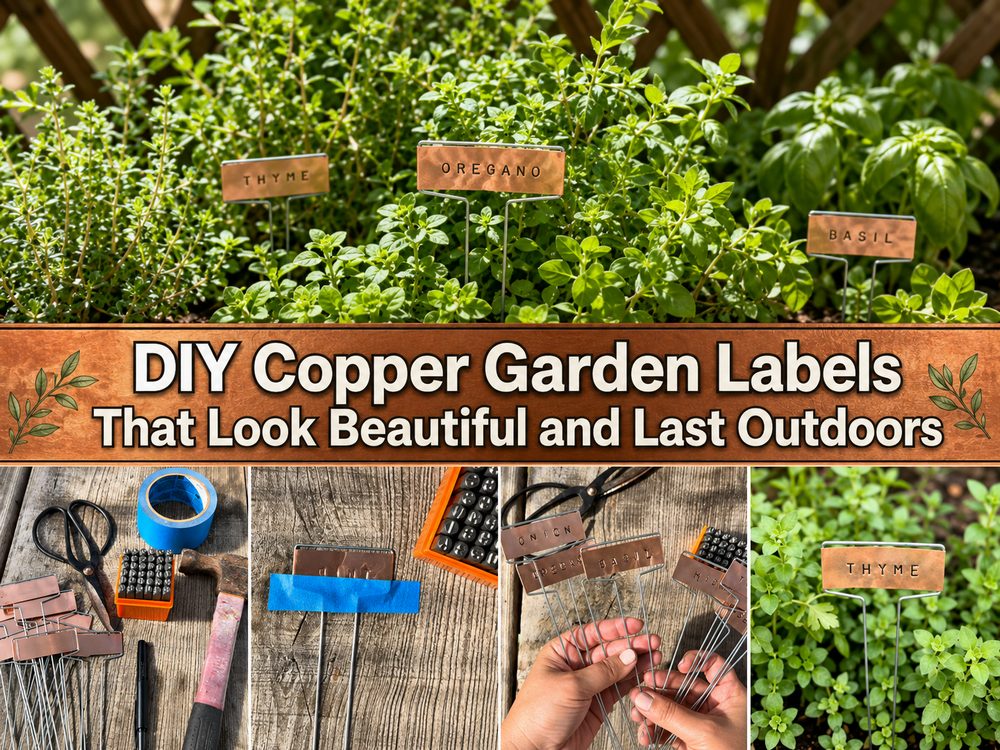
Step 1: Make the Base
Begin with your copper label pieces. Ensure the surface is clean and ready to be marked. If the project involves separate tags and stakes, lay everything out first so you can see how the finished labels will look before you start.
Step 2: Put the pieces together
Select which plant names you want on each label. Before you stamp, it’s helpful to plan the placement of the names so they look centred and balanced. Some makers mark guidelines first, lightly, to keep the lettering straight.
Step 3: Make the Shape
If your label style has a stake or stem, position it so that the label will stand up in soil. Ensure that the overall shape is simple and solid so that it is easy to insert into the garden and easy to read once in place.
Step 4: Add Names and Texture
With a hammer and metal stamps, stamp the plant names into the copper one letter at a time. Work slowly, keeping the spacing even. You don’t have to make it too perfect, the little imperfections are part of the handmade charm.
Step 5: Decorate
The copper finish gives the design a decorative look and generally requires no additional embellishment. For a more styled look, you can polish the labels for a brighter finish or let them age naturally for a softer vintage feel.
Step 6: Style and Final Touches
Clean the labels of marker lines, fingerprints, or dust. Then put them in pots, herb planters or garden beds where they are easy to see. The finished product looks both functional and stylish in the garden.
Helpful Hints:
Before stamping, test the word lay-out.
For best lettering, work on a hard surface.
Keep names short where possible for a cleaner look.
When you are done wipe the copper for a tidier result.
For outdoor use, select sturdier pieces that will hold their shape well.
Common Mistakes to Avoid:
Stamping without first planning the spacing
press letters unevenly
Choosing labels that are too small for long plant names
The stake is too small for bigger plants
Rushing the finish before the surface is cleaned
Materials that are too thin for soil outdoors
Ideas for Customisation:
Experiment with different plant names, herb collections, vegetable rows, or gift sets. You can let the copper weather naturally, or mix it with terracotta pots and rustic containers for a more styled garden look.
Style Tips:
They are especially pretty in herb gardens, raised beds, greenhouse shelves, and container gardens. They also make a lovely handmade gift for gardeners who like a classic, tidy outdoor space.
Care Instructions:
Dust or mud? Wipe gently. If you like the bright copper look, clean it every now and then. If you want a weathered look, allow the labels to weather naturally outdoors. Store any remaining labels in a dry location until needed.
Time Required:
Depending on your materials, how many labels you make, and how much detail you put in, this could be a quick afternoon project or take a few hours.
Budget Guide:
This could be a more stylish but still manageable DIY, especially if you start with a small set for herbs or favourite plants. They seem more high-end than basic plastic markers and can last a lot longer outdoors.
Conclusion:
Copper garden labels are a simple way to make your planting area feel more finished and personal. They are useful, durable, and beautiful enough to become part of the garden design itself. Once you make one set, you may want to label everything from herbs to flowers to seedlings in the same style.
FAQs:
Is this beginner-friendly?
Yes. The process is simple, though stamping neatly takes a little practice.
What materials work best?
Copper is a great choice because it is durable, attractive, and suited to outdoor use.
Can I make it bigger or smaller?
Yes. Adjust the size based on pots, raised beds, or how visible you want the labels to be.
Can I use it outdoors?
Yes. This style is meant for garden use and holds up well outside.
How do I keep it looking neat?
Plan the lettering first, stamp slowly, and clean the surface before placing it in the garden.