
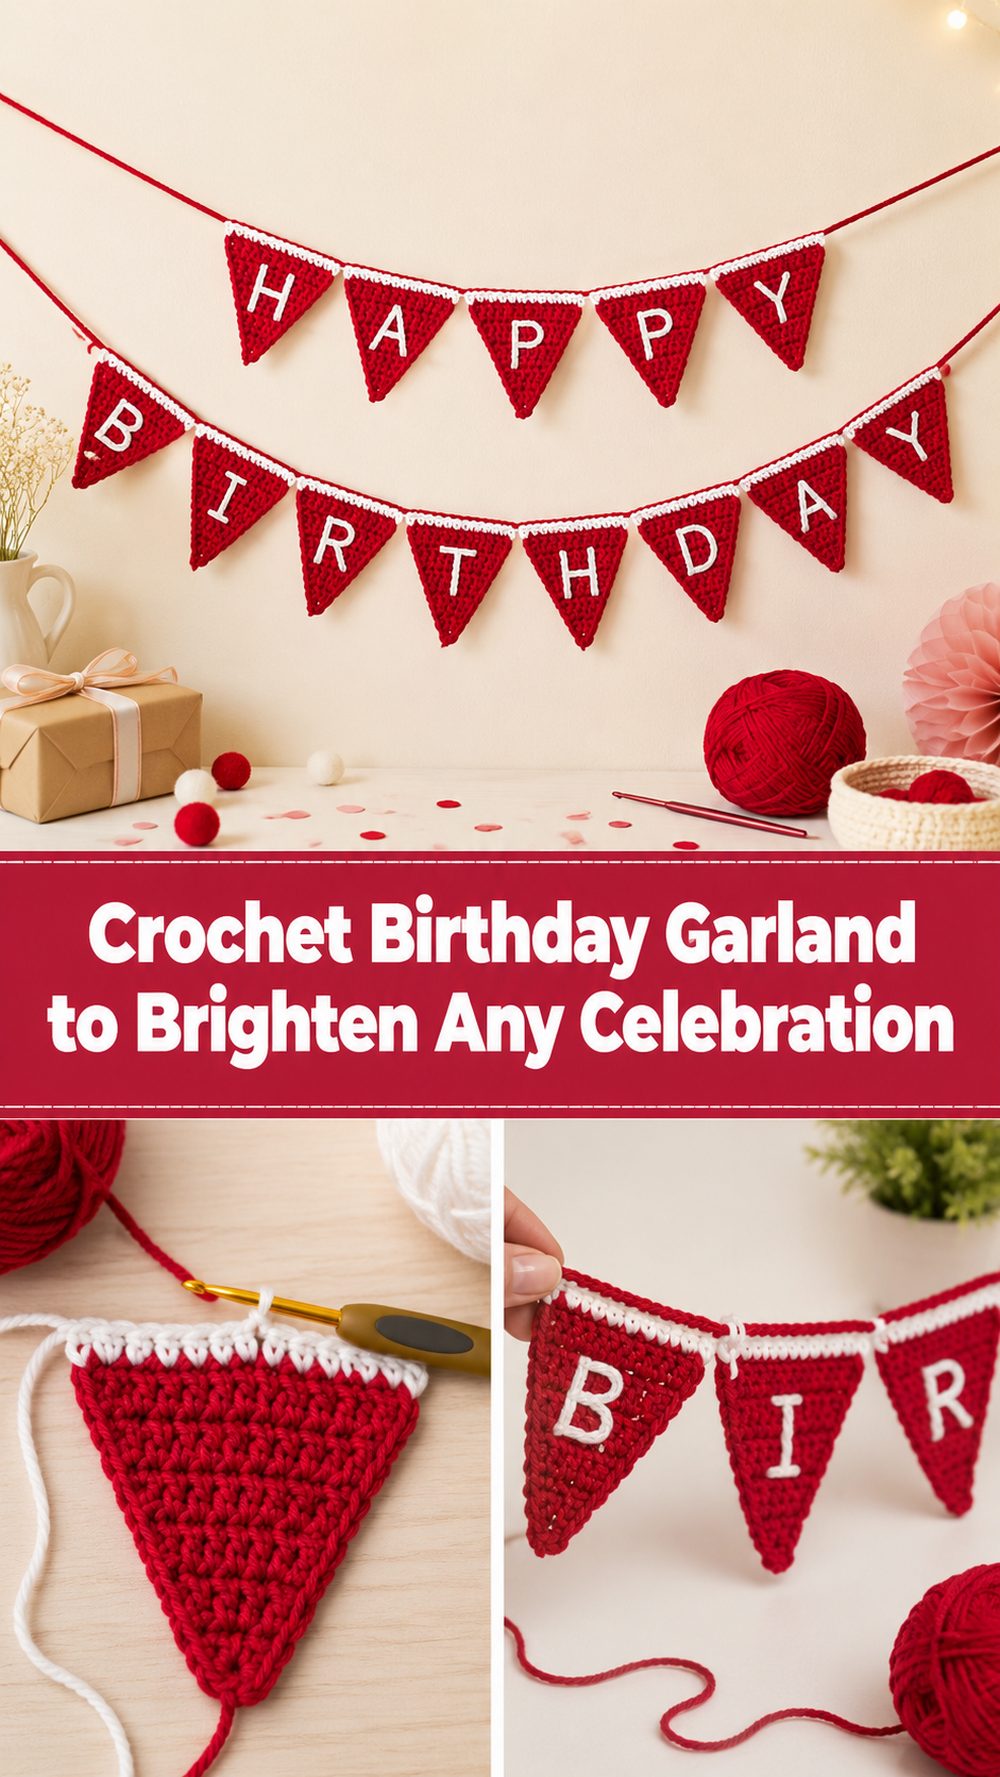
A crochet birthday garland is such a sweet way to make a party feel extra special. It adds color, texture, and that handmade charm you just cannot get from store-bought decorations. The YouTube tutorial I chose shows a birthday bunting style garland made from repeated banner pieces, worked with double knit yarn and a 2 mm crochet hook, starting with a slip knot and a chain foundation. That makes it a lovely option if you want something decorative but still neat and lightweight enough to hang easily. The finished look feels cheerful and personal, and it is the kind of project you can bring out year after year for birthdays at home. It also gives you room to play with color, spacing, and size, so you can make it feel soft and pretty or bright and festive depending on the celebration.
Why You’ll Love This Project
This project is fun because it feels decorative right from the start. Each piece is small enough to finish without getting overwhelmed, and once a few are lined up together, you can already see the birthday banner taking shape. It is also a nice project for using color creatively, especially if you want a playful party look. The selected tutorial is presented as a crochet birthday bunting tutorial and shows a clear step-by-step process for beginners.
Materials Needed
- Double knit yarn
- 2 mm crochet hook
- Scissors
- Yarn needle
- Stitch markers if you like marking corners or turning points
- Measuring tape to help plan the finished garland length
If you want to change the look, use a yarn and hook size that matches your desired fit and texture. The tutorial I selected specifically mentions double knit yarn and a 2 mm hook.
Best Yarn for This Project:
A smooth yarn with good stitch definition works best for a birthday garland like this. Double knit yarn is a nice choice because it helps the banner pieces look tidy without becoming too bulky. Cotton blends can give you a crisp finish, while soft acrylic can make the garland light, colorful, and easy to store between birthdays. For a clean party look, choose shades that stand out well against your wall or backdrop.
Skill Level:
Easy, and suitable for beginners who are comfortable making a chain and working back into stitches. The project is repetitive, which is helpful when you are still building confidence. Once you make the first banner piece, the rest becomes much more relaxed.
Size and Fit Guide:
Since this is a decoration, the main thing to adjust is the size of each banner section and the total length of the garland. Measure the space where you want to hang it first. Then keep making sections until the strand feels full enough for your wall, table, shelf, or party backdrop. If you want a fuller look, place the sections closer together. If you want something lighter and more airy, leave a little space between them.
Stitches Used:
- Slip knot
- Chain
- Double crochet style stitches
- Joining and finishing stitches
The selected video snippet clearly says the project starts with a slip knot, uses a chain foundation, and is worked with a 2 mm hook and double knit yarn.
How to Make It
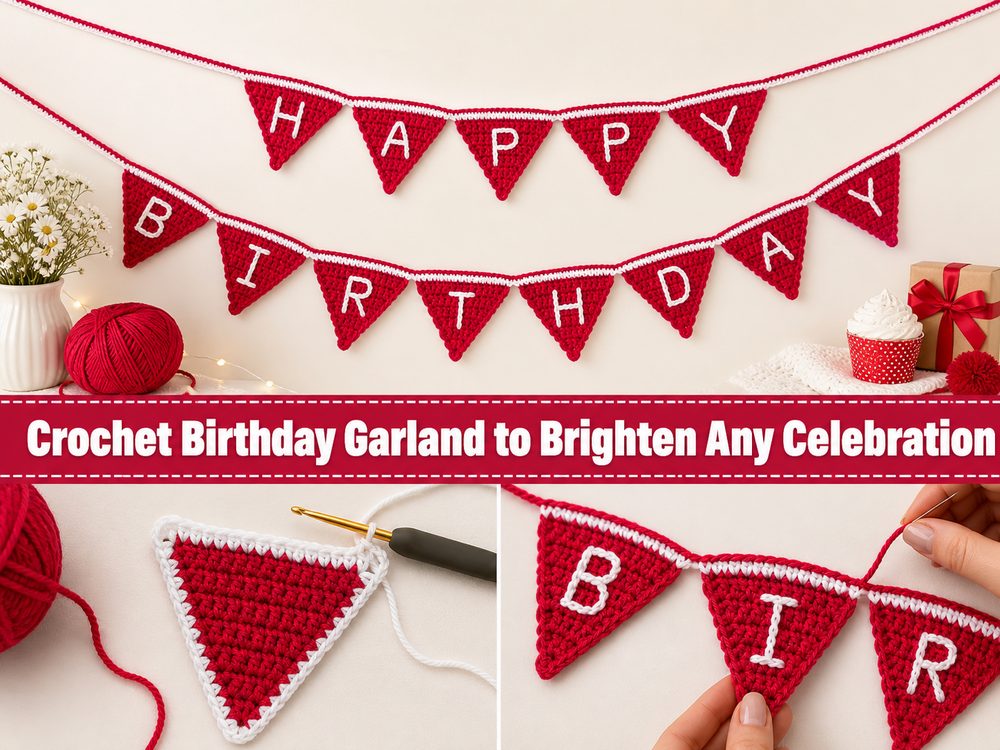
Step 1: Start the Foundation
Begin by making your slip knot and placing it on the hook. The tutorial starts this way and then moves into a starting chain. The chain foundation sets the width for the first banner piece, so try to keep it even and not too tight. If your chain is pulled too firmly, the top edge can pucker later and the finished garland may not hang as neatly.
This is a good time to decide your color plan too. You can keep everything in one birthday color palette, alternate shades, or use bright leftovers for a lively handmade look.
Step 2: Work the First Banner Piece
After the starting chain is made, begin working back into it to create the shape of the banner. The bunting style in the tutorial is built from repeated pieces, so your first one becomes the guide for all the others. Focus on getting a neat shape rather than worrying about speed. Once one piece looks right, the rest of the project becomes much easier.
Pay attention to your edges while you crochet. Clean edges make a huge difference on decorative projects like this. If one side starts to lean or look uneven, slowing down at the turning points usually helps.
Step 3: Build the Shape Evenly
As you continue, the banner section should start to look balanced and decorative. This is where steady tension really matters. Try not to make one side tighter than the other. If needed, lay the piece flat every now and then to check that it is keeping a nice shape.
You do not need to chase perfect numbers if the tutorial does not make every detail obvious. What matters most is that each finished section looks close in size and style to the first one. That way the full birthday garland will look intentional and neat once it is hanging up.
Step 4: Repeat for the Rest of the Garland
Once the first section is done, make the remaining banner pieces the same way. This is the relaxing part of the project. It is repetitive in the best way, and you can easily work a few pieces at a time. If your birthday setup has a special theme, you can match the yarn colors to the cake table, balloons, or party plates.
Lay your finished pieces side by side as you go. That simple habit helps you catch size differences early. If one section looks too wide, too narrow, or slightly longer than the others, it is much easier to fix before everything is joined together.
Step 5: Plan the Layout
Before joining the pieces, spread them out on a table or the floor and look at the overall arrangement. This is one of the nicest parts of making party garland, because you get to see the whole color story come together. Rearrange the pieces until the order feels balanced.
Think about the space where it will hang. A short garland looks lovely above a cake or gift table, while a longer one works beautifully across a wall, shelf, doorway, or party backdrop.
Step 6: Join the Pieces
Once you are happy with the order, attach the banner pieces to a long crochet chain or joining strand. This top strand holds the garland together and gives you something easy to tie or drape. Leave extra length at both ends so hanging it is simple.
As you join, make sure each piece faces the same direction and hangs evenly. This little check makes the finished birthday garland look much more polished. If the pieces are too close together, the banner can look crowded. If they are too far apart, it may lose that festive full look, so trust your eye and adjust the spacing as needed.
Step 7: Finish the Edges
After everything is joined, weave in your ends carefully. Since this is a display piece, neat finishing matters more than people sometimes expect. Straighten the pieces gently with your hands and check the spacing once more.
If the yarn is soft and the pieces curl a little, light blocking can help them sit flatter. The finished garland should look cheerful, lightweight, and tidy, with each banner section clearly visible across the strand.
Helpful Tips
- Keep the starting chain relaxed so the top edge stays neat
- Use your first finished section as the size guide for all the others
- Lay the pieces out before joining to check the color order
- Leave enough extra length at the ends for hanging
- Weave in ends carefully because this is a visible decor piece
- Block lightly if the sections need a cleaner shape
Common Mistakes to Avoid
- Making the foundation chain too tight
- Letting the banner pieces drift into different sizes
- Joining before checking the spacing
- Using colors that blend into the background too much
- Forgetting to leave hanging length at both ends
- Skipping finishing work on a project meant for display
Customization Ideas
You can make this birthday garland feel very personal. Try bright rainbow shades for a lively party look, soft pastels for a child’s celebration, or elegant neutrals with metallic accents for a more grown-up setup. You can also add little tassels, pom-poms, bows, or crochet appliqué details if you want extra texture. For a more playful effect, alternate two or three colors through the whole strand.
Style Ideas
Hang the finished garland over a cake table, across a mantel, on a nursery wall, over a party doorway, or behind a birthday chair for photos. It also works beautifully as a reusable family decoration that comes out every year. That is one of the nicest things about making it by hand. It becomes part of the celebration.
Care Instructions
Gently hand wash if needed and lay flat to dry. Reshape the banner pieces while they are still damp so they dry neatly. Avoid high heat, especially if you used acrylic yarn. Store it flat or loosely wrapped so it is ready for the next birthday.
Time Needed
This may take a few hours depending on your speed, yarn, size, and how many banner pieces you want to make. Since the project is made in repeated sections, it is easy to work on in small sessions.
Conclusion
A crochet birthday garland is a simple project, but it has so much charm. It brings a handmade feeling to the room and makes a celebration feel a little more thoughtful and personal. Once you make the first section, the rest becomes easy to repeat, and you can adjust the colors and overall length to suit your space. It is the kind of project that feels fun to make now and lovely to reuse later.
FAQs
Is this beginner-friendly?
Yes. It is a good project for beginners because the shape repeats and the sections are small enough to manage easily.
What yarn is best for a birthday garland?
A smooth double knit yarn works well for a neat result, but cotton blends and soft acrylic are also good choices.
Can I adjust the size?
Yes. You can make more or fewer sections and space them however you like to suit your decorating area.
How do I keep all the pieces the same?
Finish one piece first and use it as your sample. Compare the rest to it as you go.
Can I reuse it every year?
Yes. That is one of the best things about a crochet birthday garland. With gentle care, it can become a decoration you bring out again and again.