
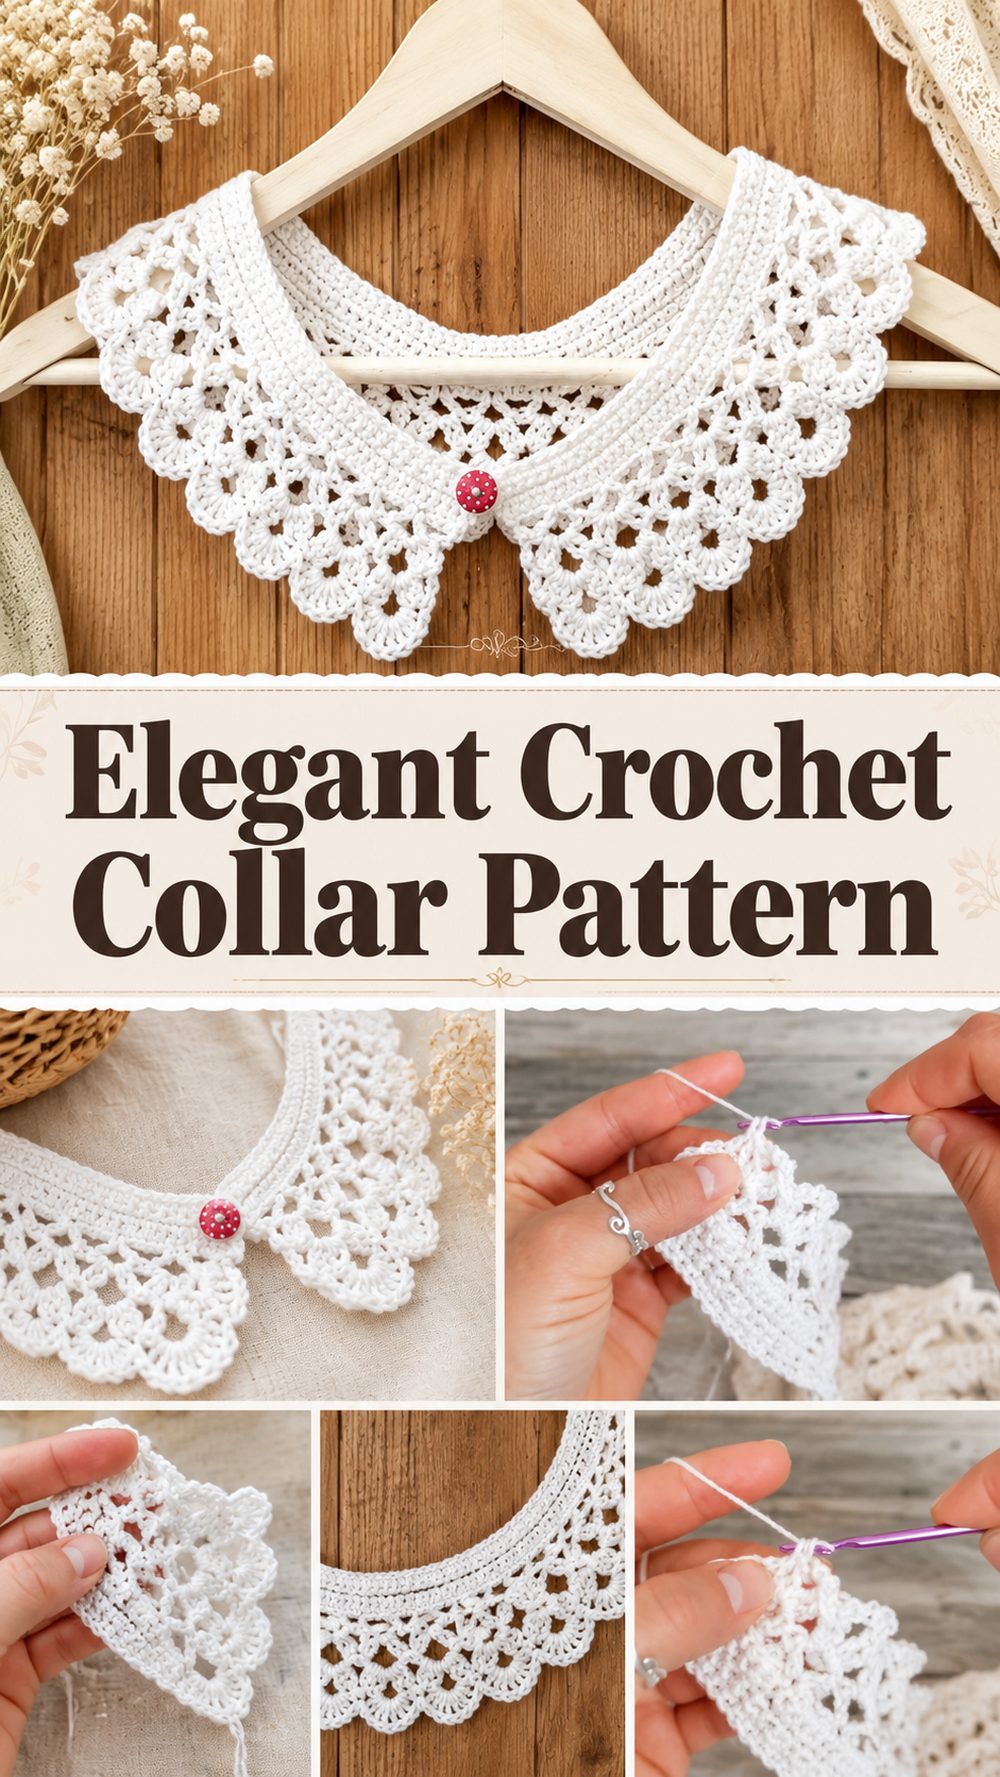
A crochet collar is one of those small projects that can make a big difference. It adds a soft handmade touch to plain tops, dresses, sweaters, and even simple tees, and it has that lovely vintage-inspired charm that never really goes out of style. The tutorial I selected shows a beautiful lacy Peter Pan collar designed to sit neatly around the neckline and give outfits a more polished, feminine finish. It looks delicate, but it still feels like a very approachable project for anyone who enjoys making wearables that are quick, practical, and pretty. This kind of piece is especially nice when you want something satisfying to crochet without committing to a full garment, and it also makes a thoughtful handmade gift. The tutorial presents it as a wearable accessory for blouses, shirts, and dresses.
Why You’ll Love This Project:
This crochet collar is charming, useful, and surprisingly versatile. It is the kind of project that lets you enjoy pretty stitch work without making a whole garment, and once it is finished, you can wear it over several different outfits to change the look instantly. The selected tutorial features a lacy collar style meant to dress up everyday clothing in a simple, elegant way.
Materials Needed:
- Yarn
- Crochet hook
- Scissors
- Yarn needle
- Stitch markers
- Measuring tape
If the exact yarn weight or hook size is not clear from the tutorial, use a yarn and hook size that matches your desired fit and texture.
Best Yarn for This Project:
A smooth yarn that shows the stitch pattern clearly works best for a collar like this. Cotton is a lovely choice because it helps the collar hold its shape and keeps the lace detail crisp. A cotton blend can also work well if you want something a little softer with a gentler drape. If you want a more delicate, dressy finish, go for a lighter yarn. If you prefer a collar with a slightly fuller look, choose something a bit thicker, but still soft enough to sit comfortably around the neckline.
Skill Level:
This project is best for confident beginners or easy-level crocheters.
It is a good choice for someone who already knows how to keep edges tidy, count repeats, and shape a wearable piece gradually. Since it is a small accessory, it feels manageable, but you still need to pay attention to symmetry and fit.
Size and Fit Guide:
To adjust the collar, start by measuring around the neckline of the blouse, dress, or shirt you want to wear it with. You can also measure comfortably around your own neck, leaving enough ease so the collar sits nicely rather than feeling tight.
As you work, lay the piece flat and check whether the curve is sitting smoothly. If the collar needs to be wider or longer, add more pattern repeat sections as needed. If you want it to sit closer to the neck, keep the starting length a little shorter and test the fit before finishing the ends.
Stitches Used:
Only use the stitches that are clearly shown in the tutorial as you follow along. For a collar in this style, that usually includes:
- chain
- slip stitch
- basic body stitches used to build the lace pattern
- repeated decorative stitch sections for the collar shape
Because the accessible tutorial snippet does not fully expose every row instruction, it is best to follow the stitch demonstrations in the video for the exact sequence and repeat style without guessing exact counts. The selected video clearly presents it as a lacy Peter Pan collar tutorial.
How to Make It:
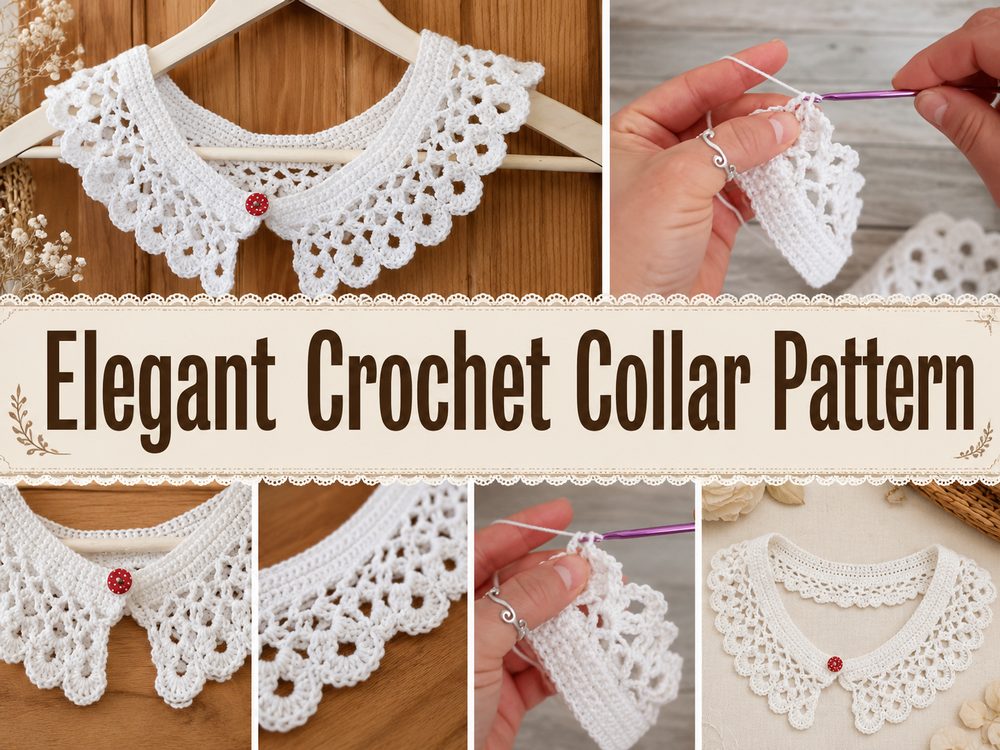
Step 1: Start the Foundation
Begin by creating the starting chain or base length that matches the neckline size you want. Since this is a detachable collar style, the foundation should be long enough to sit neatly around the neck without pulling. Keep your starting tension even, because this first section affects the shape of the whole collar.
A good habit here is to check the length early. Hold the chain gently around the neckline area and see if it feels balanced from one side to the other.
Step 2: Build the Base Rows
Once the foundation is ready, work the first rows carefully to create a stable base. This part helps the collar sit flat before the decorative sections begin. Try to keep your edges clean and consistent, especially near both ends, since those parts will stay visible when the collar is worn.
If the tutorial shows a gradual curve, pay close attention to where shaping begins. A collar should feel soft and rounded rather than stiff or boxy.
Step 3: Form the Collar Shape
After the base is in place, the main shaping begins. This is where the project starts to look like a true Peter Pan collar. The rounded style usually grows through repeated stitch sections that gently spread outward from the neckline.
Work evenly and stop every so often to lay the collar flat. If it starts to ripple too much, the shaping may be growing too fast. If it curls inward, it may need a little more room. Small checks while crocheting make a big difference in a project like this.
Step 4: Create the Lacy Main Body
The selected tutorial features a beautiful lacy look, so this is the part where the collar becomes decorative and airy. Continue working the stitch pattern as shown in the tutorial, keeping the repeats consistent from one side to the other. A collar like this looks best when both halves mirror each other, so count carefully and pause often to compare the left and right sides.
This lacy texture is what gives the finished piece that soft dressy look. It helps the collar feel special without becoming heavy.
Step 5: Adjust the Width and Depth
One of the nicest things about a crochet collar is how easy it is to personalize. If you want a more delicate everyday piece, stop once the collar reaches a shallow depth. If you prefer a more statement look, continue the lace pattern until it feels fuller.
Try the collar against a blouse, shirt, or dress while you work. The tutorial presents this style as an accessory to wear over clothing, so checking it on top of a neckline helps you decide whether the width looks right.
Step 6: Shape Both Sides Evenly
When you reach the point where the collar has its full shape, compare both sides carefully. They should curve in a similar way and fall at a similar depth. This is especially important with Peter Pan collars, because the rounded shape is part of their charm.
If one side looks slightly larger, go back before finishing and correct it. That small extra effort will make the final piece look much neater when worn.
Step 7: Finish the Outer Edge
The outer edge is where the collar gets its final polished look. Follow the tutorial’s finishing round or border carefully. This last step often smooths the shape, defines the lace, and gives the collar a finished outline.
Keep your tension relaxed here. Tight edging can make the collar pull inward, while loose edging can make it wave too much.
Step 8: Finish the Ends
Once the collar body is done, fasten off neatly and weave in the ends well. Since this is a visible fashion accessory, clean finishing matters. Make sure the yarn tails are secure but not bulky.
If the tutorial includes a simple way to close or position the collar, match that style as closely as possible. The finished result should look tidy, soft, and easy to layer over clothing.
Step 9: Check the Final Look
Your finished collar should have a graceful rounded Peter Pan shape with a pretty lacy texture and enough structure to sit nicely over a neckline. It should feel light, decorative, and wearable, not stiff or heavy. The tutorial’s finished piece is designed to dress up blouses, shirts, and dresses with a classic lace-collar look.
Helpful Tips:
- Check the fit before finishing the final rows.
- Use a smooth yarn so the lace details show clearly.
- Keep both sides of the collar as even as possible.
- Use stitch markers if you need help tracking the center or repeat sections.
- Lay the collar flat often while working.
- Block the finished collar lightly for a neater shape.
Common Mistakes to Avoid:
- Making the starting chain too tight
- Forgetting to compare both sides as you work
- Skipping stitch repeats and losing the lace pattern
- Adding too much shaping so the collar ripples
- Making the edging too tight
- Finishing without checking how it sits on a neckline
Customization Ideas:
You can make this collar in a soft neutral shade for a classic look, or use pastel yarn for a sweeter vintage feel. A crisp white or cream collar looks lovely over darker tops, while muted dusty shades give it a softer everyday style. You could also make the collar slightly deeper for a more dramatic statement piece or keep it narrow for a simple delicate finish.
Style Ideas:
Wear it over a plain blouse to make the outfit feel more dressed up, or layer it over a simple dress for a romantic handmade detail. It also looks lovely on top of sweaters when you want the look of a fancy collar without wearing a full collared shirt underneath. This kind of piece also makes a thoughtful gift for someone who enjoys vintage, cottage-style, or feminine handmade accessories.
Care Instructions:
Hand wash gently in cool water with mild soap, then lay flat to dry. Avoid twisting or wringing it out, especially if the collar has an open lacy pattern. If needed, reshape it with your hands while damp and let it dry flat so the edges stay neat.
Time Needed:
This may take a few hours depending on your speed, yarn, size, and stitch pattern.
Conclusion:
A crochet collar is a lovely little project when you want something stylish, useful, and satisfying to finish. This Peter Pan style gives a soft vintage feel, and because it is small, it is easy to adjust for your own taste. You can change the yarn, shape, width, or overall look to suit your wardrobe and make it feel truly personal.
FAQs:
1. Is this beginner-friendly?
Yes, it suits confident beginners well, especially if you are comfortable following stitch repeats and checking fit as you go.
2. What yarn is best for a crochet collar?
Cotton or a smooth cotton blend is a great choice because it helps the collar keep its shape and show the stitch detail clearly.
3. Can I adjust the size?
Yes. Measure the neckline first and add or reduce the pattern length until the collar sits the way you want.
4. Can I make it in a lighter style for everyday wear?
Yes. Use a lighter yarn and stop at a shallower depth for a softer, simpler collar.
5. How do I make it look neat and polished?
Keep your tension even, compare both sides often, and block it lightly after finishing.